
Pro blocks
Hero SliderPro
How to add slides with an image, title, subtitle, text, and buttons, set the slide effect, autoplay, and navigation, and style every slide element.
This feature needs the Pro version of WPMozo Blocks and Addons.
On this page
See the Hero Slider block live on the demo site (opens in a new tab)

Adding the block#
- Click the “+” (Block Inserter) button.
- Search for “Hero Slider” and select it.
- In General → Configuration, click Add Item for each slide and fill in its content.
General tab#
Configuration (slides)#
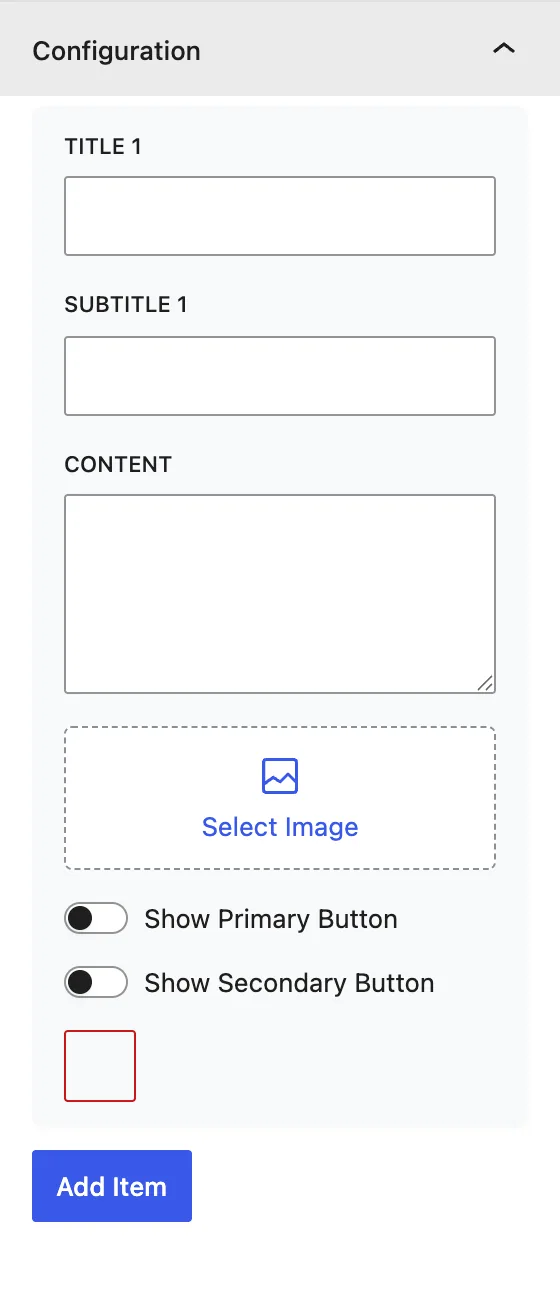
Each slide added with Add Item has:
| Setting | Description |
|---|---|
| Select Image | The slide image. |
| Title | Main heading of the slide. |
| Subtitle | Small line above or below the title. |
| Content | Supporting paragraph. |
| Show Primary Button | Main button, with Primary Button Text and Primary Button Link. |
| Show Secondary Button | Second button, with Secondary Button Text and Secondary Button Link. |
| Remove | Deletes the slide. |
Display Settings#
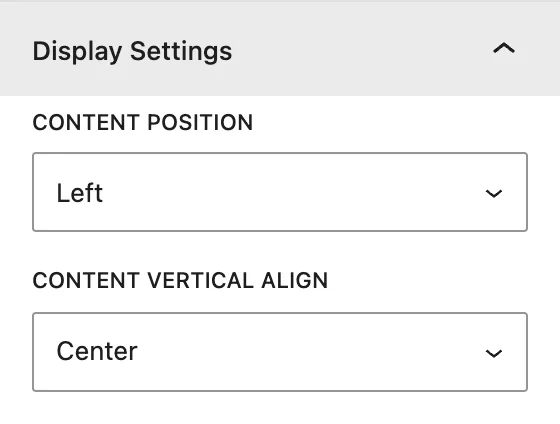
| Setting | Description |
|---|---|
| Content Position | Puts the text box to the Left or Right of the image, or Alternate sides on each slide. |
| Content Vertical Align | Top, Center, or Bottom. |
Slider#
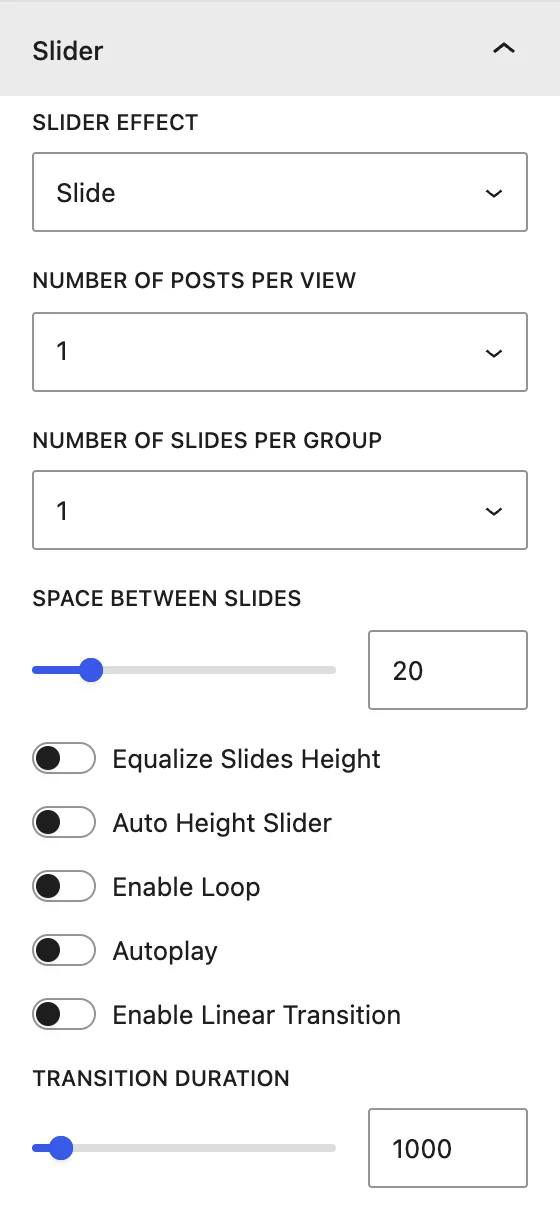
| Setting | Description |
|---|---|
| Slider Effect | Slide, Cube, Coverflow, or Flip. |
| Number of Posts Per View | Slides visible at once. Usually 1 for a hero. |
| Number of Slides Per Group | Slides moved per swipe. |
| Space Between Slides | Gap, in px. |
| Equalize Slides Height / Auto Height Slider | Keeps all slides the same height, or resizes the slider to each slide. |
| Enable Loop | Goes back to the first slide after the last one. |
| Autoplay | Changes slides automatically. When on, you can set Autoplay Delay and Pause on Hover. |
| Enable Linear Transition / Transition Duration | Constant-speed movement and animation length (ms). |
Slider Navigation#
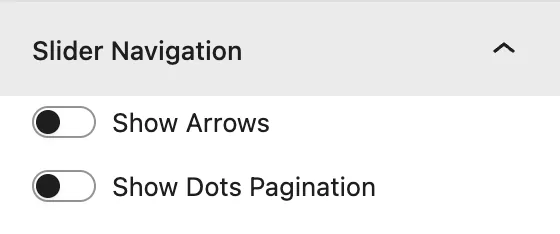
Show Arrows and Show Dots Pagination, with the same icon, position, and style options as the Blog Slider.
Design tab#
| Panel | What it controls |
|---|---|
| Container | Justify Content: how the image and text box are spaced. |
| Title | Alignment, Heading Level (H1–H6), Normal / Hover color, and typography. |
| Subtitle | Alignment, color, and typography. |
| Content | Alignment, color, and typography of the paragraph. |
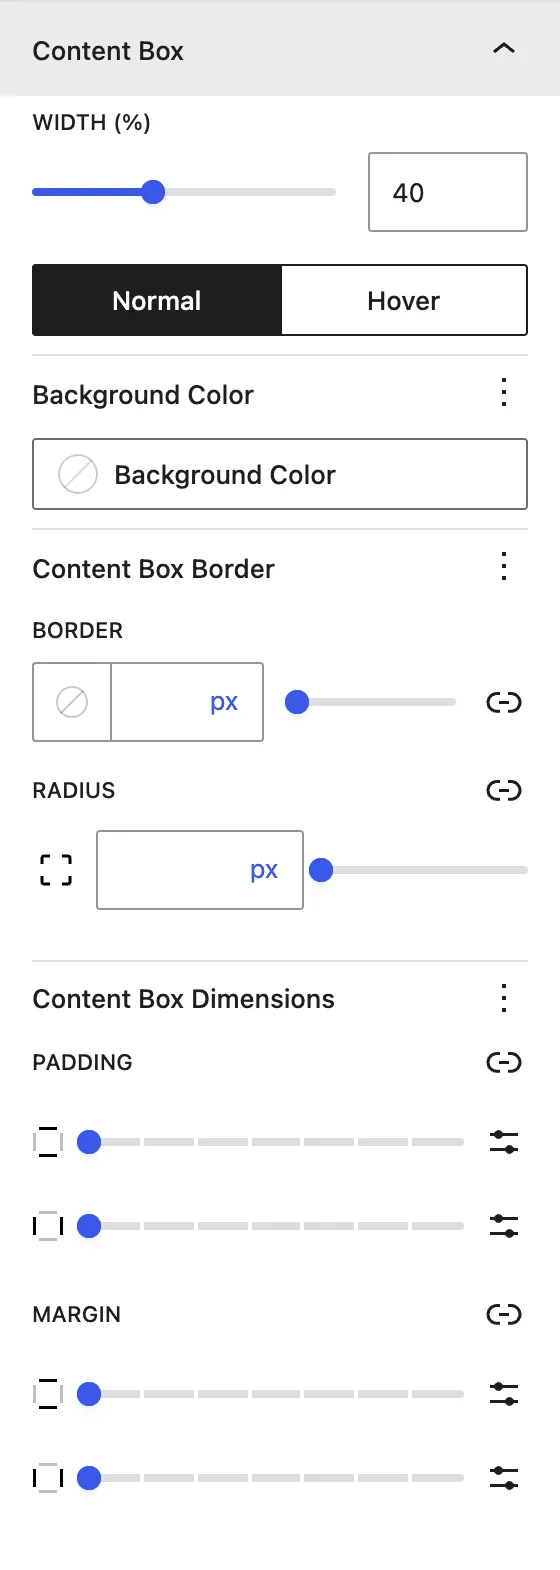
| Content Box | Width (%), background (normal and hover), border, padding, and margin of the text box. |
| Image | Enable Width (custom image width), background, border, padding, and margin. |
| Buttons | Alignment, with Primary Button Custom Style and Secondary Button Custom Style for colors, typography, borders, and icons. |
| Arrows / Dots(when enabled) | Navigation colors, size, and position. |
Advanced tab#
Tips#
- Use images of the same size (for example 1600×900) so slides don’t jump in height.
- Use H1 for the first slide’s title only when the slider is the main heading of the page. Otherwise use H2.
Was this article helpful?
Thanks for the feedback. Need more help? Contact support.