
Pro blocks
Woo Product GalleryPro
How to select a product and show its gallery images, choose a grid or masonry layout, set up the lightbox, titles and captions, and overlay, and style the gallery.
This feature needs the Pro version of WPMozo Blocks and Addons.
See the Woo Product Gallery block live on the demo site (opens in a new tab)
Requires: WooCommerce.
Adding the block#
- Add images to the product’s Product gallery in Products → Edit product.
- In the editor, click “+”, search for “Woo Product Gallery”, and select it.
- Pick the product in General → Configuration → Products.
General tab#
Configuration#
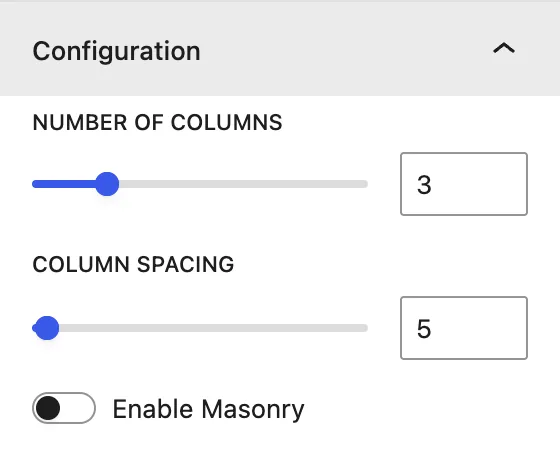
| Setting | Description |
|---|---|
| Products | The product whose gallery images are shown. |
| Number of Columns | Images per row. |
| Column Spacing | Gap between images. |
| Enable Masonry | Keeps each image’s original ratio instead of cropping. |
Display#
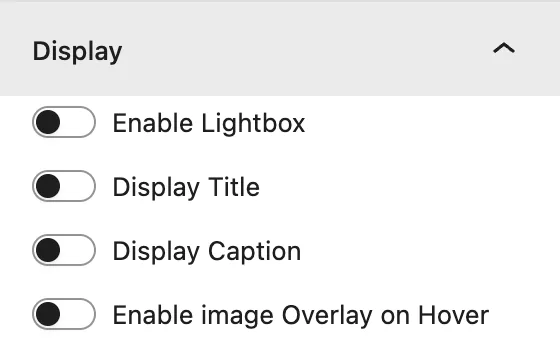
| Setting | Description |
|---|---|
| Enable Lightbox | Opens the full-size image in a popup when it is clicked. |
| Display Title / Display Title In | Shows the image title in the Gallery, the Lightbox, or Both. |
| Display Caption / Display Caption In | Same options for the caption. |
| Enable image Overlay on Hover | Color overlay with an icon (choose it with the Hover Icon Picker). |
Design tab#
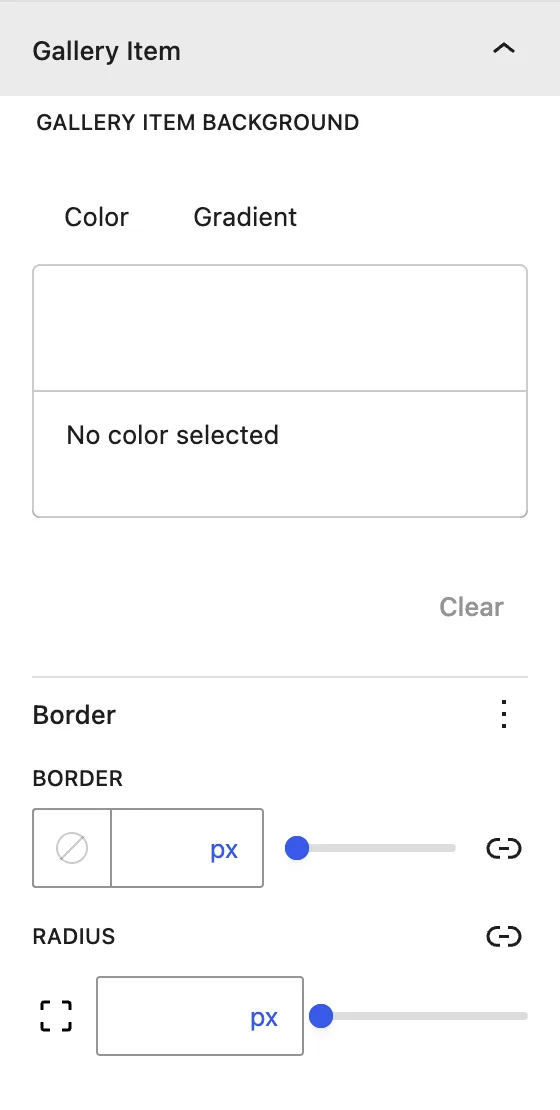
| Panel | What it controls |
|---|---|
| Gallery Item | Background, border, and radius of each image. |
| Title / Caption | Alignment, Title Level, normal and hover color, and spacing. |
| Lightbox | Background, close icon, arrow, and title/caption colors. |
| Overlay | Overlay Background Color, Icon Size, and Overlay Icon Color. |
Advanced tab#
Was this article helpful?
Thanks for the feedback. Need more help? Contact support.