
Blocks
Floating ImageFree
How to set up the parent container, add images as child items, place each image, and set its floating effect, delay, duration, and repeat.
On this page
See the Floating Image block live on the demo site (opens in a new tab)
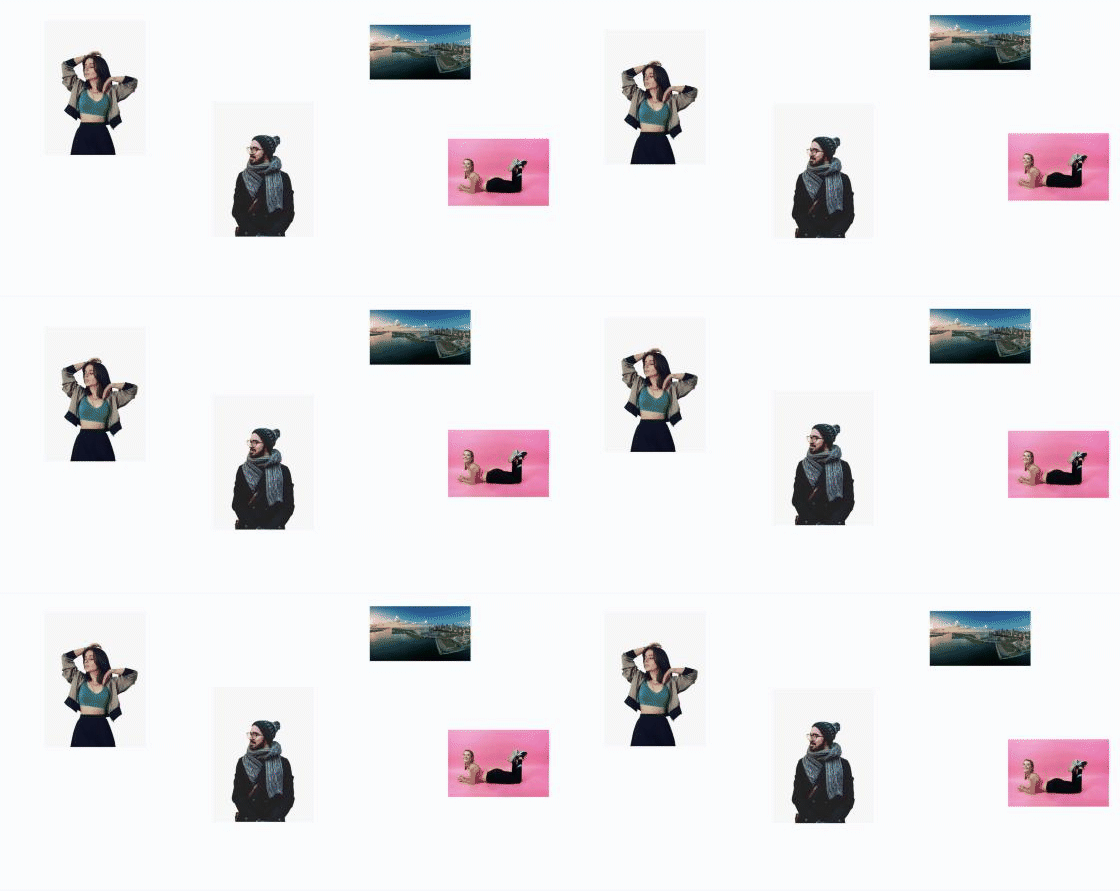
Adding the block#
- Click the “+” (Block Inserter) button.
- Search for “Floating Image” and select it.
- In the Add Images placeholder, upload or choose one or more images. Each image becomes a Floating Image Item.
- Select an item to set its position, size, and animation.
Parent block: Floating Image#
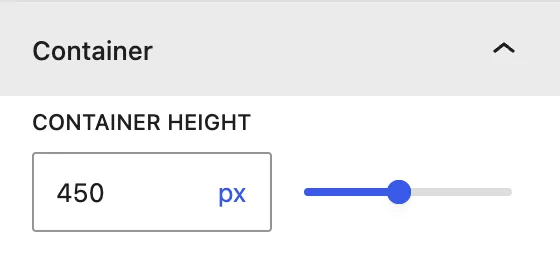
| Setting | Description |
|---|---|
| Container Height | Height of the area the images float in. Default is 450px. Use the slider or type a value with a unit. |
Child block: Floating Image Item#
General tab#
General Settings
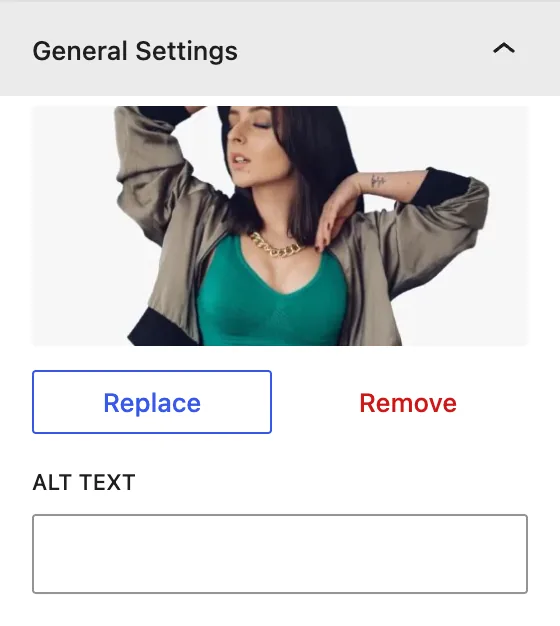
| Setting | Description |
|---|---|
| Image | Replace or remove the image. |
| Alt Text | Alternative text for accessibility and SEO. |
Image Position
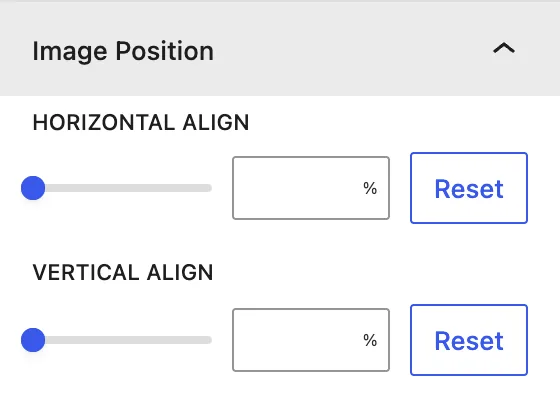
| Setting | Description |
|---|---|
| Horizontal Align | Distance from the left edge of the container (%, px…). |
| Vertical Align | Distance from the top edge of the container. |
Use % values so the layout stays in proportion on different screen sizes.
Design tab#
Image Sizing
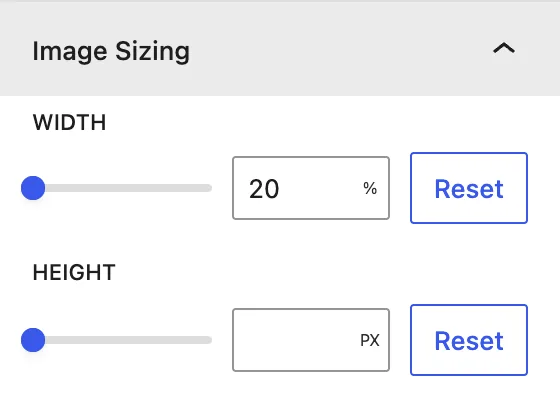
Width (default 20%) and Height of the image.
Image Animation
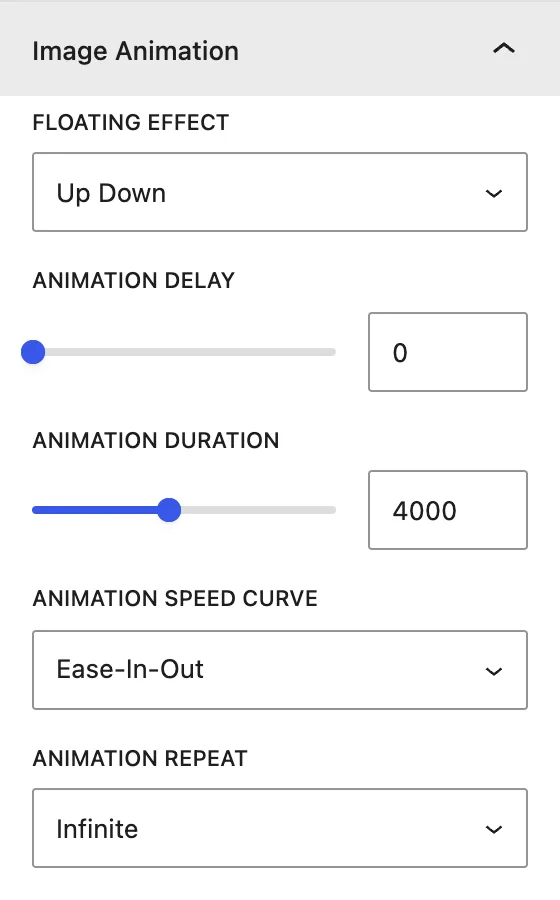
| Setting | Description |
|---|---|
| Floating Effect | Up Down, Left Right, or No Effect. |
| Animation Delay | Wait before the animation starts, in ms. Give each image a different delay so they don’t move in sync. |
| Animation Duration | Length of one float cycle, in ms (default 4000). |
| Animation Speed Curve | Easing: Ease-In-Out, Ease, Ease-In, Ease-Out, Linear. |
| Animation Repeat | Infinite loops forever. Initial plays once. |
Image Border
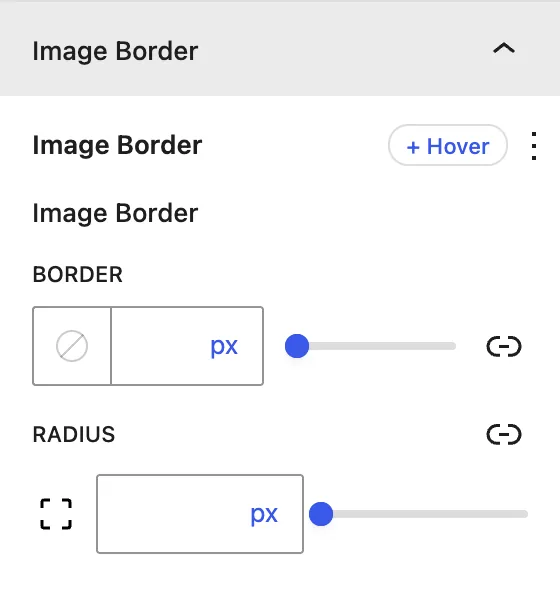
Border and Radius, for normal and hover states.
Advanced tab#
Tips#
- Transparent PNG or WebP images (like product cut-outs or shapes) look best.
- Mix Up Down and Left Right with different durations for a natural, organic movement.
Was this article helpful?
Thanks for the feedback. Need more help? Contact support.