Testimonial Slider
The Testimonial Slider widget lets you showcase client feedback and reviews in an interactive sliding format.
It comes with multiple layouts, slider effects, and design options to perfectly match your website style.
Best of all, this widget is completely free, making it easy to add credibility and trust to your site.
Step: 1 Create new testimonials
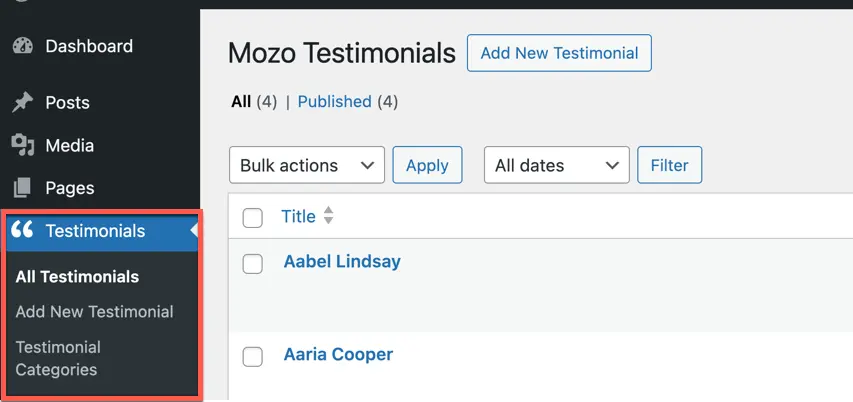
To display testimonials on your website, you first need to add them. Once you install the Block and Addons plugin, a Testimonials custom post type (CPT) will appear in your WordPress Dashboard. From here, you can create and manage your testimonials. The menu includes the following options:
- All Testimonials
- Add New
- Testimonial Categories
To create testimonials follow the below steps:
- Go to Testimonials → Add New Testimonial.
- On the next screen, you’ll see a text editor similar to posts and pages.
- Enter your testimonial title in the Add Title field.
- Add the review content in the main editor area.
- Create a category if needed by selecting Add New Testimonial Category under the Publish section.
- Scroll to the Testimonial Meta Fields section and fill in the required details.
- For the author’s image, upload using the Testimonial Author Image block.
- Once all details are filled in, click Publish.
Step 2: Create testimonial categories
Creating categories is optional, but it helps organize testimonials better. You can either add them while creating a testimonial (Step 1), or manage them separately:
- Go to Testimonials → Testimonial Categories.
- Under Add New Testimonial Category, fill in the required details such as:
- Name
- Slug
- Parent Testimonial Category (if applicable)
- Description
- Click Add New Testimonial Category.
To edit an existing category, simply click Edit under the category name, make your changes, and click Update.
Display testimonials using testimonial slider block
- To add the block:
- Click the “+” button to add a new block.
- Search for “Testimonial Slider” and select it.
- For detailed instructions on how to add blocks in Gutenberg, please refer to the official WordPress Block Editor documentation.
Configuration
Content options
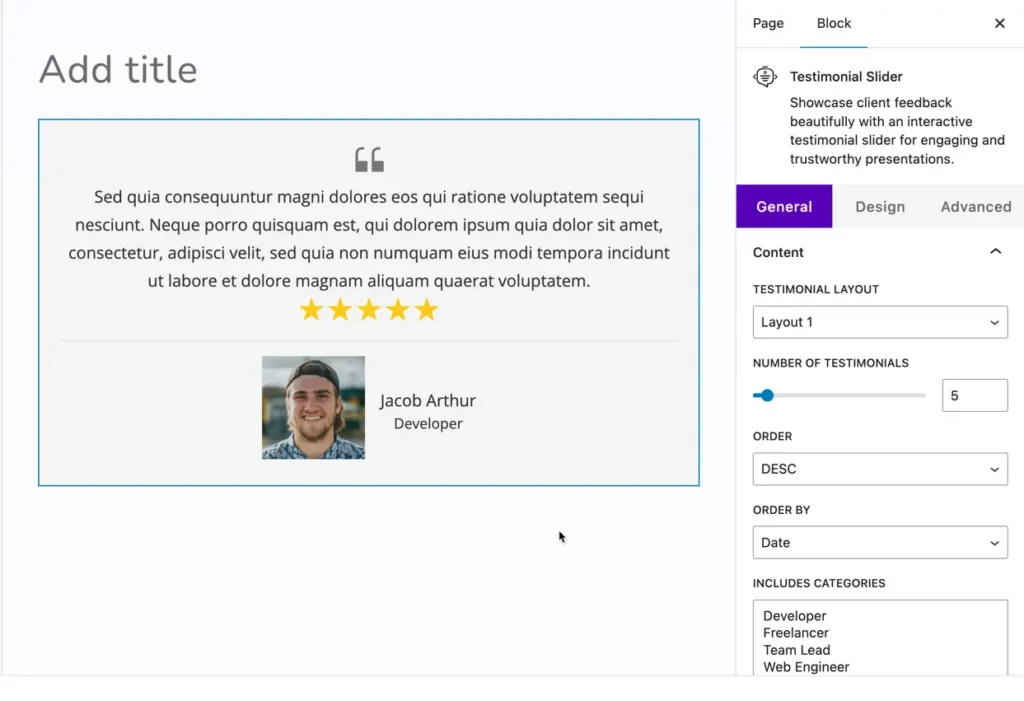
Under the Content Options, you can configure how your testimonials will be displayed:
- Testimonial Layout – Choose from 2 available layout styles.
- Number of Testimonials – Set how many testimonials you want to show.
- Order – Display testimonials in Ascending or Descending order.
- Order By – Select the parameter to order testimonials. Options are:
- Modified Date
- Title
- Slug
- ID
- Random
- None
- Include Categories – Display testimonials from specific categories only.
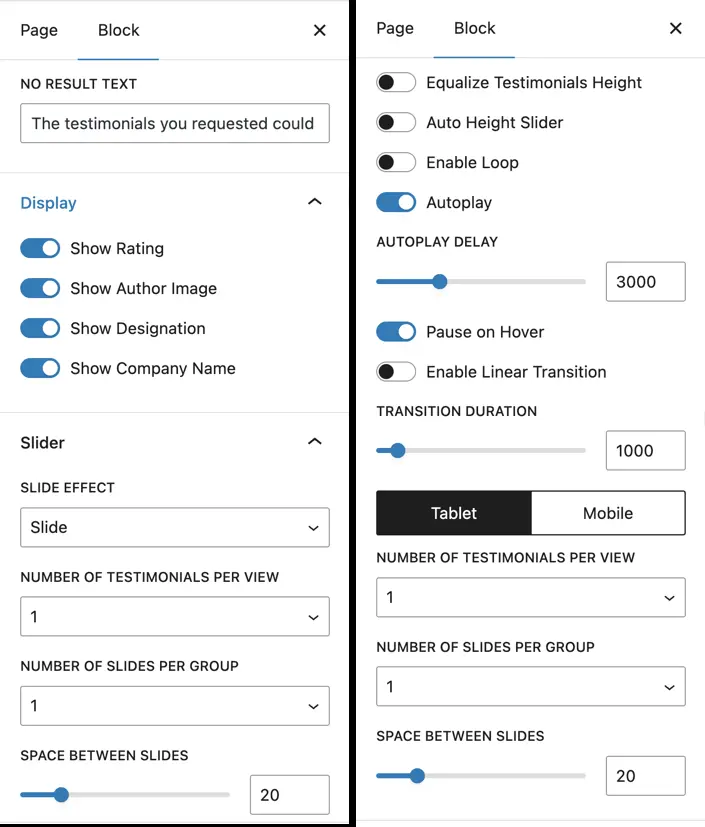
No Result Text – Enter custom text to display when no testimonials are found.
Display – Toggle to show or hide:
- Rating
- Author Image
- Designation
- Company Name
Slider settings
- Slide Effect – Choose from:
- Slide
- Cube
- Coverflow
- Flip
- Fade
- Number of Testimonials per View – Set how many testimonials appear at once.
- Number of Slides per Group – Define how many slides move at a time.
- Space Between Slides – Adjust spacing between each testimonial.
- Equalize Testimonials Height – Toggle to make all testimonials the same height.
- Auto Height Slider – Toggle to automatically adjust the slider height.
- Enable Loop – Toggle to loop the slider continuously.
- Autoplay – Toggle to enable automatic sliding.
- Autoplay Delay – Set delay (in ms) between slides when autoplay is enabled.
- Pause on Hover – Toggle to pause autoplay when the mouse hovers over the slider.
- Enable Linear Transition – Toggle to use a linear transition style.
- Transition Duration – Set the speed (in ms) of slide transitions.
Tablet and mobile settings
- Number of Testimonials per View – Adjust how many testimonials are shown per screen size.
- Number of Slides per Group – Control how many slides move at once on smaller devices.
- Space Between Slides – Customize spacing for tablets and mobiles.
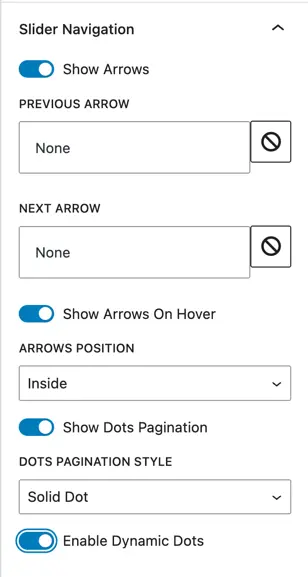
Slider navigation
Show Arrows – Toggle to display or hide navigation arrows.
- Previous Arrow – Customize the style of the previous arrow.
- Next Arrow – Customize the style of the next arrow.
- Show Arrows on Hover – Toggle to display arrows only when the user hovers over the slider.
- Arrow Position – Choose where arrows should appear:
- Inside
- Outside
- Top Left
- Top Right
- Top Center
- Bottom Left
- Bottom Right
- Bottom Center
Show Dots Pagination – Toggle to display pagination dots.
- Dots Pagination Style – Select from:
- Solid Dot
- Transparent Dot
- Stretched Dot
- Line
- Enable Dynamic Dots – Toggle to show a smaller preview of available pages with dynamic dots.
Design customization
In the Design tab, you can personalize the look and feel of the Testimonial Slider. The following styling options are available:
- Alignment – Adjust the overall alignment of testimonial content.
- Body – Customize typography, color, and spacing for the testimonial text.
- Author Image – Style the author’s photo with size, shape, and border settings. Add or modify the border around the author’s image.
- Author Name – Customize typography, font size, and color of the author’s name.
- Designation – Style the designation text (job title, role, etc.).
- Company Name – Adjust typography and color for the company name.
- Star Rating – Change the appearance of star ratings, including color and size.
- Quote Icon – Style the testimonial’s quote icon.
- Slider – Control the look of the slider, including arrows and pagination dots.
- Testimonial – Apply global styles to the testimonial box (background, padding, borders).
- Slider Container – Customize the container that holds the slider (spacing, background, borders).