With WooCommerce, running and managing an online store becomes effortless and full of possibilities. You can add different types of products with no limit. Whether they’re physical or downloadables, WooCommerce sets your store right for any legal online business endeavor.
And it’s not only limited to the store owners, but the customers who’d arrive at the site will also find it interesting to explore the products, add them to the cart, and make the purchase on checkout.
Even after they have made the purchase, WooCommerce emails make it easy for them to know what they’ve purchased, how much they’ve spent, and whether the order was completed or not.
WooCommerce emails also notify you – the store owner – whether you’ve received an order or not without even opening the WooCommerce order window.
Awesome, right?
And if you’re looking to configure your WooCommerce order email notifications, this tutorial will guide you to make that happen effortlessly. The only thing remaining is that, are you ready?
If yes, then let’s get started!
What are WooCommerce Emails?
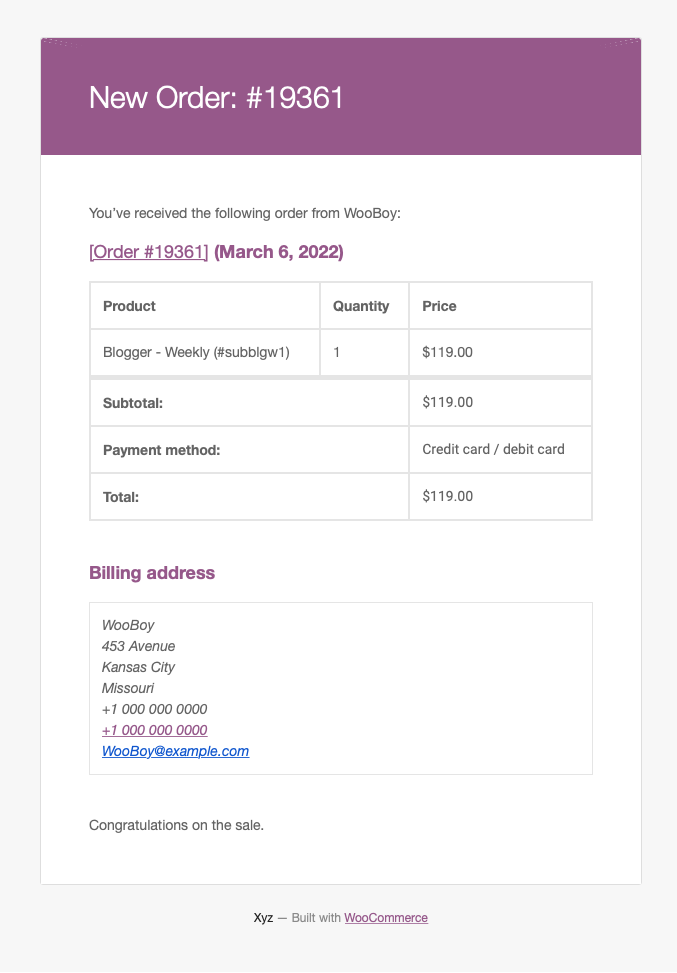
WooCommerce emails are those emails that you and your customers receive when an order has been made. However, the initial email you get is that an order has been placed, like the following screenshot.
Whereas the customer receives an email that notifies them that their order has been taken and it’s now being processed. You can take an idea by the following,
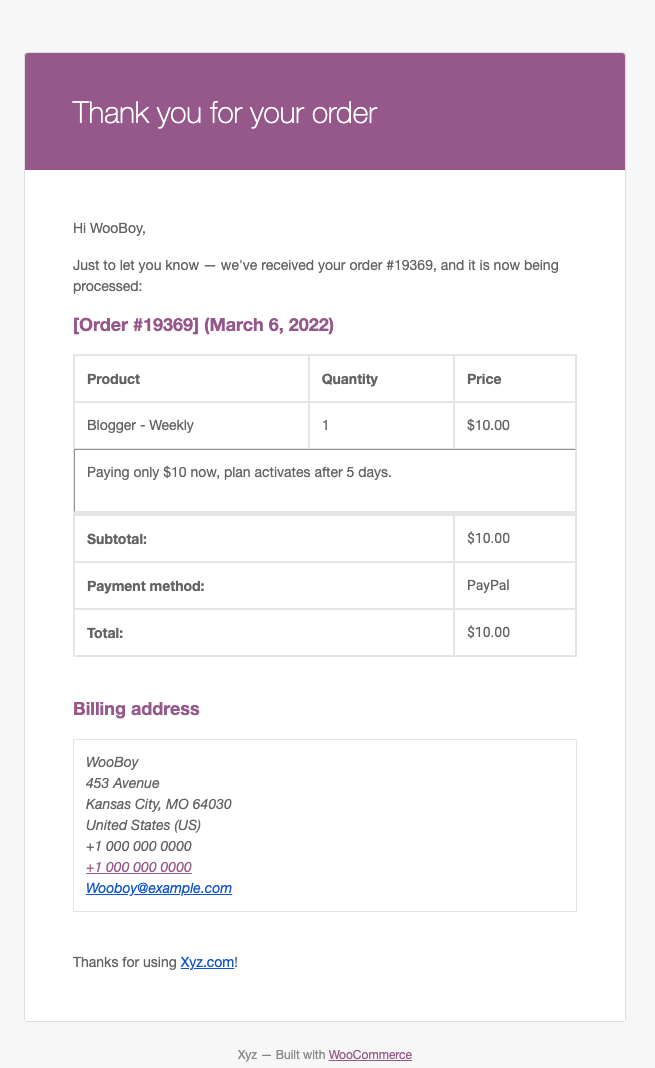
These emails sent to you and your customers are automatic and use your store’s administrator email. Yes, you can change that, which we’ll look at later in this tutorial. In this way, it becomes seamless for both you and your customers to have real-time information about the orders.
You don’t have to manually compose the email and then send it to your customers. For one and two, it’s possible and not even tiring. But, when you’re receiving hundreds of orders each day, things become somewhat impossible.
And there, the auto-generated WooCommerce comes in place. Further, WooCommerce comprises different order notification emails sent upon an order’s status change.
Let’s have a look at how many there are.
Types of WooCommerce Order Confirmation Email
WooCommerce consists of 11 email types, of which 3 are sent to the owner and the remaining to the customer. The email types are as follows,
- New order – This email type is sent to the owner when a new order is received. You can decide the owner’s email.
- Cancelled order – It’s also delivered to the store owner.
- Failed order – When a particular order fails, WooCommerce sends this email to the owner.
- Order on-hold – This type of WooCommerce email customer receives when the store owner puts an order on hold.
- Processing order – It’s the first WooCommerce email customer receives after making a purchase.
- Completed order – Once you set order status to complete, WooCommerce will send this email.
- Refunded order – If the customer has requested a refund, and you processed it, they will receive this email.
- Customer invoice / Order details – This WooCommerce email the customer receives when you manually send it through the order window.
- Customer note – If you’ve added a note to the order, the customer will receive this email.
- Reset password – When customers try to reset their password, they receive this email.
- New account – Upon making an order, the customer gets this email to access their my account page.
So, these are the email types WooCommerce includes and sends to the respective recipients when there’s an order and change in its status. Now, let’s see how we can set the WooCommerce email configuration.
How to Configure WooCommerce Emails Right?
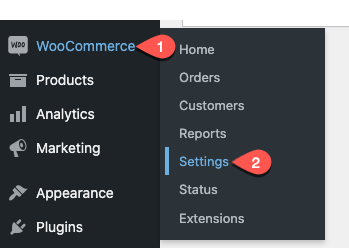
For WooCommerce email configuration, you need to go to WooCommerce → Settings.
Then, at the WooCommerce Settings window, click on Emails. And you’ll see the following window with email types and additional options.
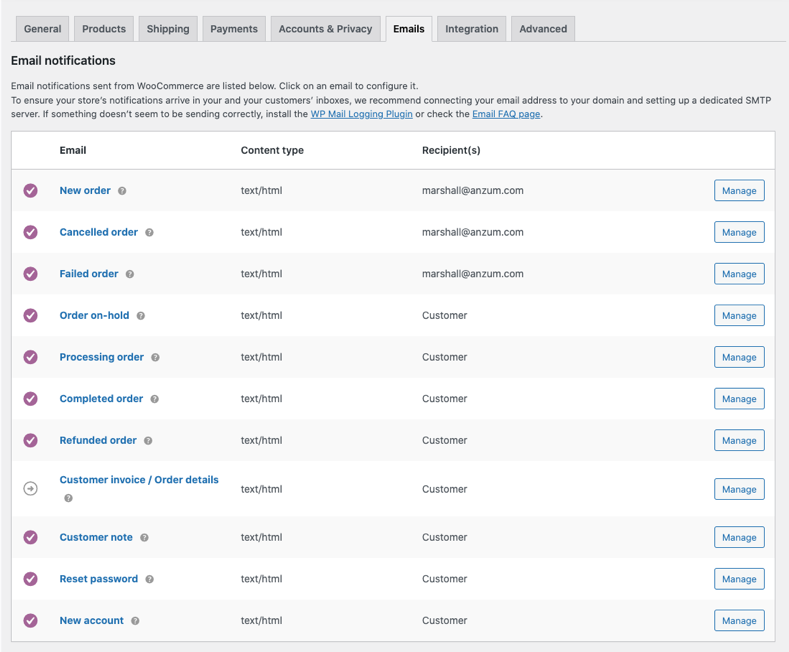
All of the email types are listed, and by clicking the Manage button, you can customize them further. However, before you do that, first scroll down and apply some configurations to the email template and sender.

The options available enable you to change the email sender’s name and address. By default, these are set per your store’s name and its administrator’s email. So, if you want to change that, then these are the options you need to utilize.
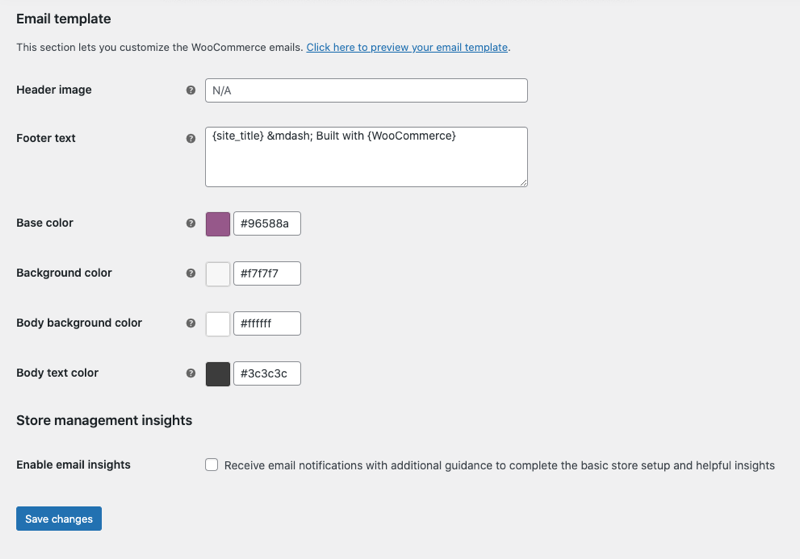
Further moving down, you get the option to change email style. For example, you can add an image at the header, change the email footer text, and apply different colors for the email template’s base, background, body, and text.
The same section allows you to enable email insights which you can do by checking the Enable email insights checkbox.
Once you’re satisfied with your WooCommerce email configurations, click Save Changes. With these configurations, you could have an email template like the following screenshot.
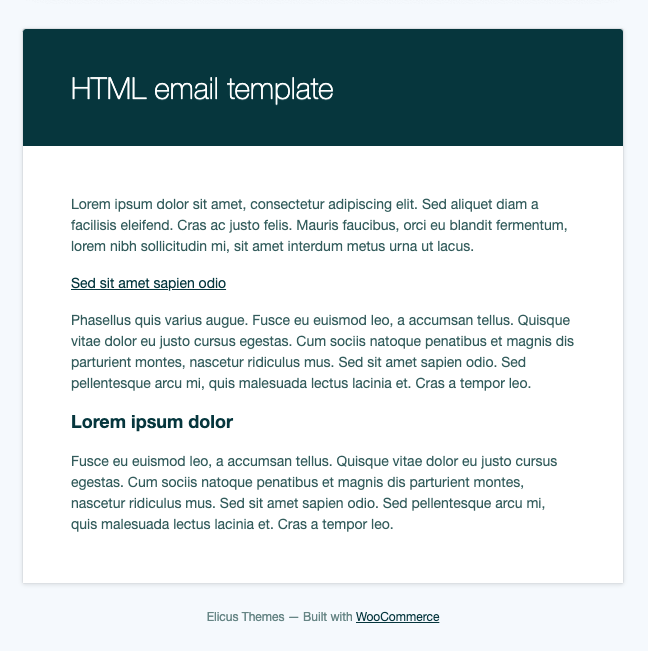
You can also view the changes right from the Emails Settings page by clicking the Click here to preview your email template link.
Nevertheless, we haven’t made any configurations to our WooCommerce emails; therefore, let’s see what we find when we click the Manage button.
Managing WooCommerce Emails Configurations
When you click on the Manage button for a particular email, the following page gets open.
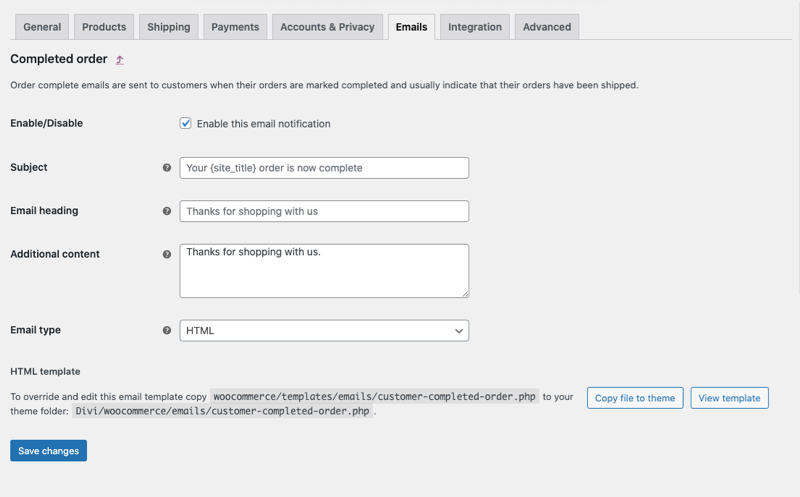
Here, you can make the email enable or disable it. Change email’s subject, heading, and additional content. Further, you can choose to send the email with email type as HTML, Plain Text, and Multipart.
For this tutorial, I’ve opened the Completed order email; therefore, you’d find different fields when you open another WooCommerce email for configuration. Once you’ve made changes to the email, you can click Save Changes.
With these, you’ll send emails with what WooCommerce allows by default. However, if you want to make changes more than that, you would have to either change the template file or use a plugin.
Changing a template could be a tedious task if you’re not a developer. So, going with plugins would allow you to apply changes easily and effectively. Therefore, you can utilize the following plugins if you like.
Plugins to Use to Improve WooCommerce Emails
1. WP Mail Logging

Using WP Mail Logging, you can ensure that WooCommerce emails are delivered to the store owner and customers at the right time. It’s a WooCommerce recommended plugin that you should keep installed to keep track of all of your WooCommerce emails.
It’s a free plugin; thus, you don’t have to spend anything to keep your email workflow in function.
Moreover, it also does not require any email configurations. Simply install and activate, and all of your emails will work fine.
2. WooCommerce Email Customizer
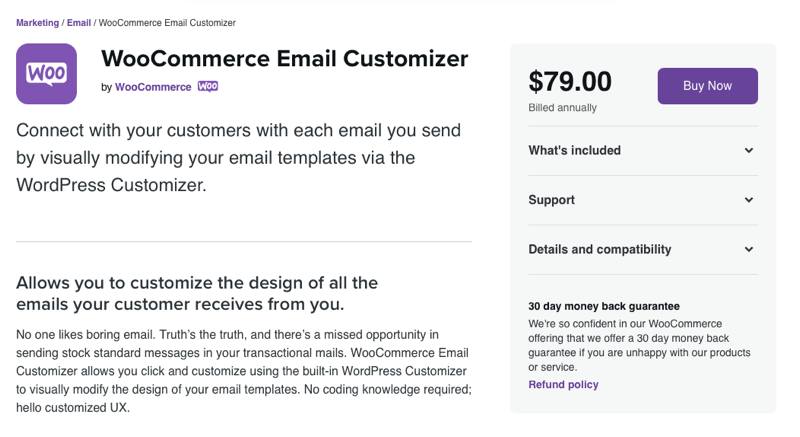
If you liked the WooCommerce email configuration settings, you’d also love to use the WooCommerce Email Customizer plugin that allows you to tweak email templates using WordPress customizer.
Using this plugin, you can change the template’s look and view the customizations right at the moment. Thus, it makes it easy to apply changes and keep them that way.
3. YayMail
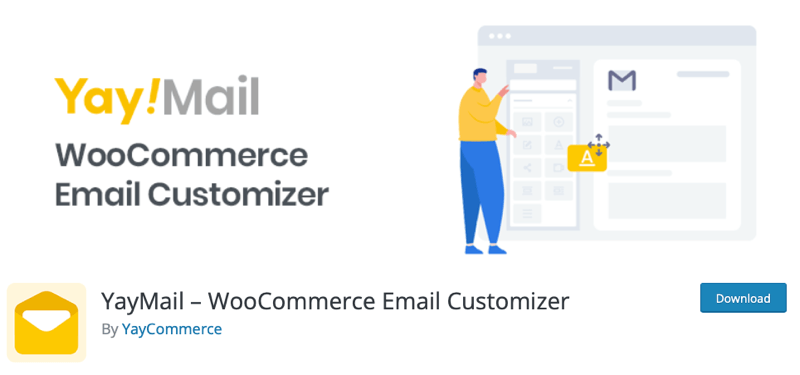
If you’re not a fan of the WordPress customizer, then YayMail will set your email templates right. It’s a free email template builder for WooCommerce that you can use to style your email templates using drag and drop elements.
Conclusion
So, that’s our take on WooCommerce email configurations. We hope that this tutorial helped you understand how you can set up your WooCommerce emails. Plus, apply different styles to the email templates with or without using a plugin.
When you set up your WooCommerce store, follow these steps carefully. And according to your requirements apply changes. Otherwise, you might end up with an online store that doesn’t send emails to both you and your customers.
That’s it; have an amazing online business!

0 Comments