
Looking for how to add products in WooCommerce? Well, you’ve opened the correct page because this tutorial is all about WooCommerce products and how easy it is to bring them to your online store.
But before we look at the steps to add products, let’s take a look at what WooCommerce products are and how they can help you generate a significant amount of revenue regardless of what you’re aiming to sell.
Only if it’s legal. 😇
WooCommerce Products Overview
Every online store has products, and likewise, when you create a WooCommerce powered store, you get the option to add your products. And by default, they look like the following screenshot.
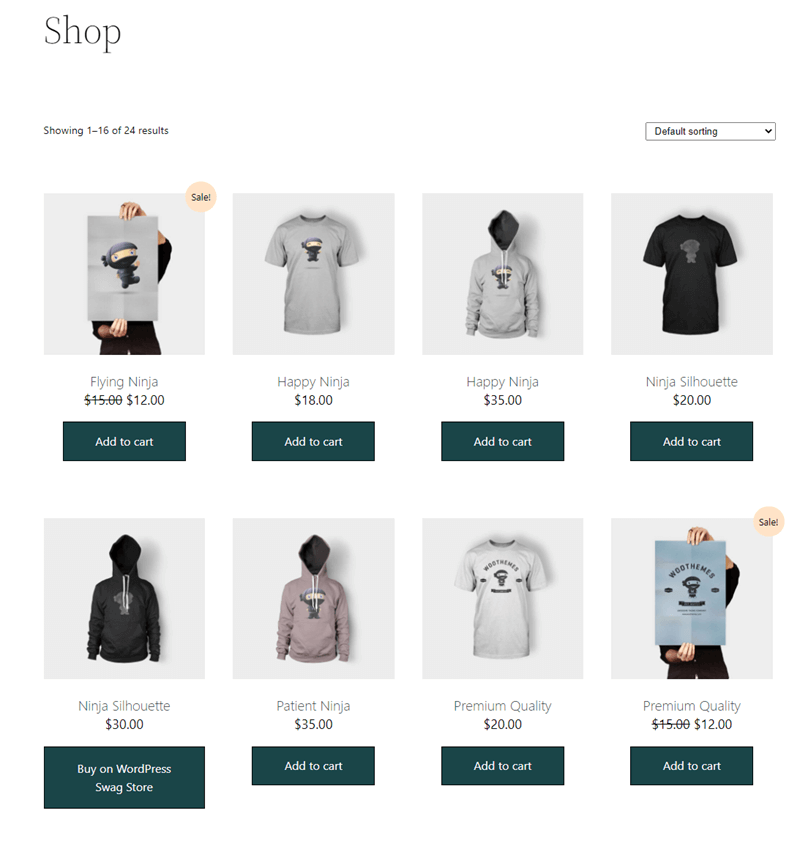
The above image showcases store products on the shop page, and for the individual product page, this is how WooCommerce presents them.
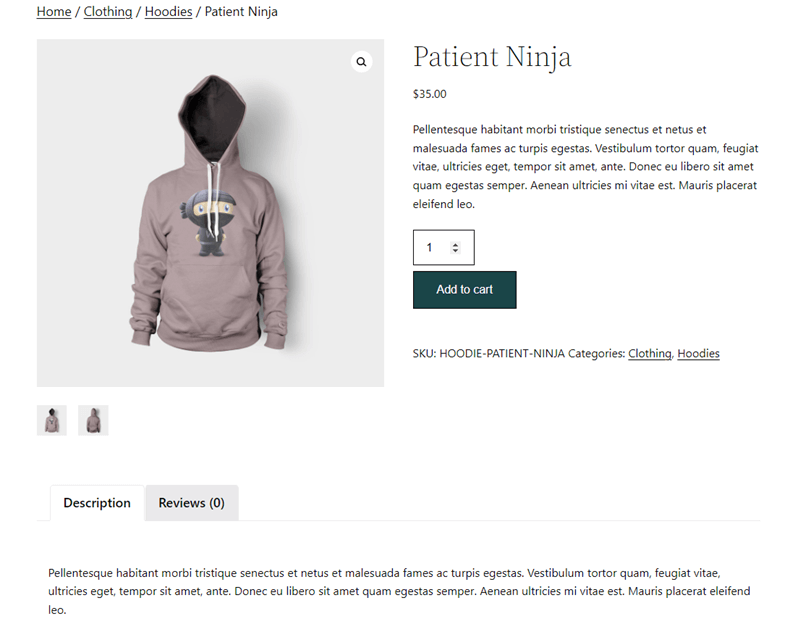
In addition to the shop page and store items, WooCommerce also does the same job for the store’s taxonomies and tags pages, just like the following example.
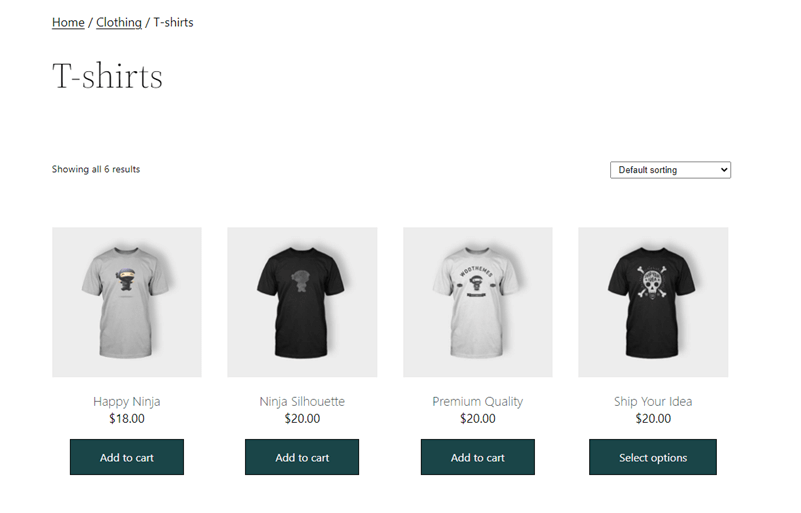
I’ve enabled the latest WordPress theme, Twenty Twenty-Two; based on your theme selection, you’d find some differences in your store’s products. Now, what’s interesting about WooCommerce is that it allows you to add store items of a different kind.
Yes, you can manage different inventory items and allow customers to make the purchase per their requirements. Let’s see how many options WooCommerce got when it comes to building inventory.
WooCommerce Product Types
By default, WooCommerce allows you to add store items of 6 different types, and if you use extensions, it could go to 7 or more. It’s creating an online shopping mall or grocery store with all of the customers’ needs.

The default types are –
- Simple – These types of store items mainly include physical products and can be delivered through couriers like clothes, books, laptops, etc. They require shipping details and might charge customers a shipping fee if you’ve enabled shipping charges.
- Grouped – These store items contain a collection of simple products, for example, different/similar T-shirts in a single grouped product. When customers purchase this, they’ll get 6 pieces.
- Virtual – If your store item is more of a service, then it’s a virtual product. Customers won’t see shipping fields at the checkout page, and you can’t charge shipping rates. To customize the checkout fieds easily, you can also use the Checkout Manager for WooCommerce Plugin.
- Downloadable – After making a purchase, if you’re providing your customers digital products like Software, License Key, PDF files, and other downloadable files, those are Downloadable products.
- External or Affiliate – When customers try to purchase the listed item and get redirected to another website, they’re External Products.
- Variable – A simple, Virtual, or Downloadable product but with variations. For example, Microsoft Windows with different versions available.
- Other Product Types – These products WooCommerce allow through plugins or extensions such as Auction, Bookings, Bundler, Subscription, and more.
So, these are the product types. Now, let’s see how we can add them in our WooCommerce store.
How to Add Products In WooCommerce Store
The following are the default steps that allow you to add product(s) in WooCommerce. We’re not going to use any plugin or extension whatsoever. So, you could easily and without spending any amount get your online store ready to sell.
Step 1 – Add Product, Set Title & Description
To add a new product, you have to go to the Products → Add New on your WordPress Dashboard sidebar.
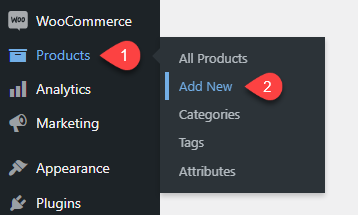
This will open the product editor like the following where you can add details about it.
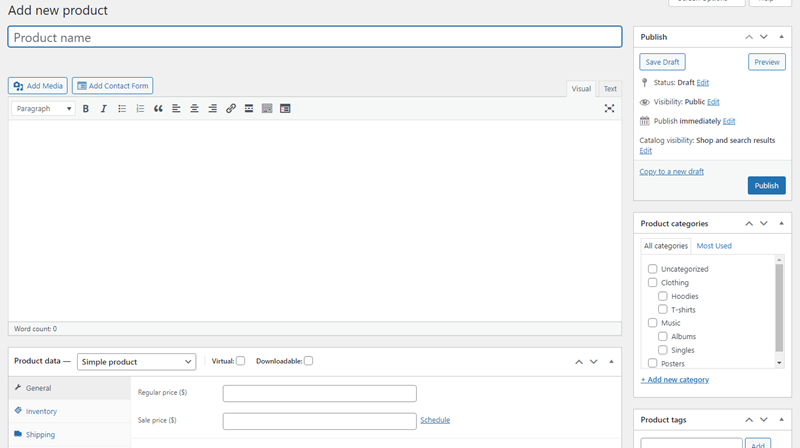
The first options it provides you with are the product name and its long description. Simply put your information there and then move to the next step, where we’ll adjust the Product’s data.
Step 2 – Customize Product Data
Under the Product Data section, you get options to select your product type. And upon selection, WooCommerce provides you with further different options to set your store items right.
You can select your product type by simply clicking the dropdown menu near the Product Data — heading.
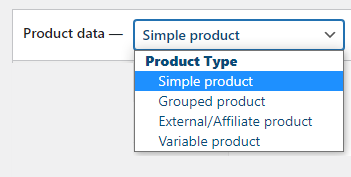
You’ll find the products as,
- Simple product
- Grouped product
- External/Affiliate product
- Variable product
For Downloadable and Virtual products, you need to keep the Simple product active and then choose your type.

Let’s have a closer look at WooCommerce Products.
Simple
As you can see, the first product type WooCommerce has by default is Simple product and with that, you get the following options,

General – It allows you to set an item’s Regular and Sale price. You could also schedule the Sale price if you like.
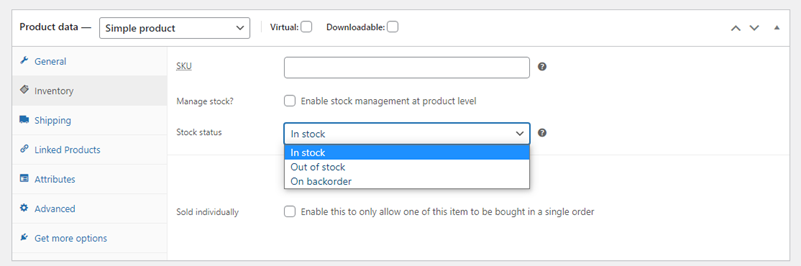
Inventory – In this tab, you can define the product’s SKU. Enable stock management, change stock status to In stock, Out of stock, and On backorder. With this, if you want to sell only a single quantity of the product, you can tick the Sold individually checkbox.
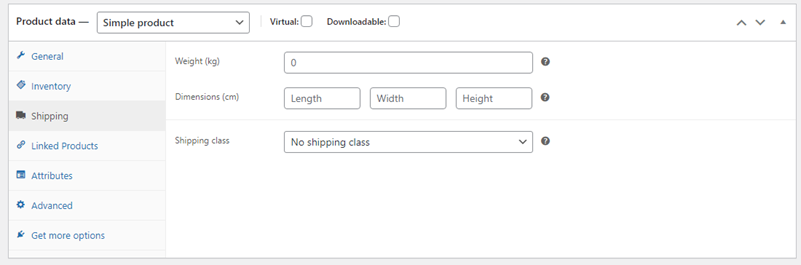
Shipping – In this particular tab of the Simple product, you can set the product’s Weight, Dimensions, and Shipping class that lets you define shipping fees based on the shipping zone you’ve created in the Shipping settings of WooCommerce.
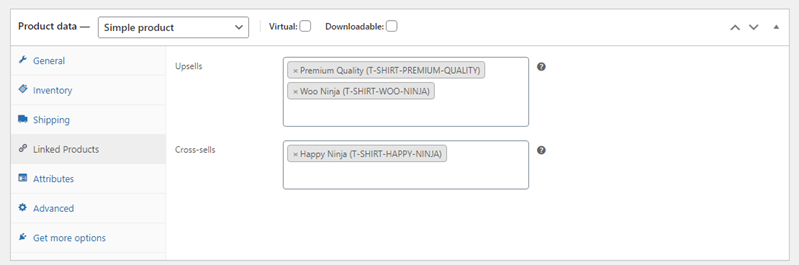
Linked Products – Here, you can select other products you want to display as Upsells and Cross-sells. The products you’ll choose in the Upsells will appear on the product’s page. Whereas, Cross-sells products on the cart page.

Attributes – Here, you can create a variation for the simple product, like a T-shirt available in different colors and sizes. However, for attributes to appear, you need first to create WooCommerce product’s attributes from Attributes settings.
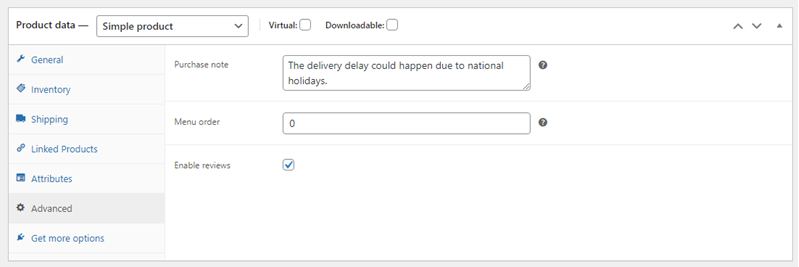
Advanced – Using the Advanced tab, you can add purchase notes, menu orders, and apply reviews for the product.
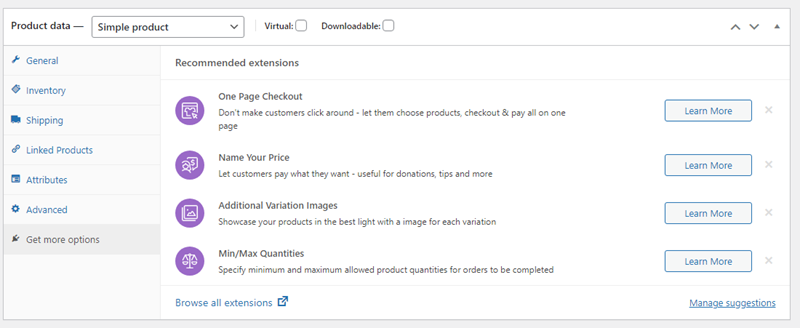
Get more options – In this particular tab, you can find more extension options to improve your product’s data.
These were the options of the Simple product type; let’s quickly look at other product types as well.
Grouped
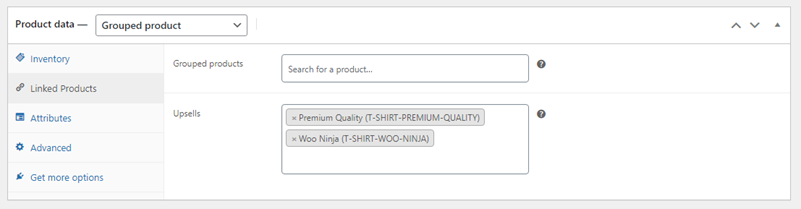
For Grouped product type, you don’t get General and Shipping options. Instead, it includes Inventory, Linked Products, Attributes, Advanced, and Get more options. Except for Linked Products, all other tabs have similar options like the Simple product.
The Linked Product allows you to define the items you want to group and present as single.
External/Affiliate
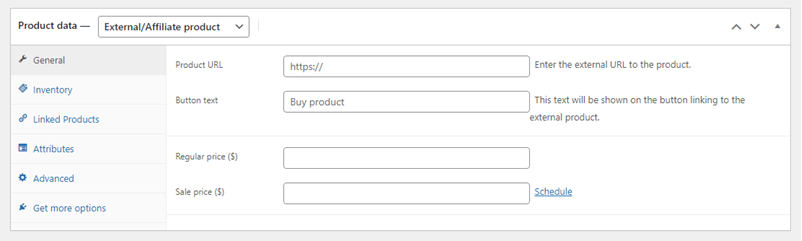
The External/Affiliate product type doesn’t include the shipping tab. And its General tab allows you to set external product’s URL and custom text for the Buy button. Besides, other settings include identical options as Simple product.
Variable

The Variable product data section doesn’t include the General tab; however it consists a new setting – Variations. Here, you can choose what variation you want in the product.
But for the variations to work, first, you need to create variations in the Attributes tab.
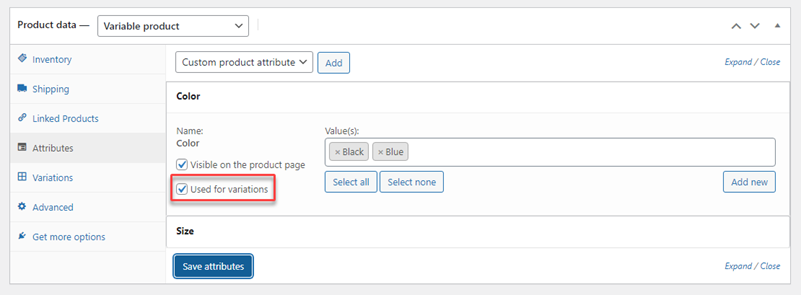
All you need to do is select Used for variations in the Attributes tab to create variations. And then, you’ll have your variation’s options in the Variations tab like the following when you choose the required options.

That’s the manual approach to creating variations. And if you want WooCommerce to do that automatically, you can select the Create variations from all attributes in the Variations tab.
Virtual
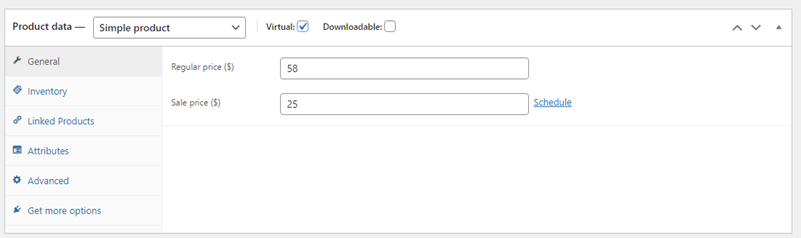
For the Virtual product, WooCommerce removes the Shipping tab, keeping other simple product settings.
Downloadable
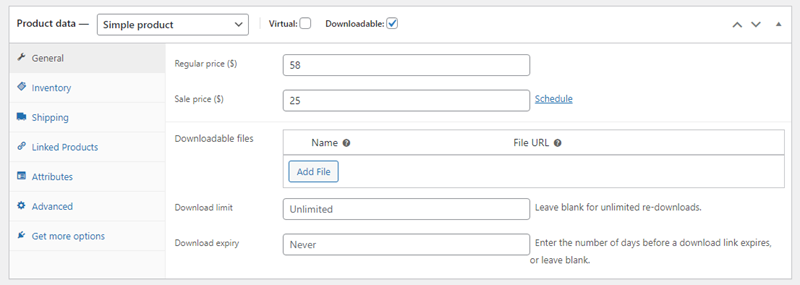
When you select the Downloadable product type, WooCommerce provides additional fields. Using those fields, you can Upload the file set download limits and expiration date for the downloads.
You can also use WPMozo Variation Swatches to deploy product variations on your WooCommerce store.
Now, as we have explored the product types and their options in the data section, let’s move forward to add the product.
Step 3 – Set Product Description
After selecting the product, the next section you get is the Product short description.
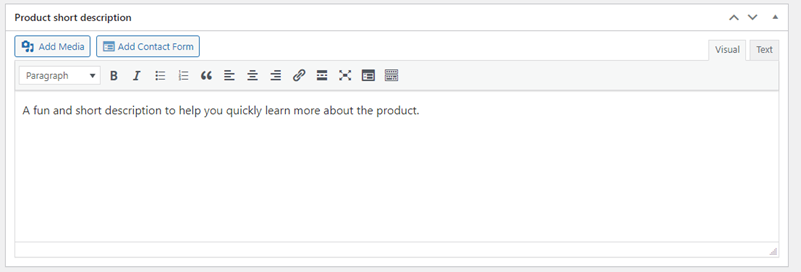
You can use this particular area to a para or two about your product which appears right after the Product name and price. Customers can quickly learn more about the product; rather than, jumping into the long description.
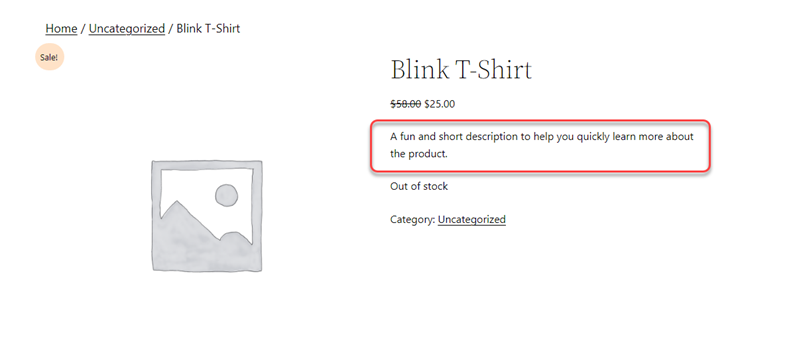
This is how the short description looks like on the product’s individual page.
Step 4 – Assign Product Category, Tags, and Image
After adding a short description, the subsequent options you’ve got for your product are the Category, Tags, Product Image, and Product Gallery.
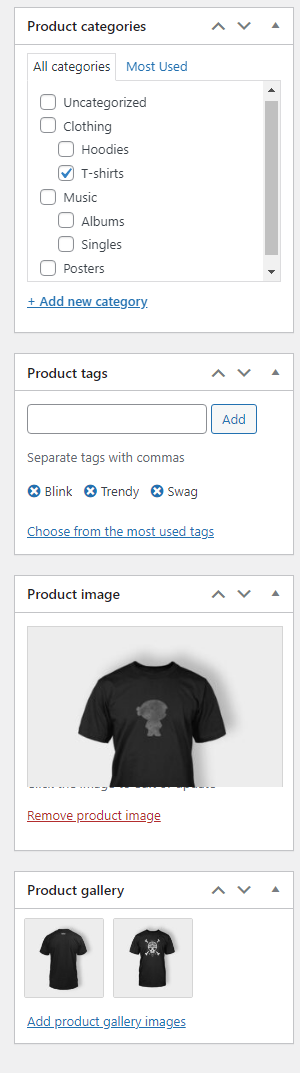
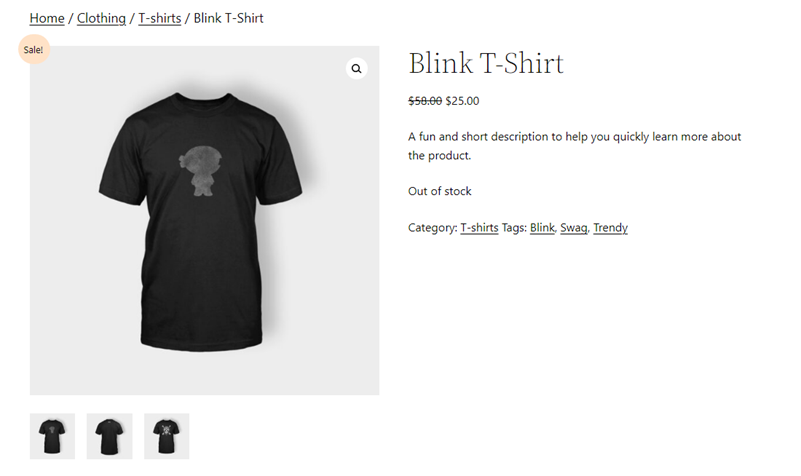
Apply customizations per you requirements. If you haven’t created a category before, you could do that right at moment by clicking +Add new category. And once you’re done with your product looks, this how the product will appear.
Step 5 – Publish the Product
After applying all the customizations, click Publish to make your product live. Once it’s publish; you can view it and other products by going to the Products → All Products.
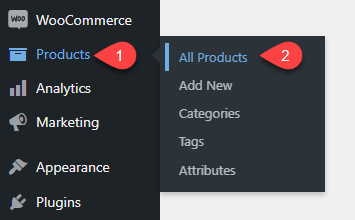
And you’ll find all of your WooCommerce like the followings.
Add Products Using CSV File (Import & Export Function)
In addition to the above method, there’s one more way to add products in WooCommerce.
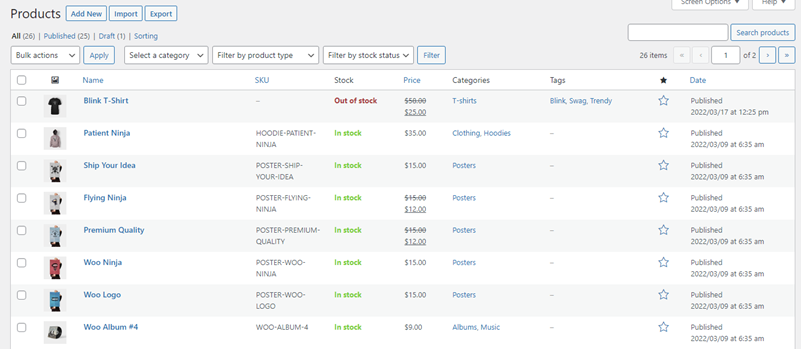
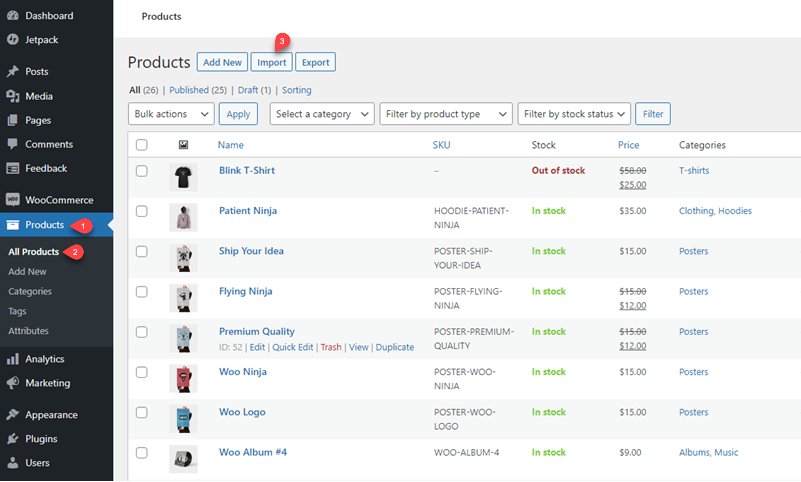
And it can be done by uploading a CSV file consisting of products’ data. For example, Product Name, SKU, Price, Type and more. Once you’ve got your file ready, go to Products → All Products → Import.
A new window will appear asking you to upload the file.

Once uploaded the file, click Continue and complete the process. Upon completion of the process, you’ll have your products added to the site through importing.
You can also add products from one website to another by exporting existing products data. Go to Products → All Products → click Export.
Once the file has been downloaded, follow the same step we discussed to import products.
Facilitate the customers by allowing them to save their favorite items for a later purchase using WPMozo Wishlist for WooCommerce plugin.
Conclusion
Adding products to WooCommerce isn’t complex, as we saw by following the steps. All you need to do is follow the settings one by one, and you’ll have your product added to the store in no time.
We hope this tutorial helped you learn how you can add products to your WooCommerce store. Plus, you also understood the types and other essential parts of the products in WooCommerce like Import and Export.
That’s it; have an amazing business adventure.


0 Comments