The Elementor masonry gallery is another crucial module that you use to enhance the visual appeal of your website using images and photos. This Elementor masonry gallery widget in WPMozo Gallery for Elementor is another useful tool that empowers you to exhibit all your images in a stunning way. Now you can express more through your images instead of pushing annoying lengthy content in paragraphs.
In this post, we will try to explore some of the major settings, options and configurations offered in the WPMozo Masonry Gallery for Elementor to take the gallery appearance of your website to the next level.
What is WPMozo Masonry Gallery for Elementor?
With the help of Masonry Gallery plugin by WPMozo, you can build a gallery in Elementor with masonry styling to showcase all your images in a very exquisite way. You can use the advanced customization and settings offered in this Elementor masonry gallery to personalize things as per your needs. If your are looking for a Masonry Gallery for WordPress and Elementor with all these customization and styling options, then it can be a perfect choice for you.
What features does it offers?
This WPMozo Masonry Gallery widget comes packed with a wide range of features.
- Show an unlimited number of images in the masonry gallery
- Exhibit images in multiple columns
- Easy options to display and place titles and captions
- Interactive lightbox and overlay effects
- Custom styling for every element
Let’s start things by adding Masonry Gallery to our Elementor builder.
Steps to Create Masonry Gallery
First of all let’s add a Masonry Gallery to our Elementor builder.
1. Add Masonry Gallery in Elementor Builder
You can easily add the Masonry Gallery in your Elementor builder by dragging the widget to the builder area.
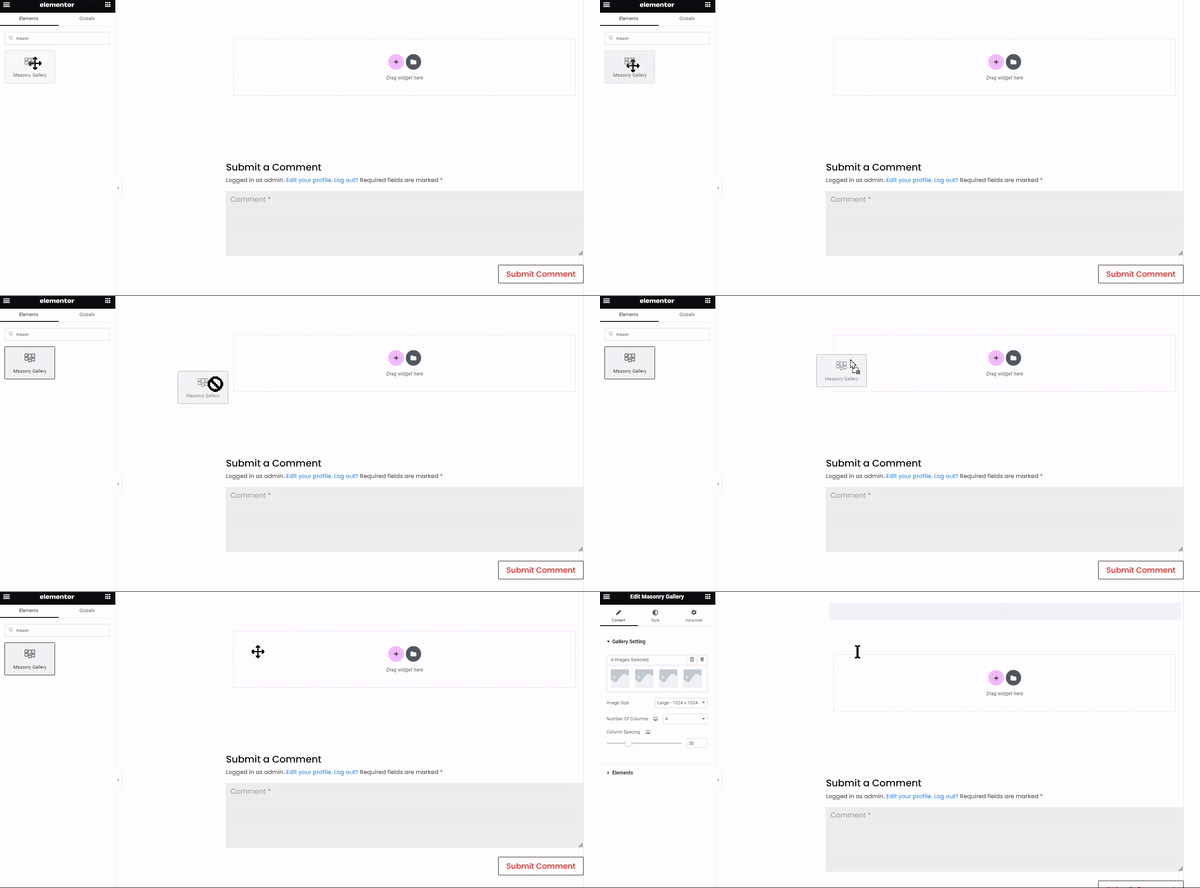
2. Add your images to the Masonry Gallery
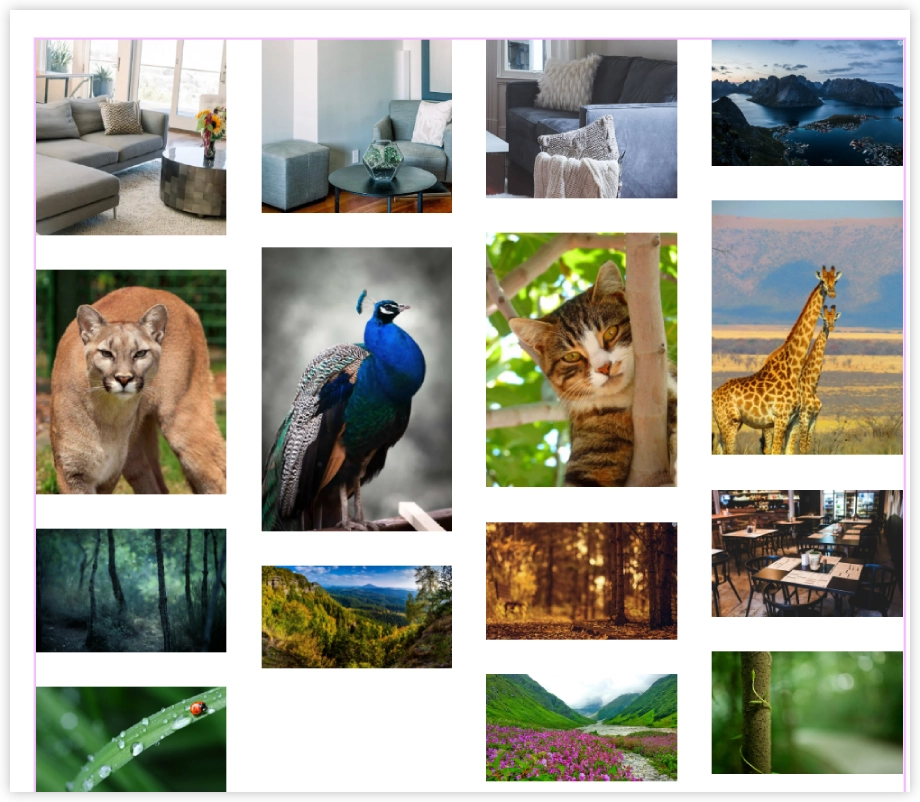
Now the Masonry Gallery block is added to the builder but the gallery is still not appearing. This is because right now there are no images in the gallery. The next step is to add some stunning images to your gallery. You can easily add your favorite images through the edit icon in the Elementor dashboard.
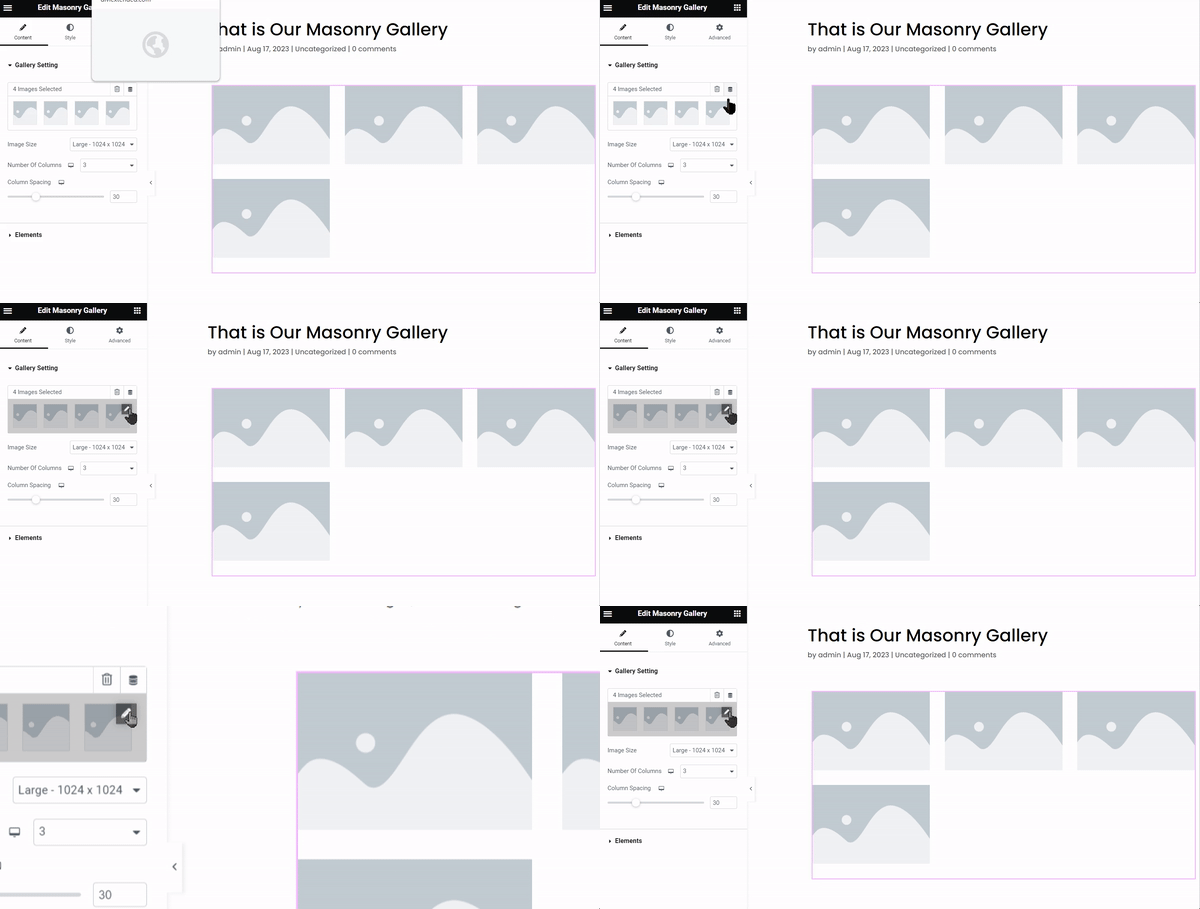
You can select multiple images at once from the media section of your WordPress website. After adding the images your Masonry Gallery will look like this.
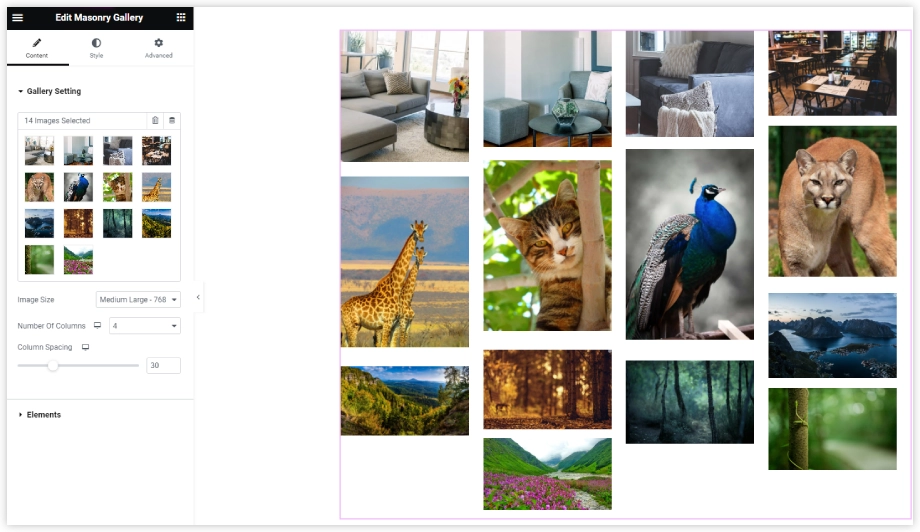
3. Customizing the basic structure
The basic settings of the Masonry Gallery will immediately appear after you drop the gallery on the design area of the builder. The content section holds all the core settings required to change the structure of the Masonry Gallery.
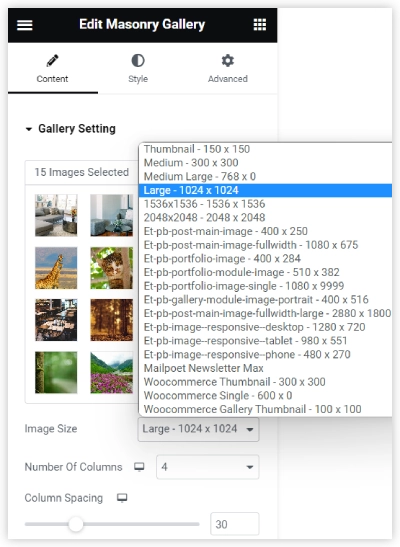
Select Number of Columns and Image Size
Easily Customize the column layout by selecting the required number of columns. Selecting the number of columns is completely dependent on your website structure and requirements.
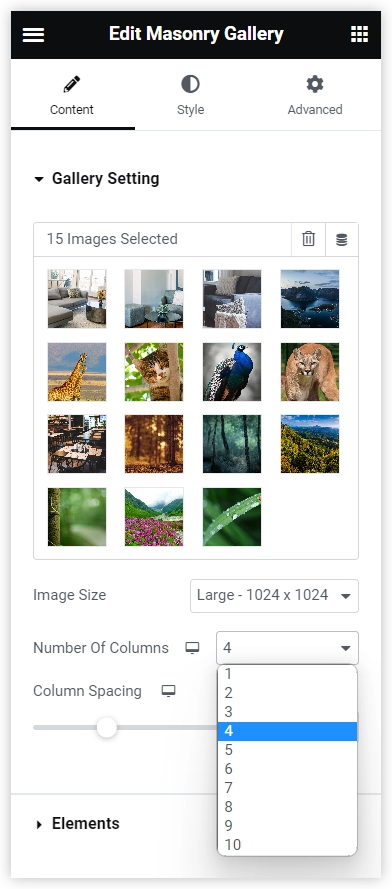
Choose the suitable image size as per your needs. We recommend you to choose the optimal size based on the design structure and needs of your website.
Adjust the column spacing to give your gallery the perfect desired look with a clean and tidy design.
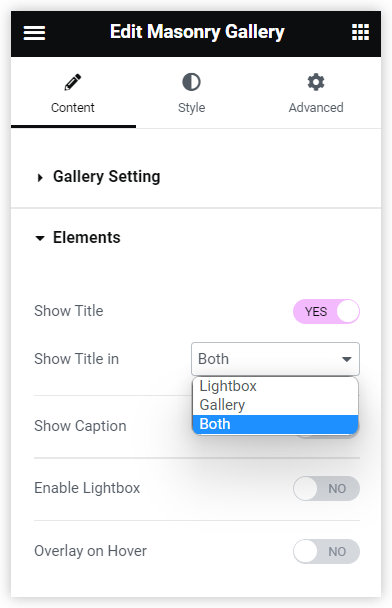
Show Title and Caption
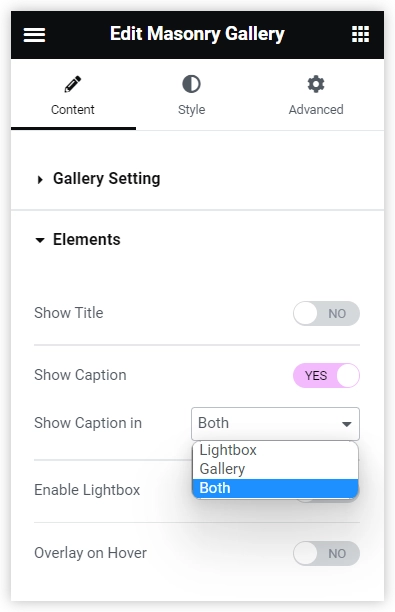
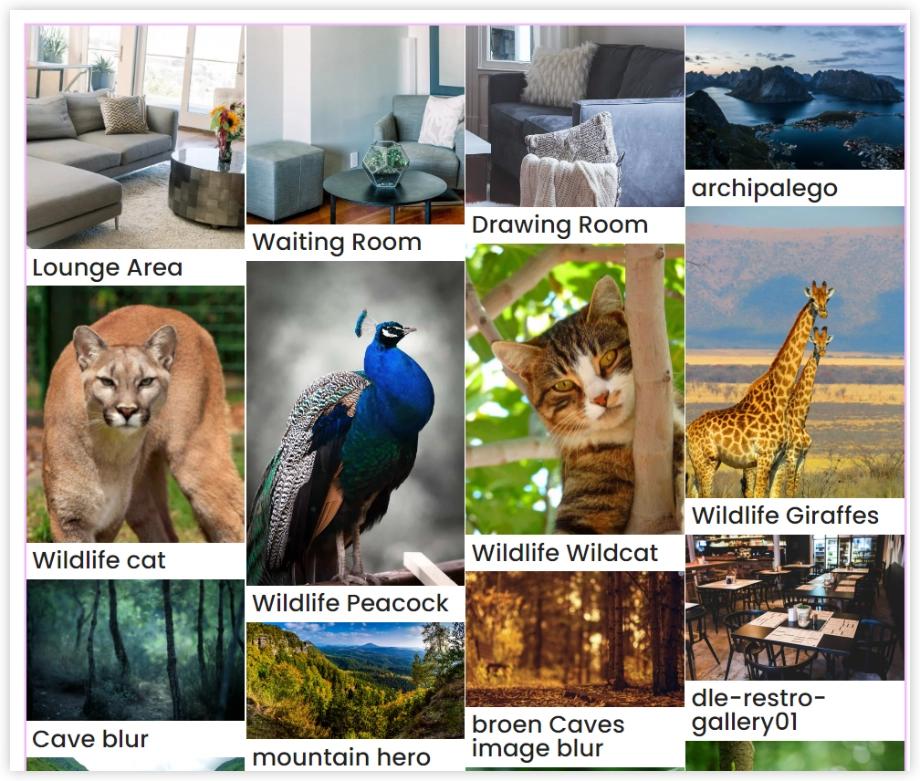
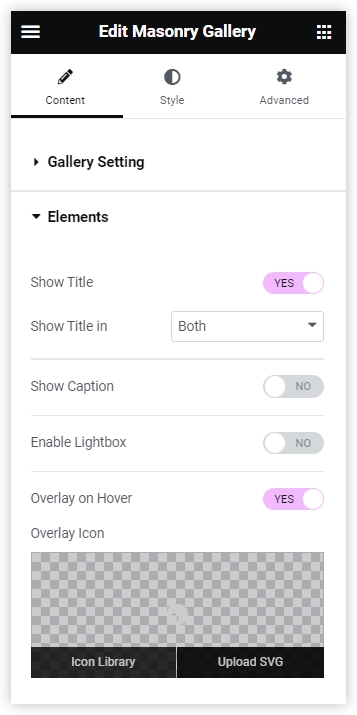
Show the Title and Caption with the images in the Masonry Gallery to add bits of information which is useful for the viewers. The interesting thing about the Masonry Gallery is that you can choose where to display the title and captions. You can show them in the gallery or on the lightbox or both.
Enable Lightbox
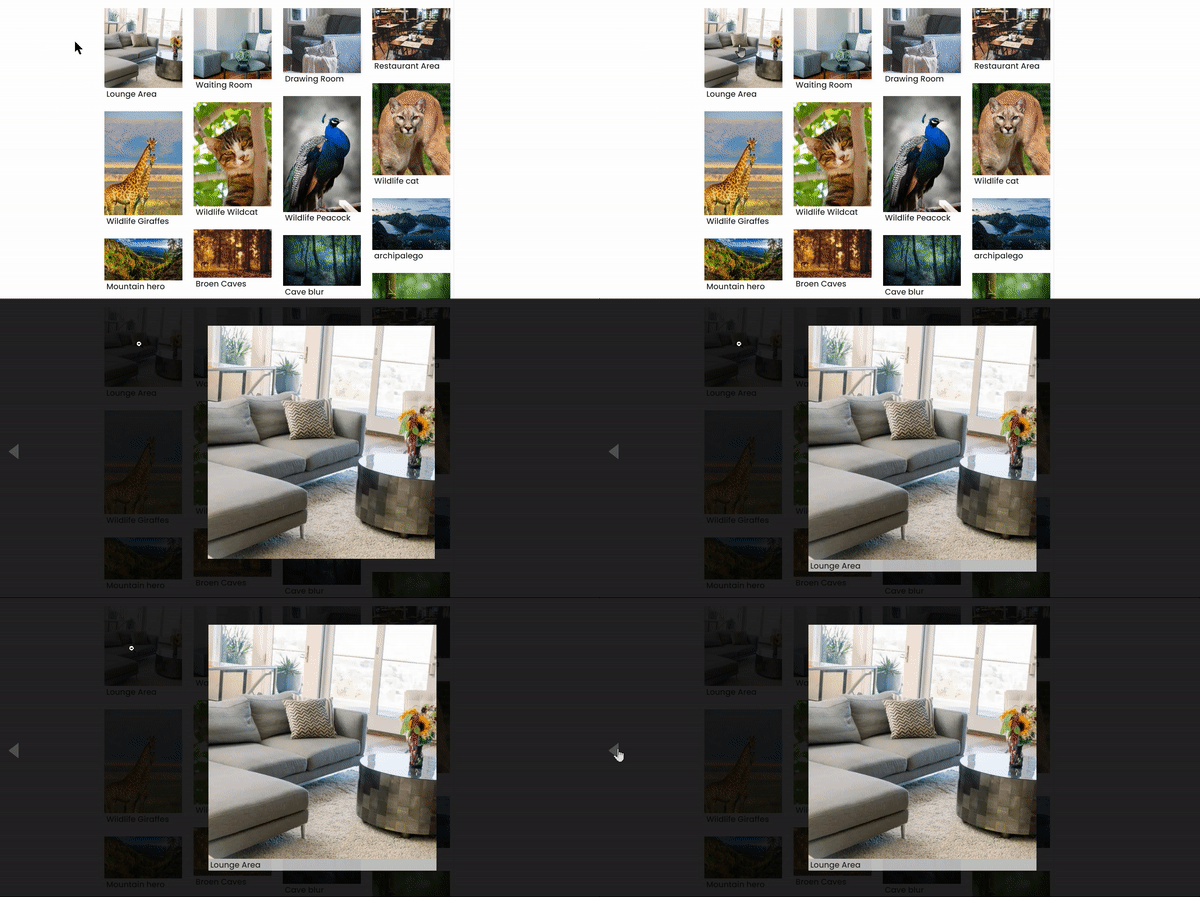
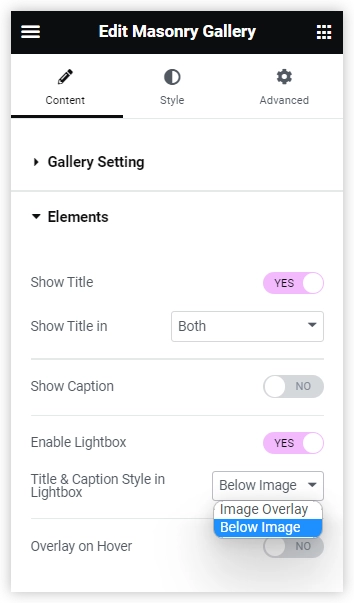
You can enable the lightbox with a single click. There are options to select the title and caption placement in the lightbox as well. These configurations completely depend on the requirements of your gallery. Moreover, convenient arrow icons are available to switch between the next or previous images in the lightbox.
Add Overlay Effects
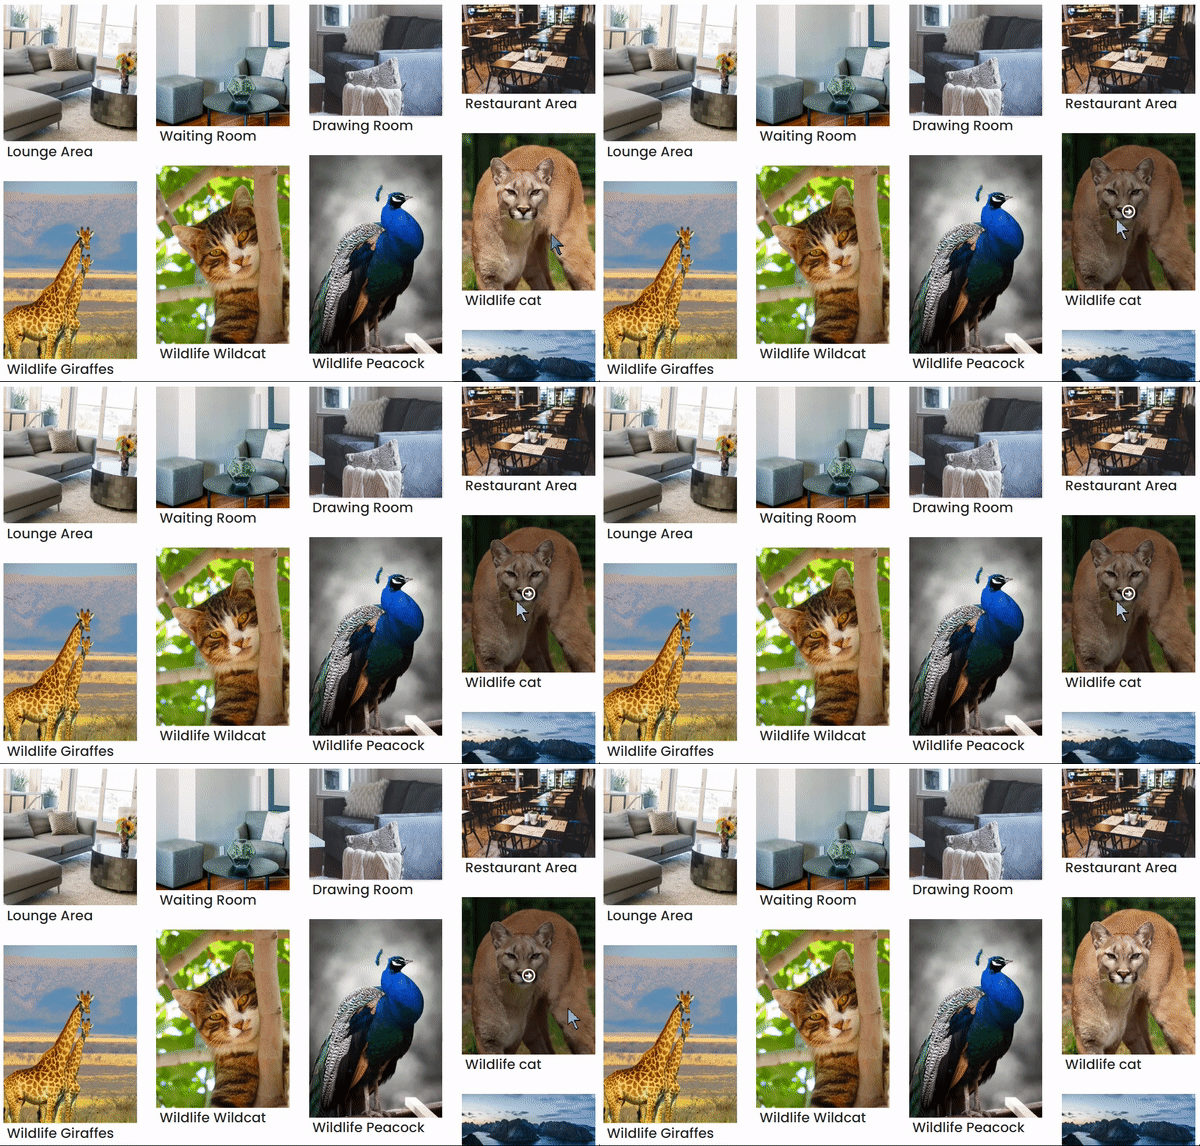
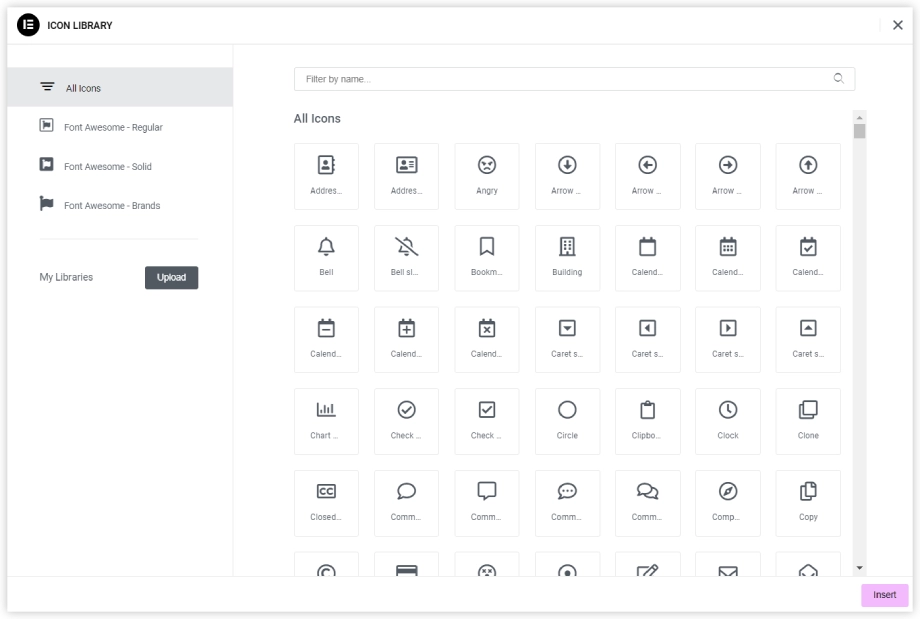
You can apply magnificent overlay effects which gets alive on a hover. You can try out a suitable combination of overlay settings that matches up with the styling of the website. Both the options are provided to you. Either insert an appropriate icon from the library or upload any image. Here we have used an arrow icon that instantly gets alive on a hover action.
4. Styling your Masonry Gallery in Elementor
You can style your gallery with a large number of available customizations and settings. Let’s go through some of them.
Style the Masonry Gallery with a suitable Border Type
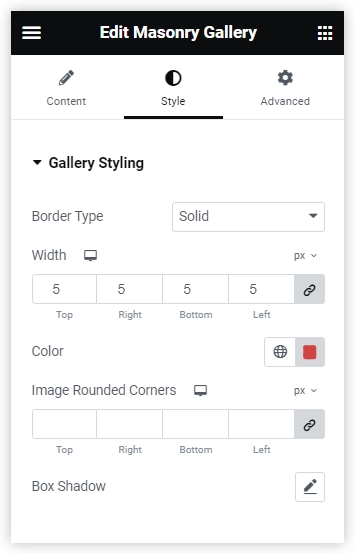
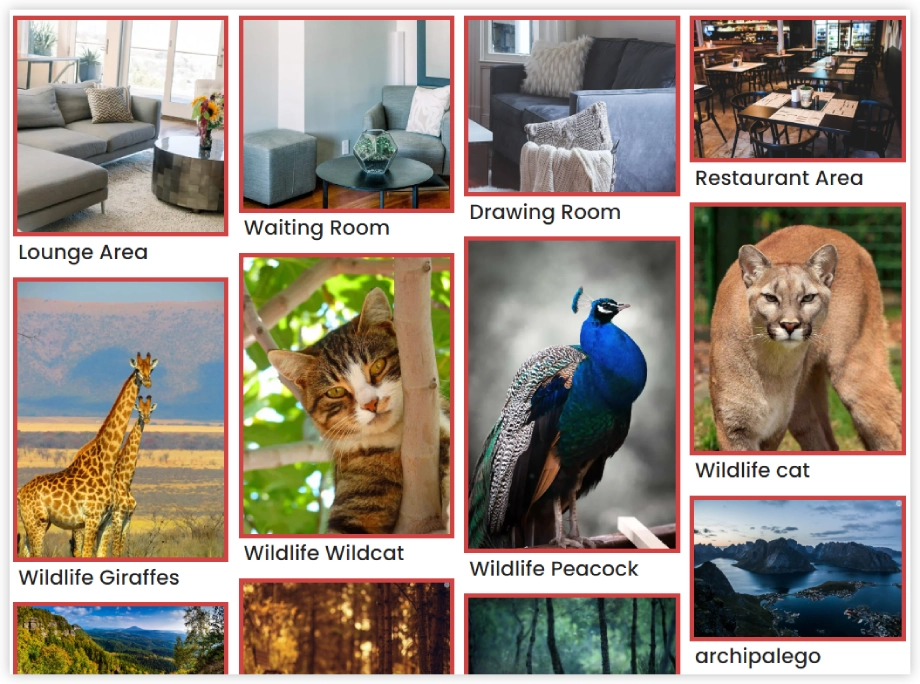
Use any of the suitable Border Types such as Solid, Double, Dotted, Groove, and others to differentiate it from the remaining content of the page. You also get the option to adjust the Border width and color to highlight each image individually. You can try your favorite colors that match the needs of your website. We just applied the Red-colored Solid border and see how it looks.
Use Box Shadows and Rounded Corners to add a unique appeal
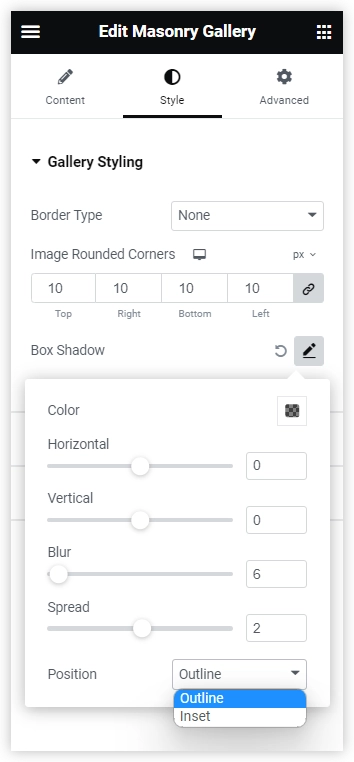
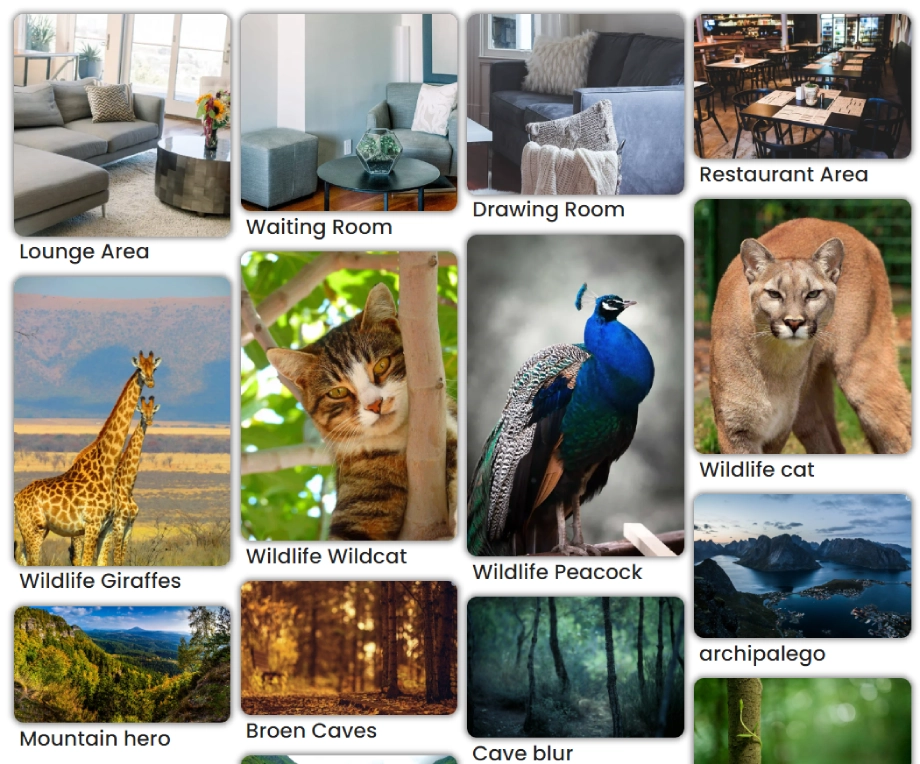
You can also enable Box Shadows to the images for a unique visual appeal. Just take a look at the Masonry Gallery after enabling the Box shadow. The Box Shadows has several detailed settings that can be customized as per design requirements. The option to customize the images of the masonry Gallery with rounded corners is also made available to change the overall appearance of every image after the gallery is loaded. We just enabled the Box shadow and personalized the settings of the rounded corners and see how it enriched the visual appeal of the Masonry Gallery.
Style the Title, Caption and Lightbox in your desired way
Choose a suitable Title Heading level and its text color for clear details about the images for the users. Select the font, add text-shadow, and align them accordingly for a better view. The padding and margin adjustments are also provided to enhance the tidy look of the Masonry Gallery after adding the Titles.
The same kind of styling options are made available for the Captions as well. You only need to adjust them as per your needs.
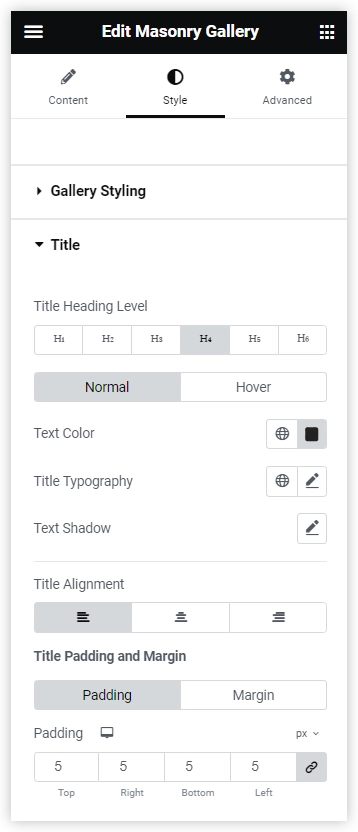
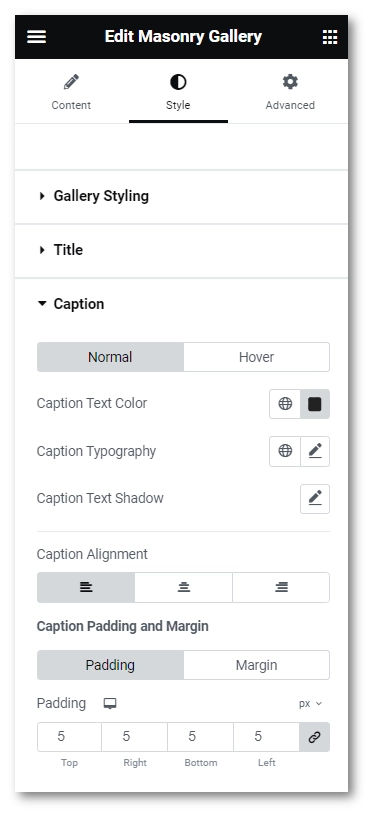
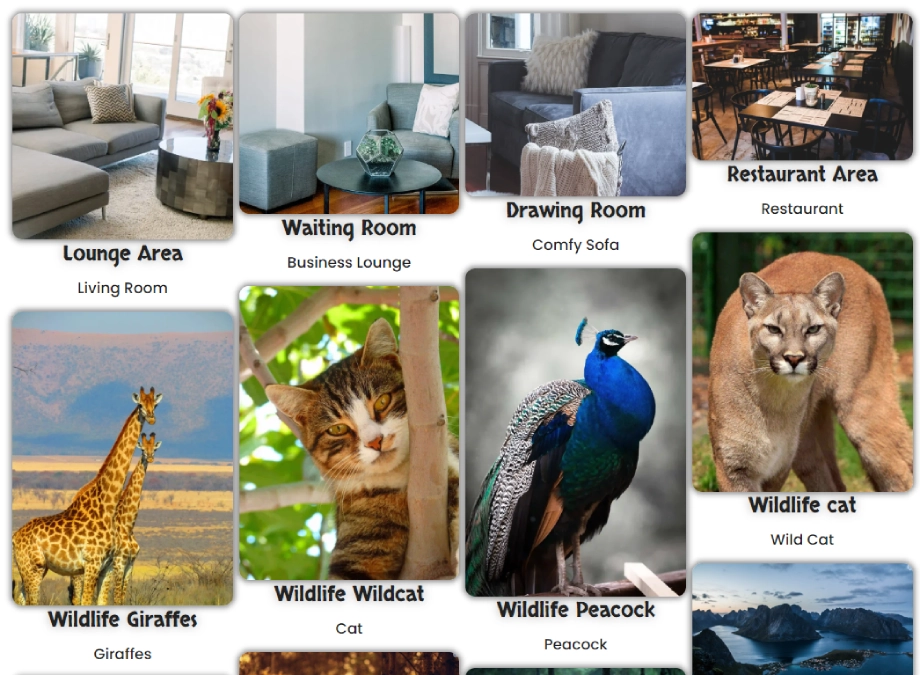
We just changed the typography and alignment of the title and captions and see what happened after that.
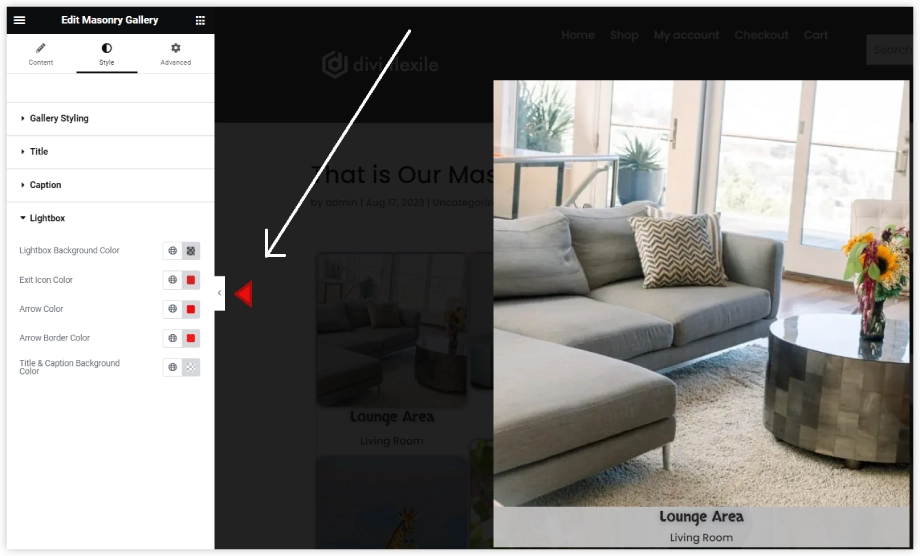
Styling the Lightbox is also very simple. Play with available Lightbox styling options to change the background color, Exit icon color, Arrow color, etc. to give your Masonry Gallery a personalized touch.
5. Some Advanced Effects to make your Masonry Gallery more striking
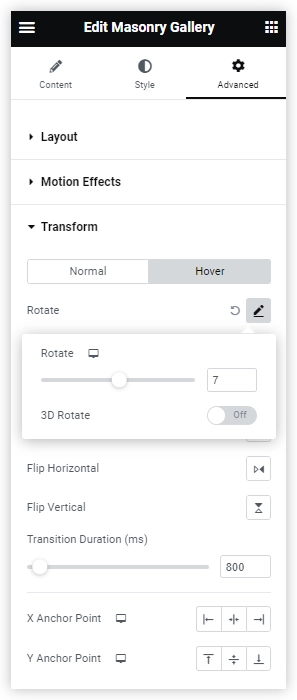
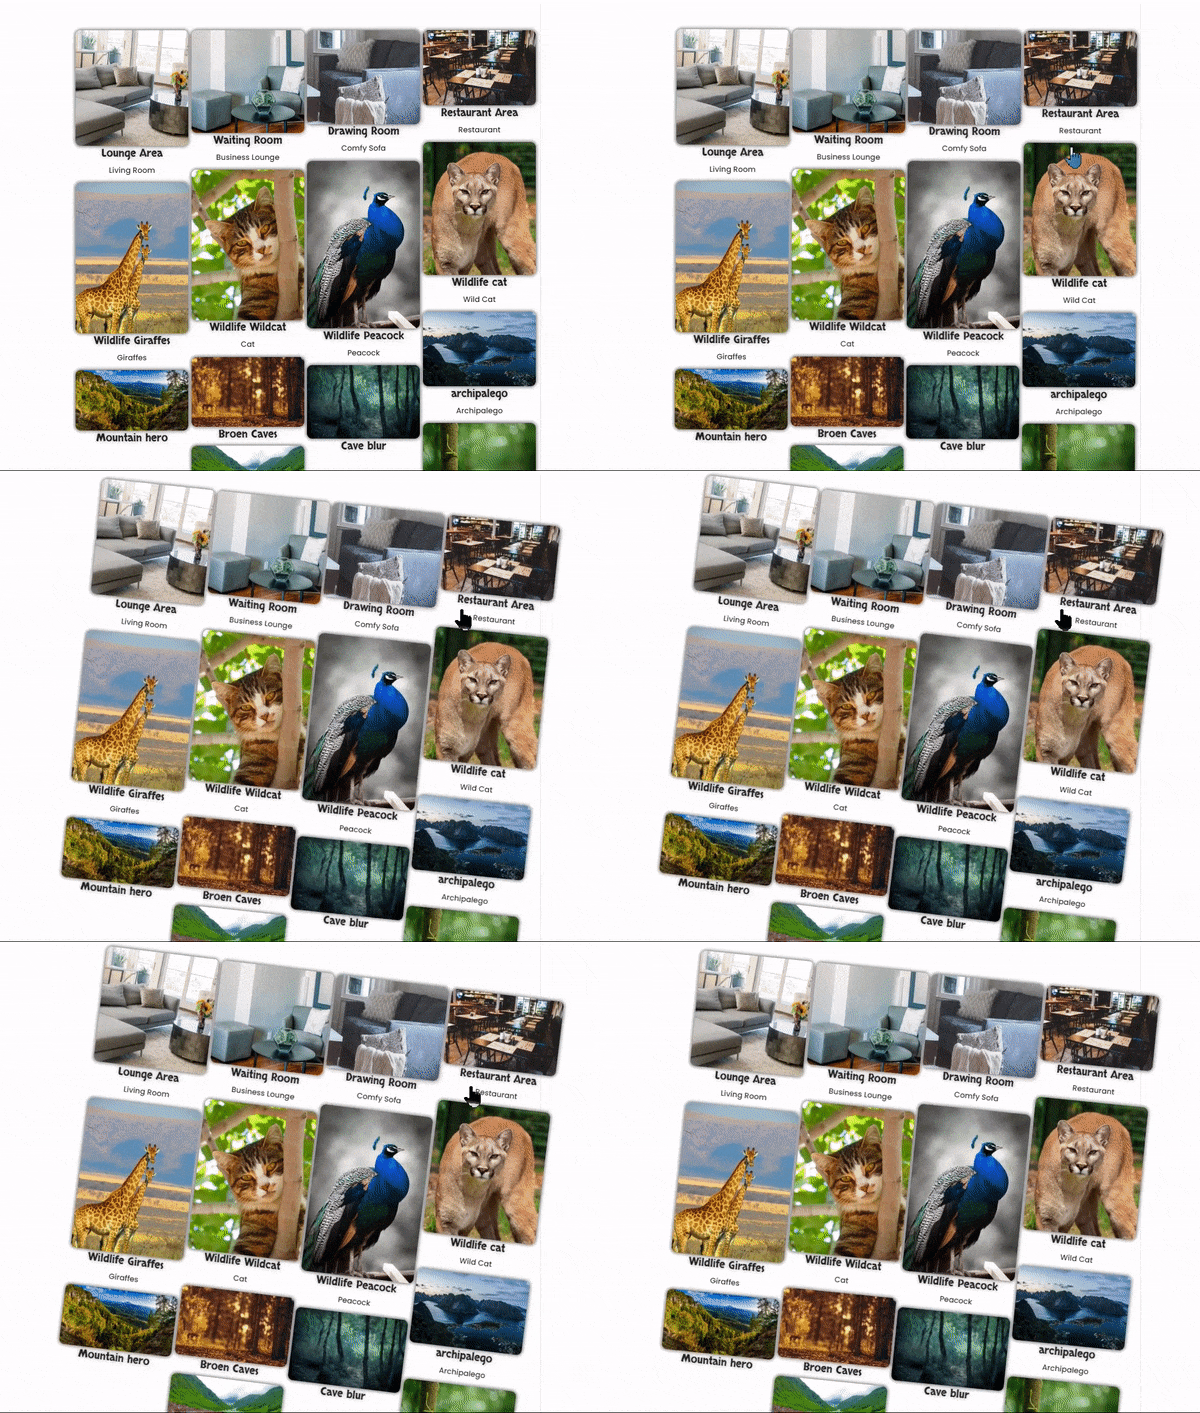
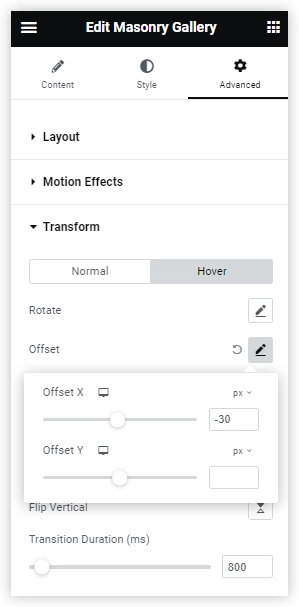
Use the transform effects such as Rotate, Offset, Scale, and Skew to create some outstanding presentation styles for your Masonry Gallery. Let’s take a quick view of the transformation effects that you can apply to your Masonry Gallery.
Rotate
Give a Rotating effect to your gallery with the help of some simple settings in the transform section.
Offset
Similarly, you can stunningly present your gallery using the offset transformation.
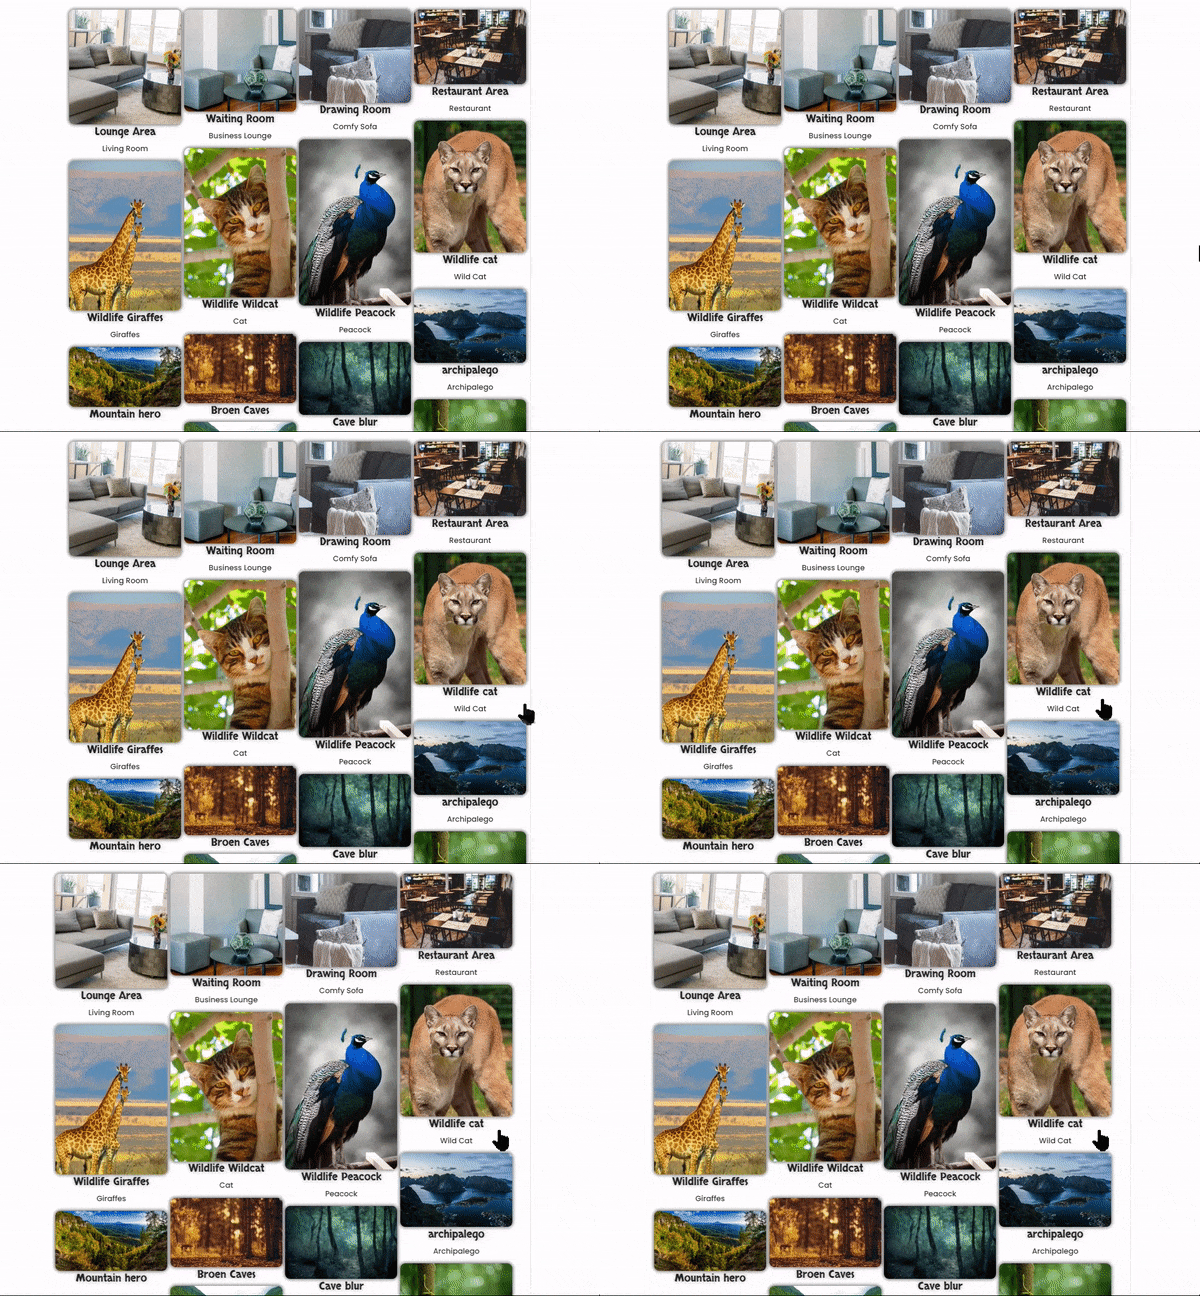
In the same way, you can use the amazing entrance animations to showcase your gallery more stunningly with its first look while the page is being loaded. Let’s take a close look at some of those entrance animations.
Fade In Down
You can deploy the Fade in Down entrance animation to capture the senses of the readers when they first land on your gallery page.
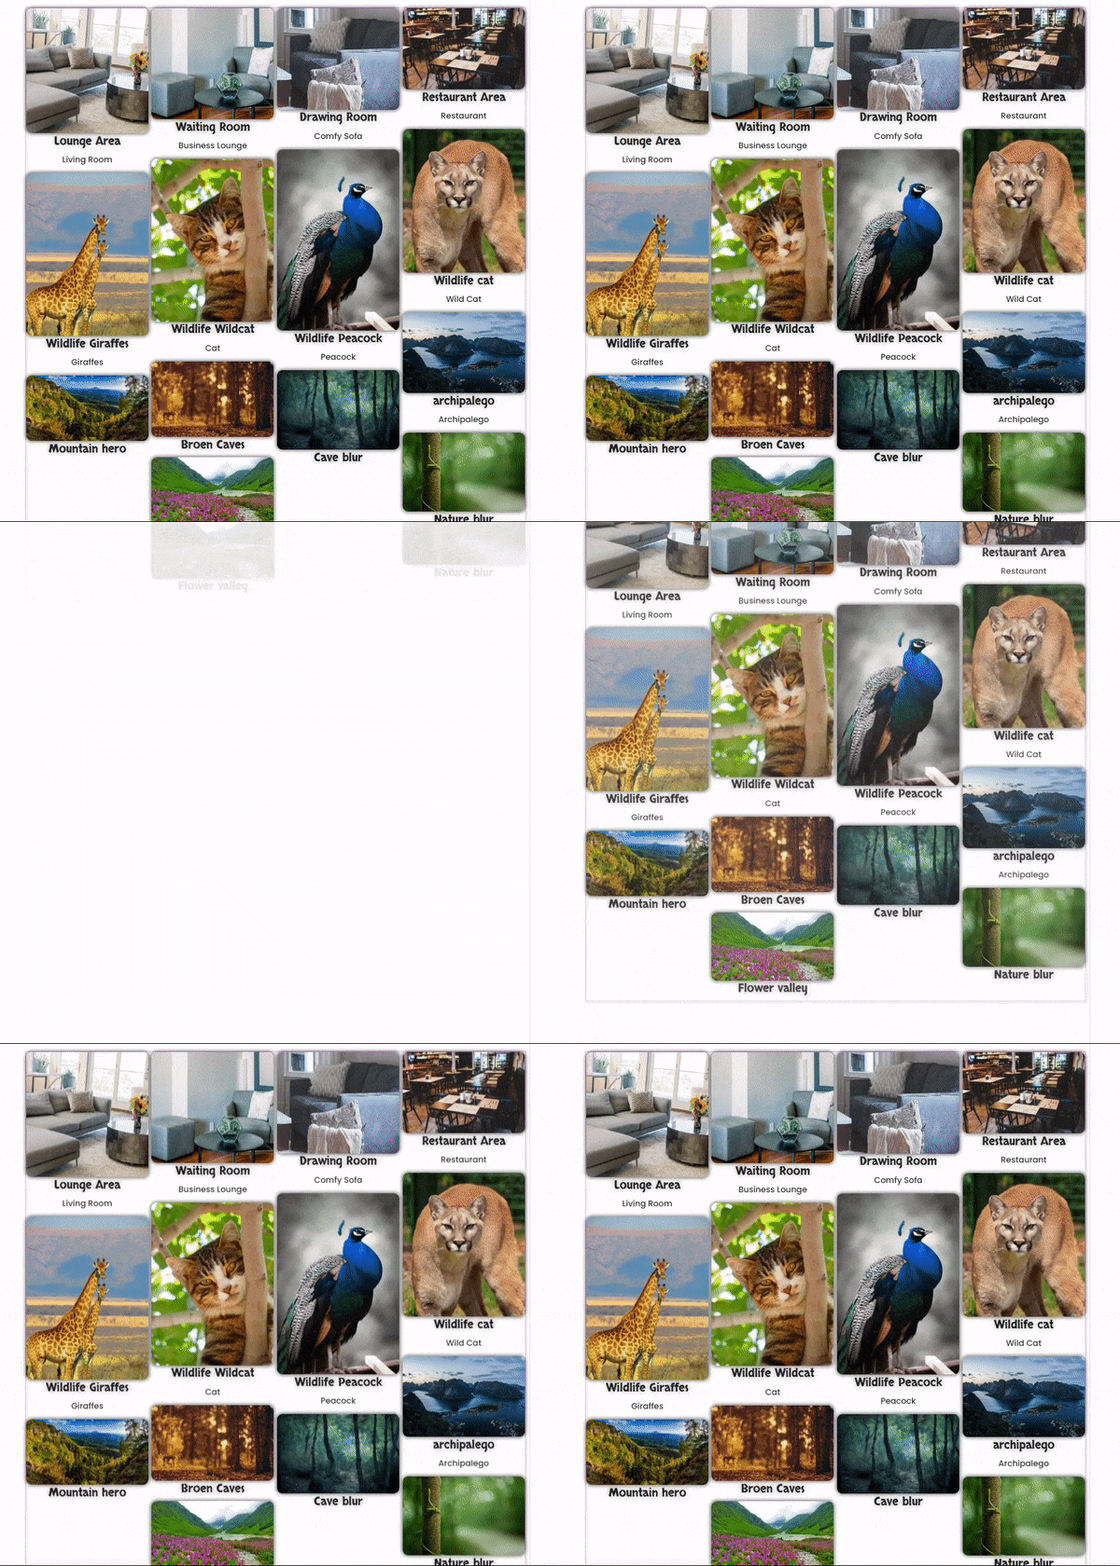
In the same way, you can try a lot of animation effects such as Zoom, Bounce, Slide, and Rotate and choose the best one that fulfills the design requirements of your website.
We have demonstrated and discussed almost all the major configurations, styling options, and animation effects to create a Masonry Gallery with a breathtaking view. I hope this post will prove to be helpful for exploring the features of Masonry Gallery for Elementor.In the same way, you can try a lot of animation effects such as Zoom, Bounce, Slide, and Rotate and choose the best one that fulfills the design requirements of your website.
If you are looking for 50 more widgets for Elementor, all bundled in one plugin, you might take a look at WPMozo Addons for Elementor.



0 Comments