
The way content is presented on a website is equally important as the content itself. The content should be informative and appealing to convey the message and fulfill the key purpose of a website. One effective way to do that is Image Hotspot in WordPress. We can create Elementor Hotspot Image easily with easy to use widgets on our WordPress website.
Whether you are highlighting key features of a product, creating educational content, or any travel infographics, Elementor Image Hotspots can explain everything interactively with images. They use an image and pulsating effect to capture the immediate attention of users and highlight information.
In this post, we will cover the step-by-step process of creating Image Hotspots in Elementor. Meanwhile, we will also cover some application areas where it can be used to provide information to users interactively.
Note: We are using one of the best Elementor image hotspot wordpress plugin which is WPMozo Addons for Elementor to create an Image Hotspot on the website. Please install this plugin before continue reading this post.
Step-By-Step by Process to Create an Image Hotspot in Elementor
The whole process covers several steps and you must carefully go through each of them to create a beautiful image section with hotspots on your website using Elementor. Let’s start.
Go to the Elementor dashboard of your website. Search for the WPMozo Image Hotspot widget and select it.
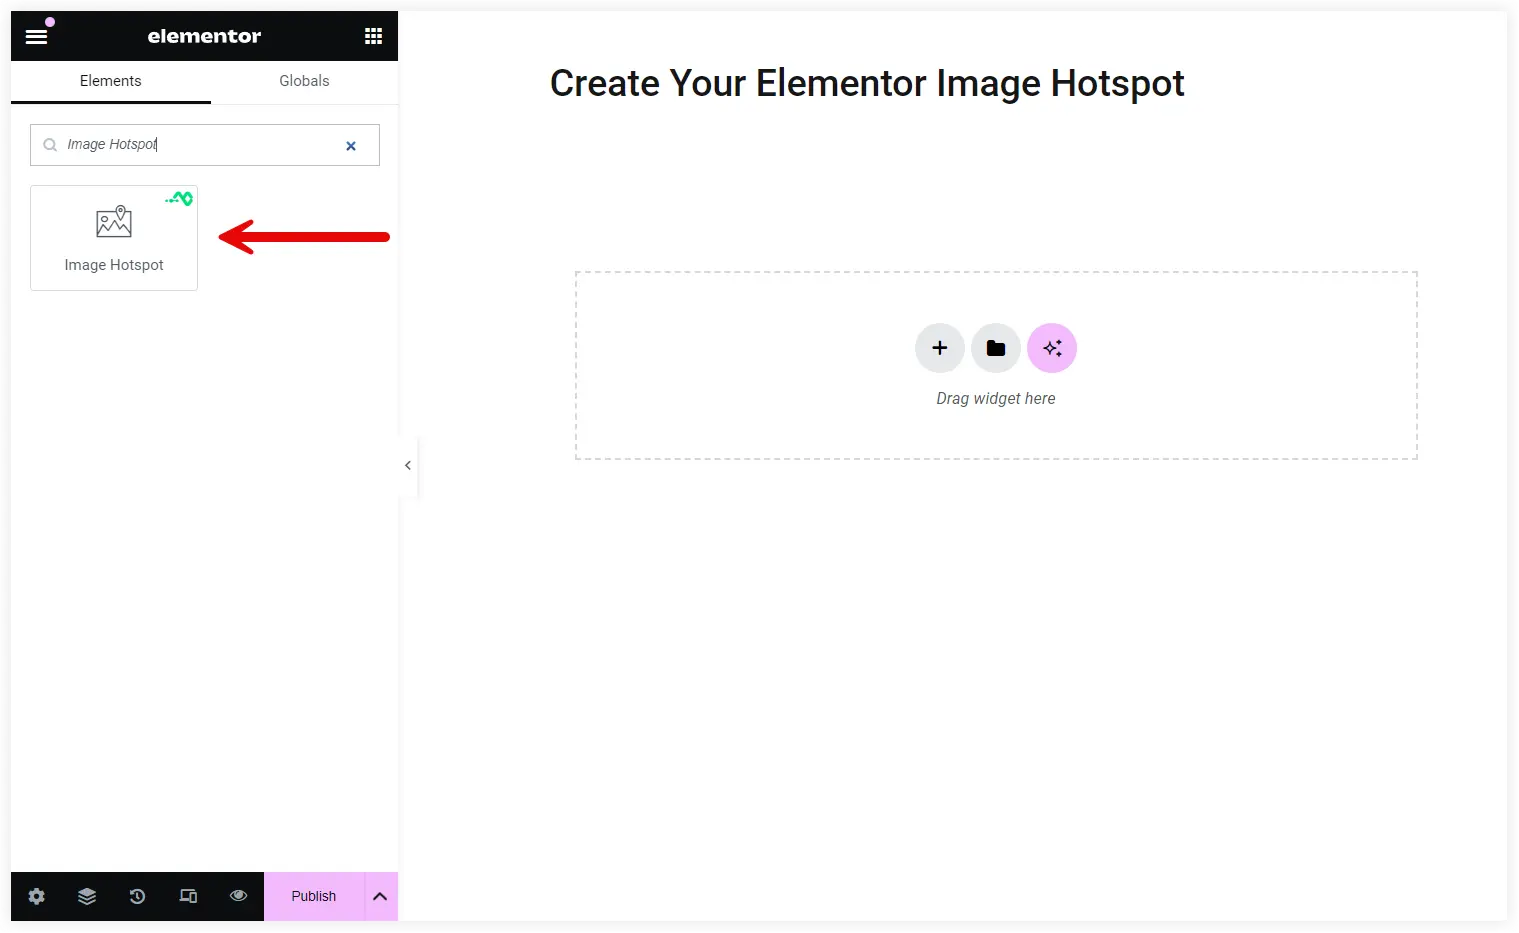
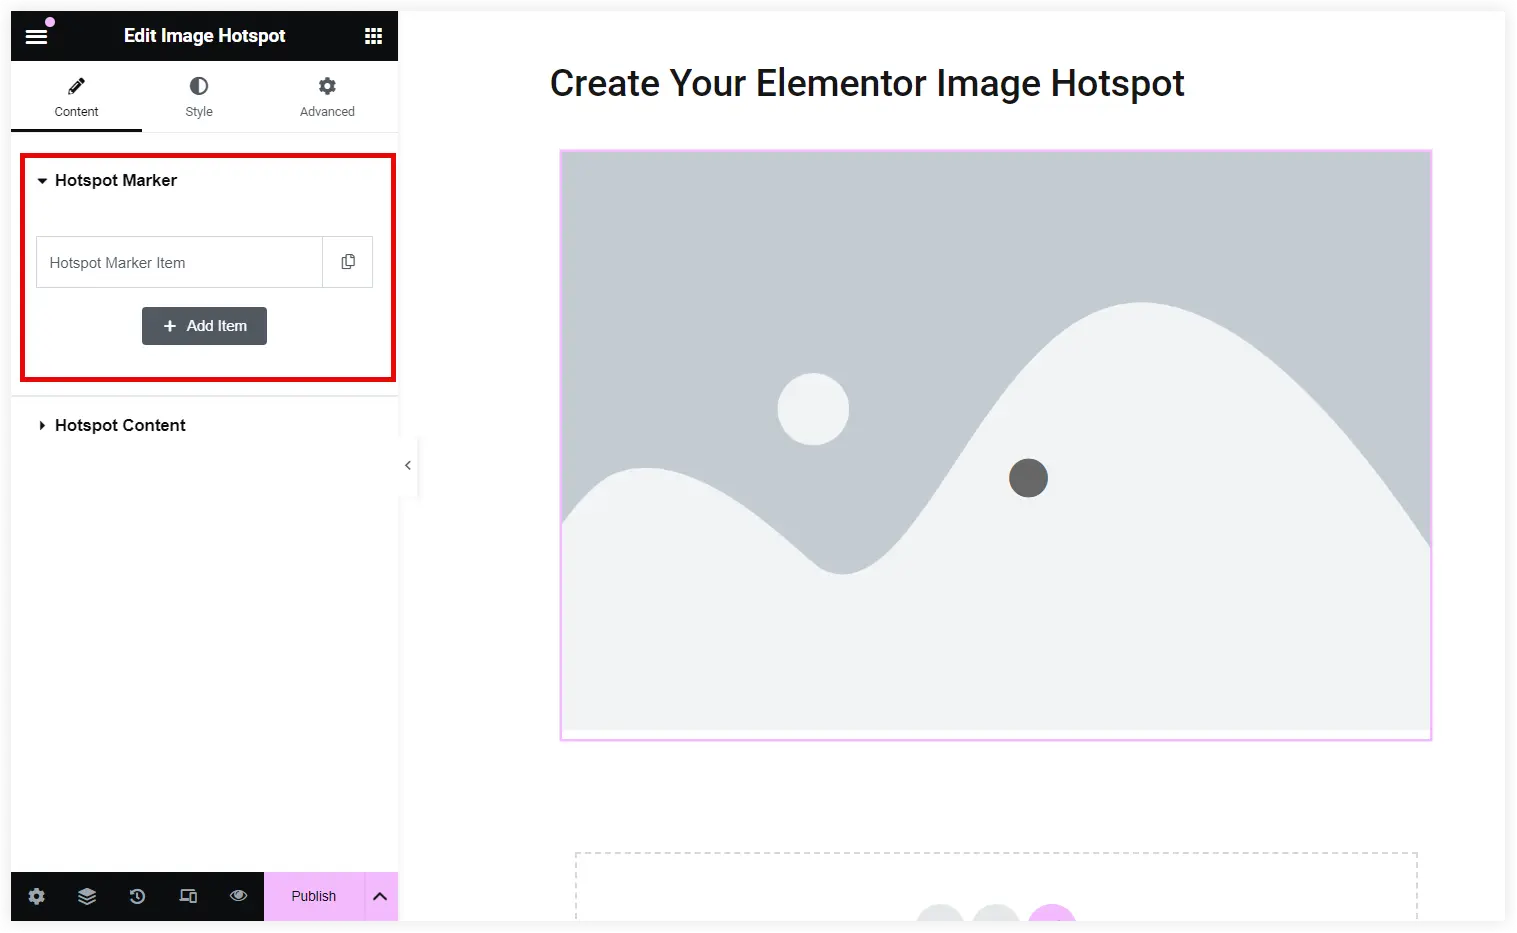
You will see two sections in this Hotspot widget. First is the Hotspot Marker which is the key section that contains all the configuration options to add and customize Elementor Image Hotspots.
Configure Hotspot Marker
Click on the Hotspot Marker Item option to open the customization options for that particular hotspot.
Now two options are there in the tabs for this Hotspot Marker Item.
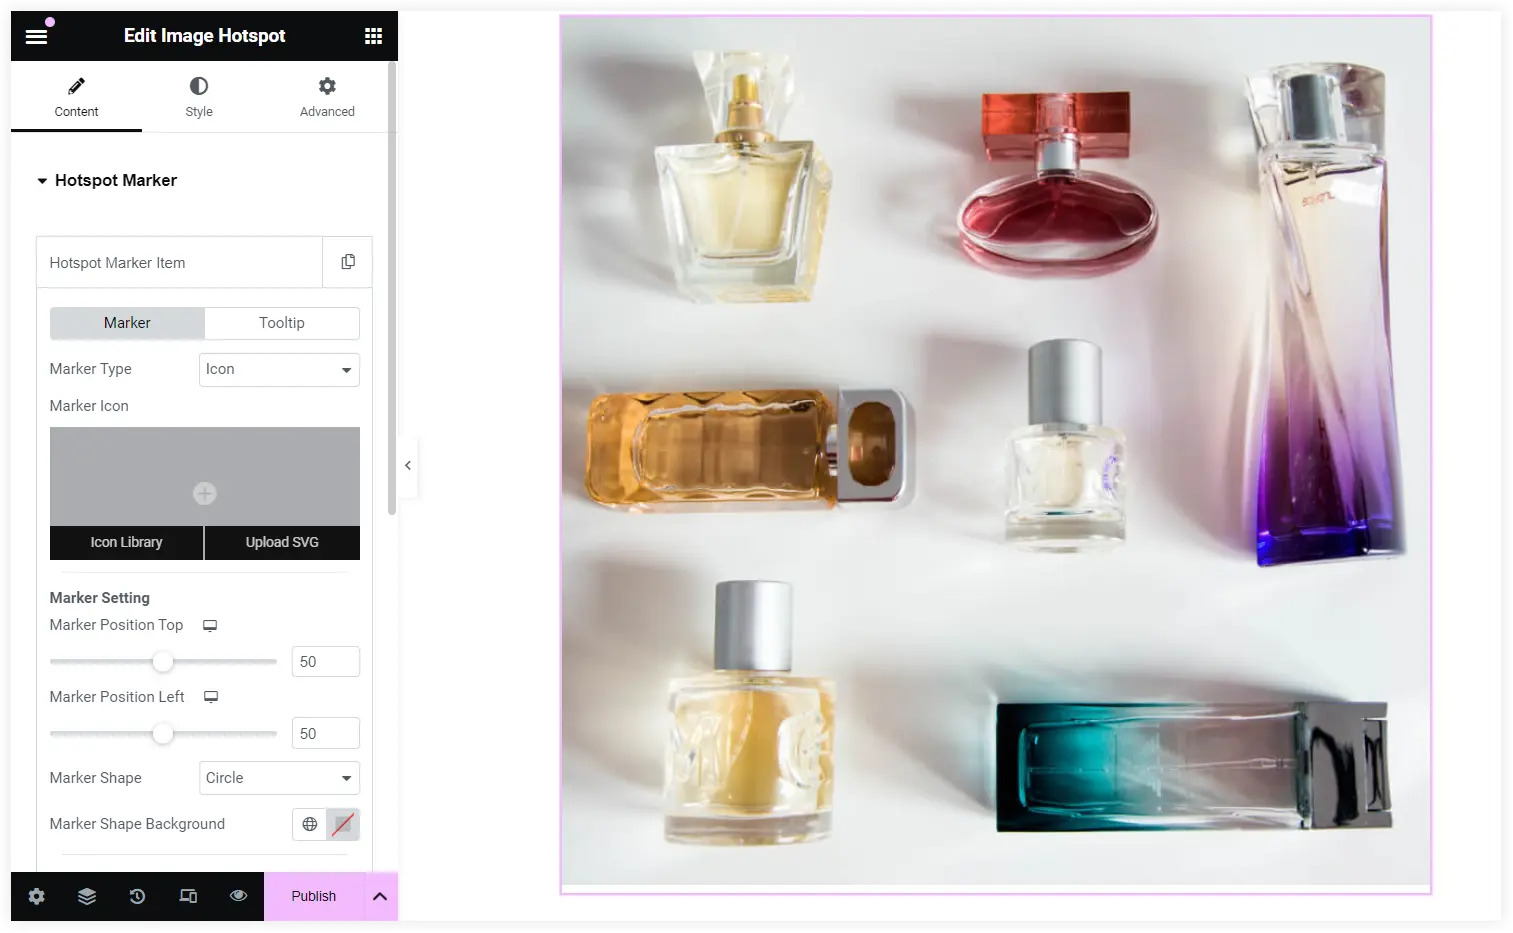
1. Marker
You have the option to select Marker Type as Icon, Text, and Image. If you want to place an icon as a Hotspot, select a suitable icon from the Icon library or upload an SVG.
The Marker Setting allows you to change the position of the marker on all the sides.
Select the Marker Shape in a square or circular form.
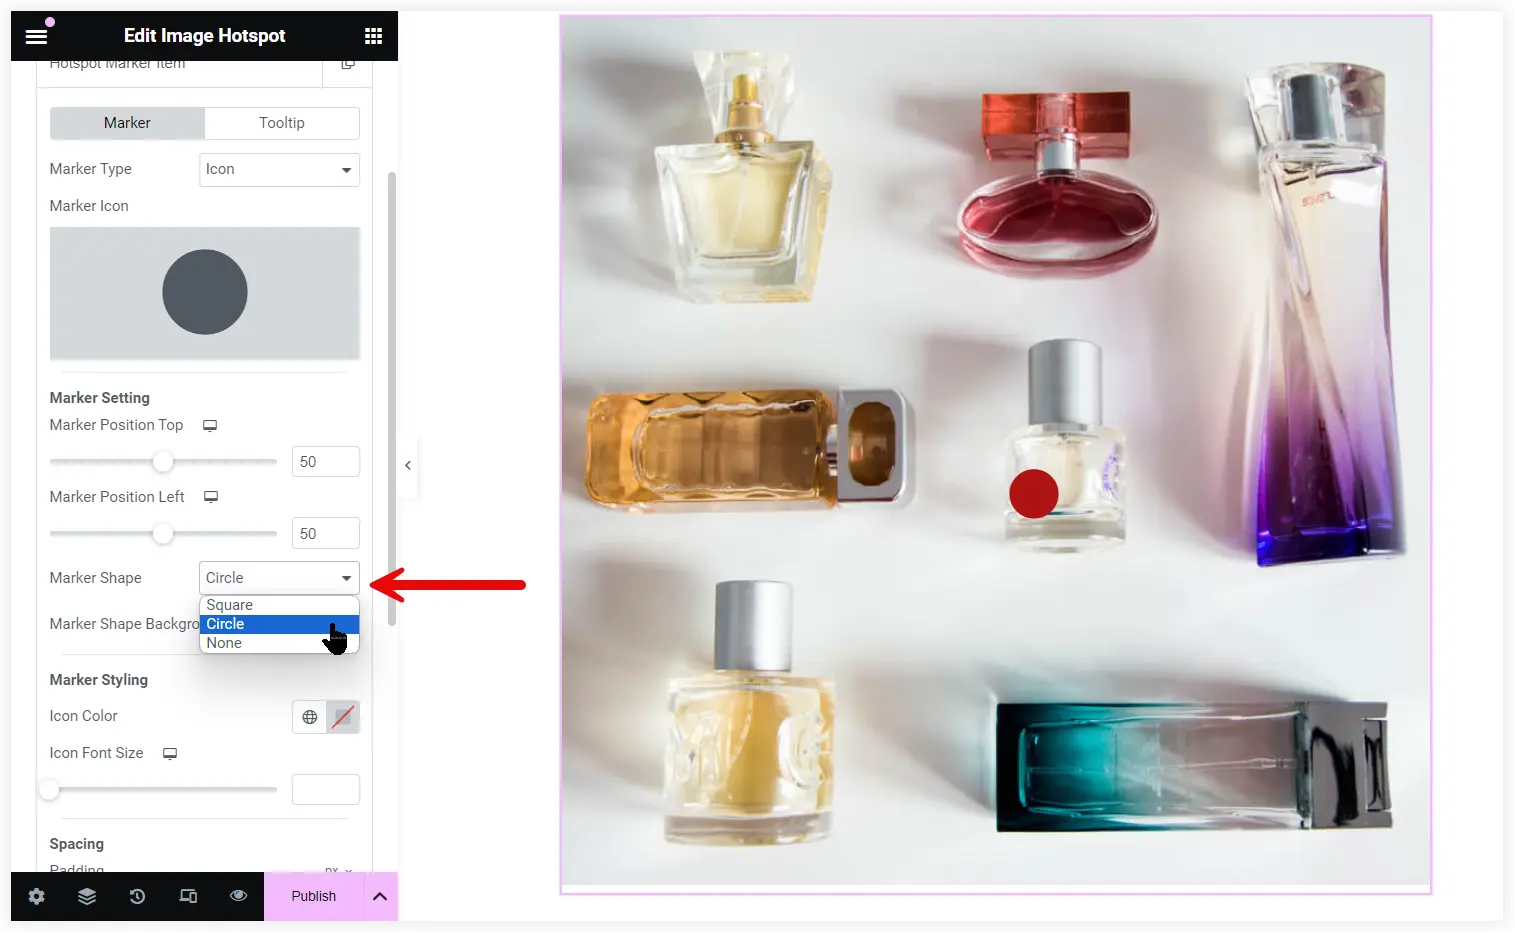
Next is the Marker Shape Background, the major setting responsible for displaying the pulsating animation effect. The pulsating effect will not be visible without leaving the Marker Shape Background color untouched.
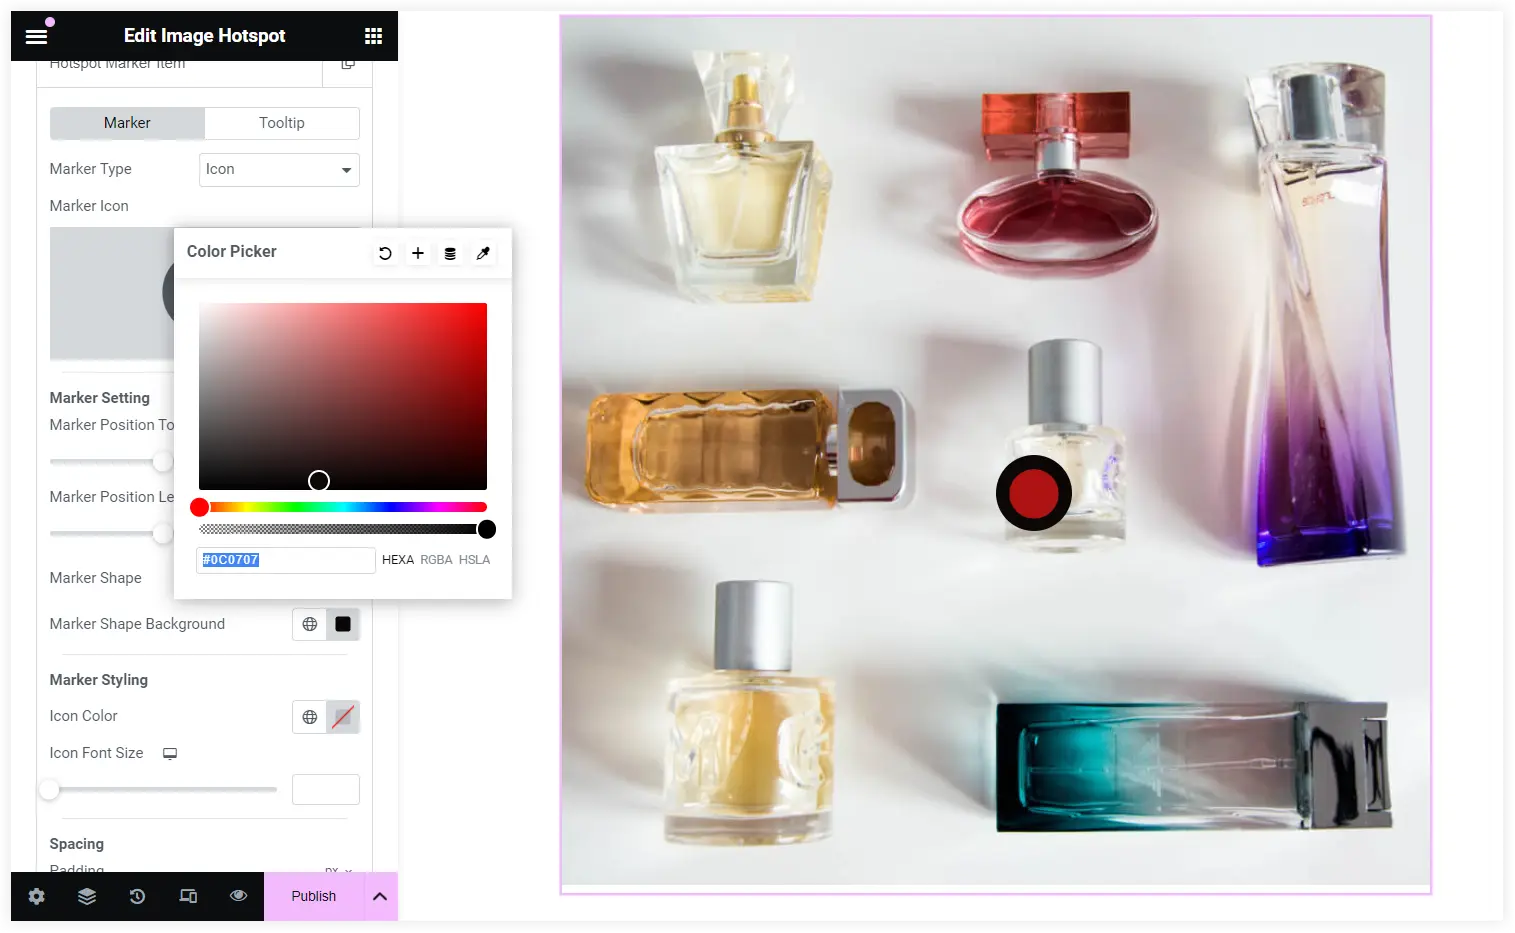
The same goes with the Icon Color and Icon Font Size. You need to select the Icon Color to differentiate it from its background. If you want to keep the Icon Background and Icon Color the same to maintain the hotspot’s uniform appearance, you can also set it that way.
2. Tooltip
Next is the tooltip option that helps you configure hover tooltips to convey a message or information about that particular Image Hotspot. It helps users to understand what the Image Hotspot is trying to say.
There are options to highlight text or a template using the hover tooltip.
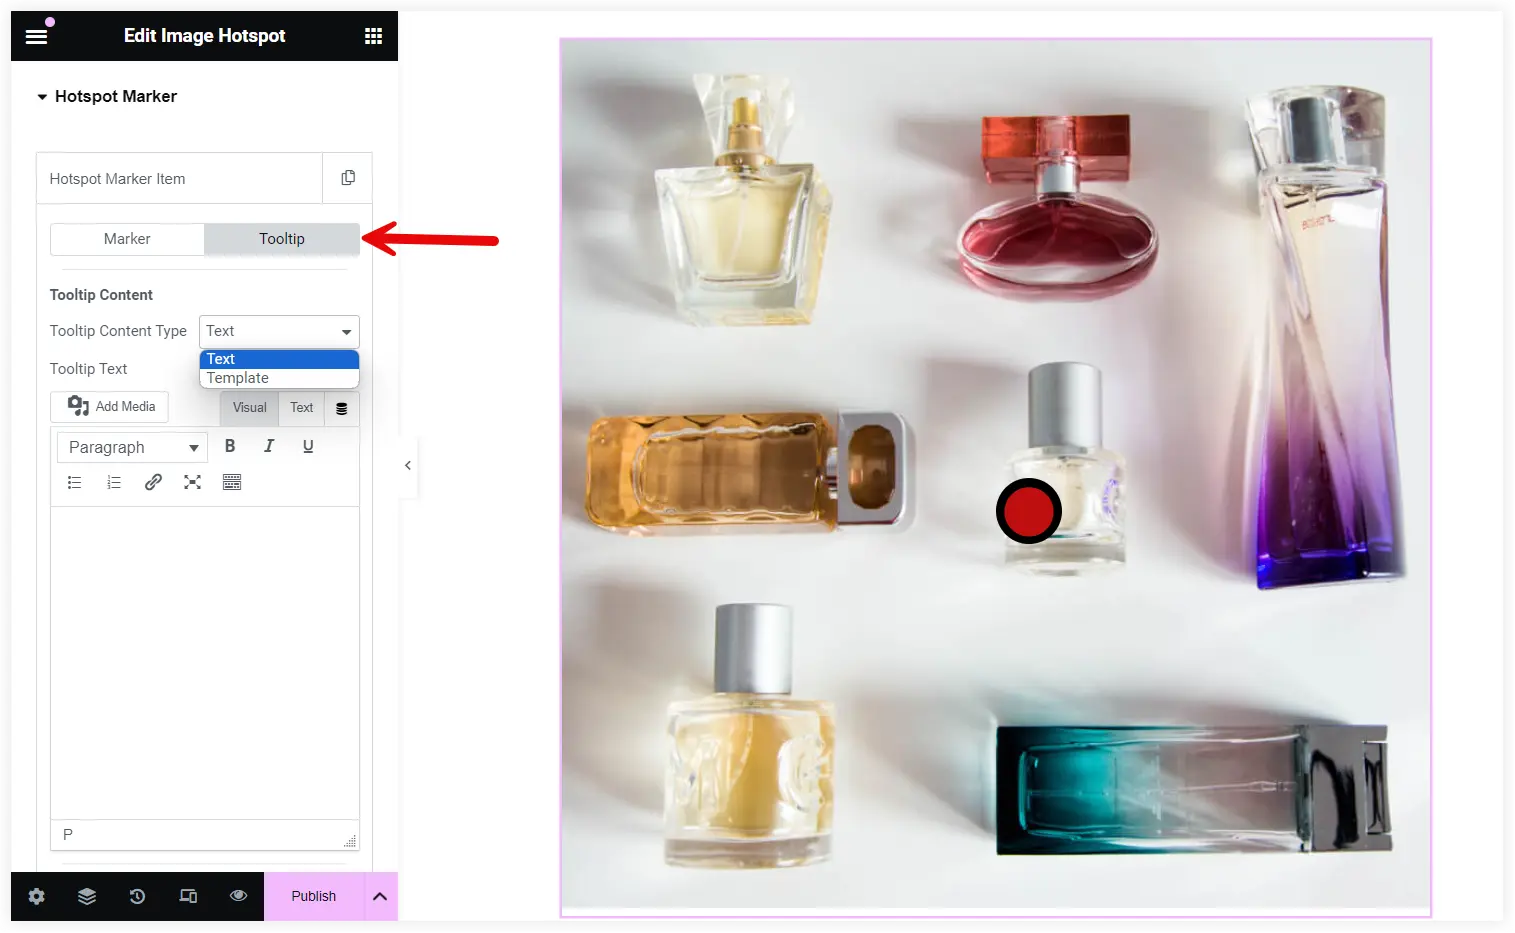
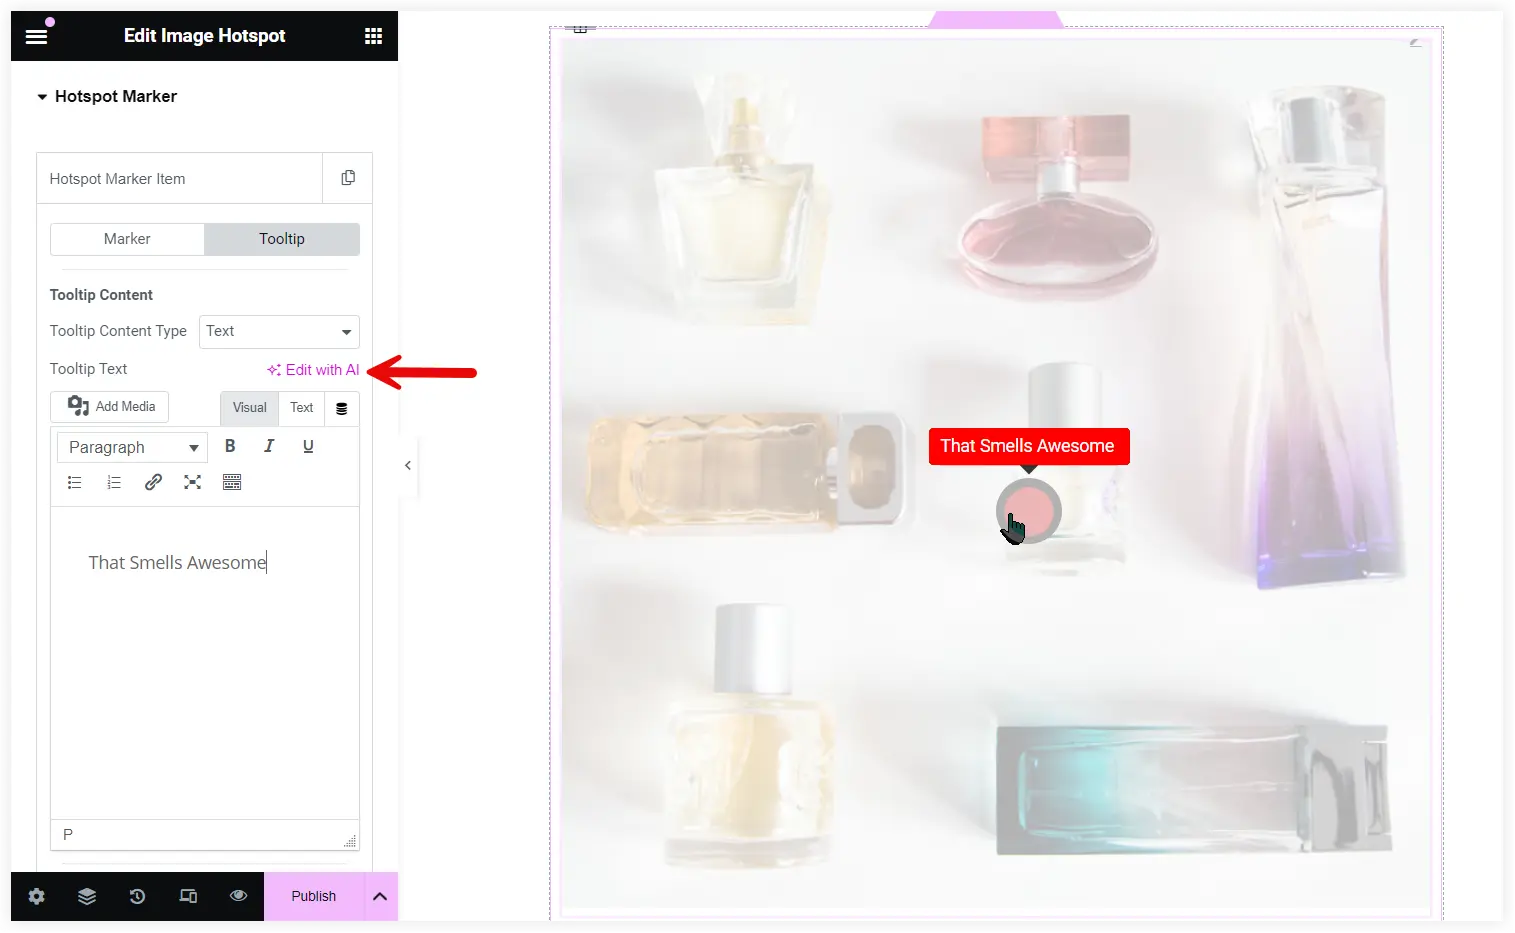
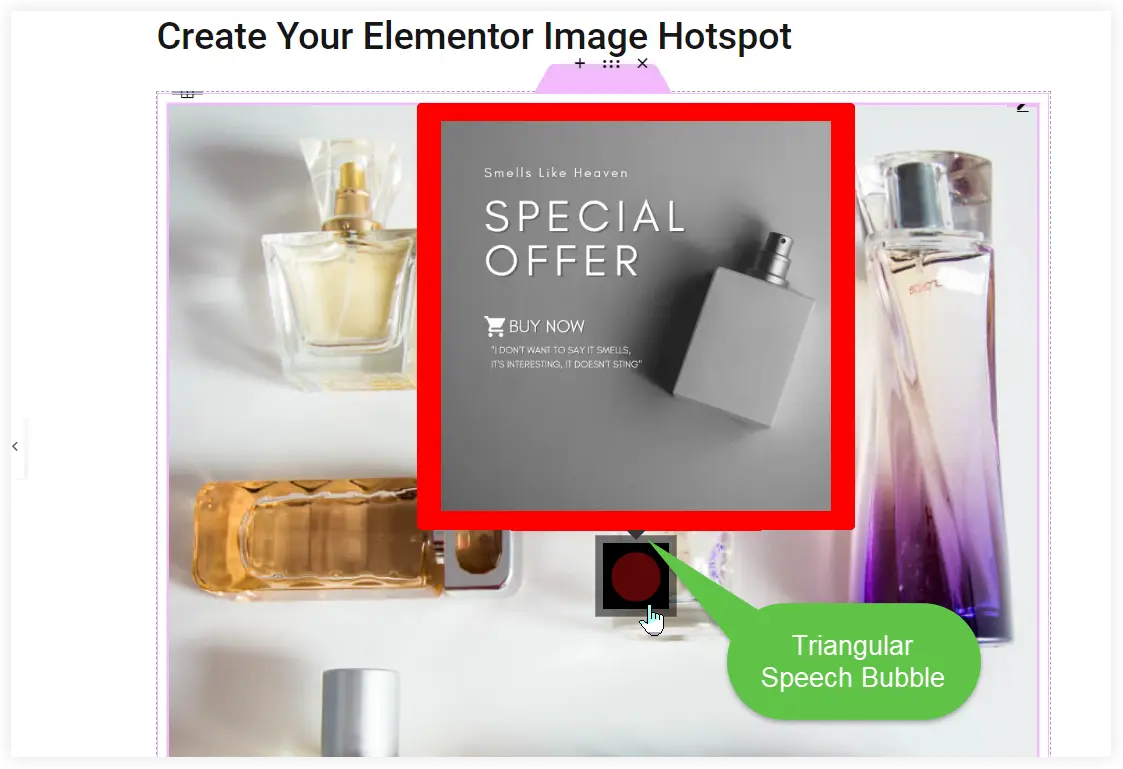
See how it appears, when you select the ‘text’ option and insert a text in it. You can easily display text information such as deals, offers, product descriptions, explanations, or definitions in the Image Hotspot.
This Elementor Image Hotspot widget allows you to generate Tooltip Text with AI.
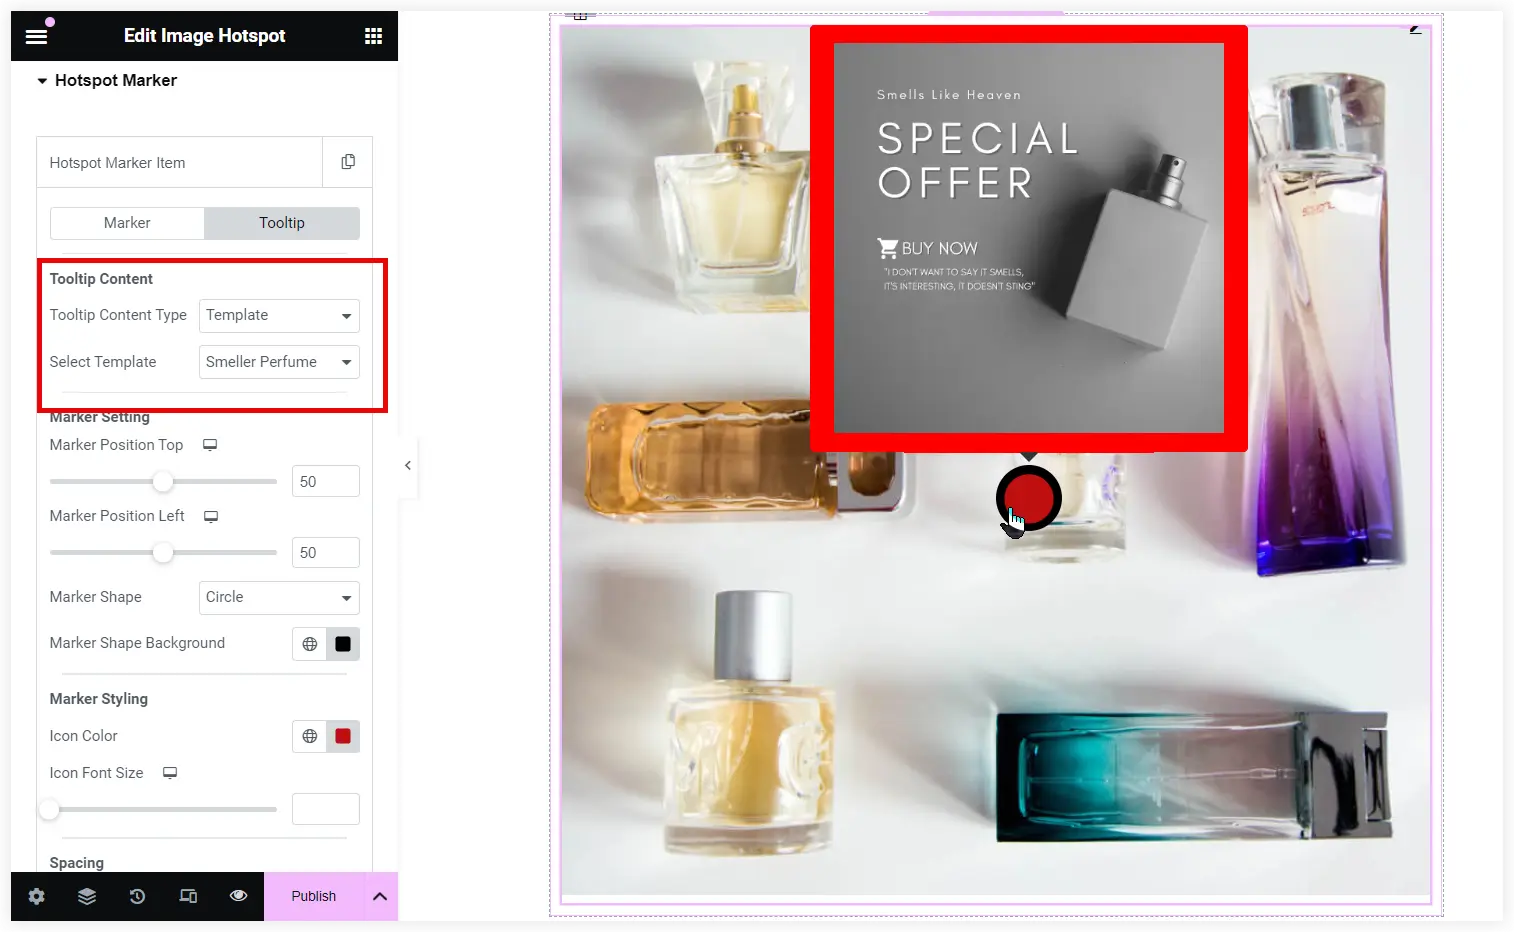
Another option is choosing a suitable template instead of displaying text as a hover tooltip. The Elementor template should be compact enough to provide a clear view of the hover tooltip.
Using the Select Template option choose a template that you wish to see as a hover tooltip in the Image Hotspot. You can show real estate images, product details, and other relevant information interactively on your website with hover tooltips.
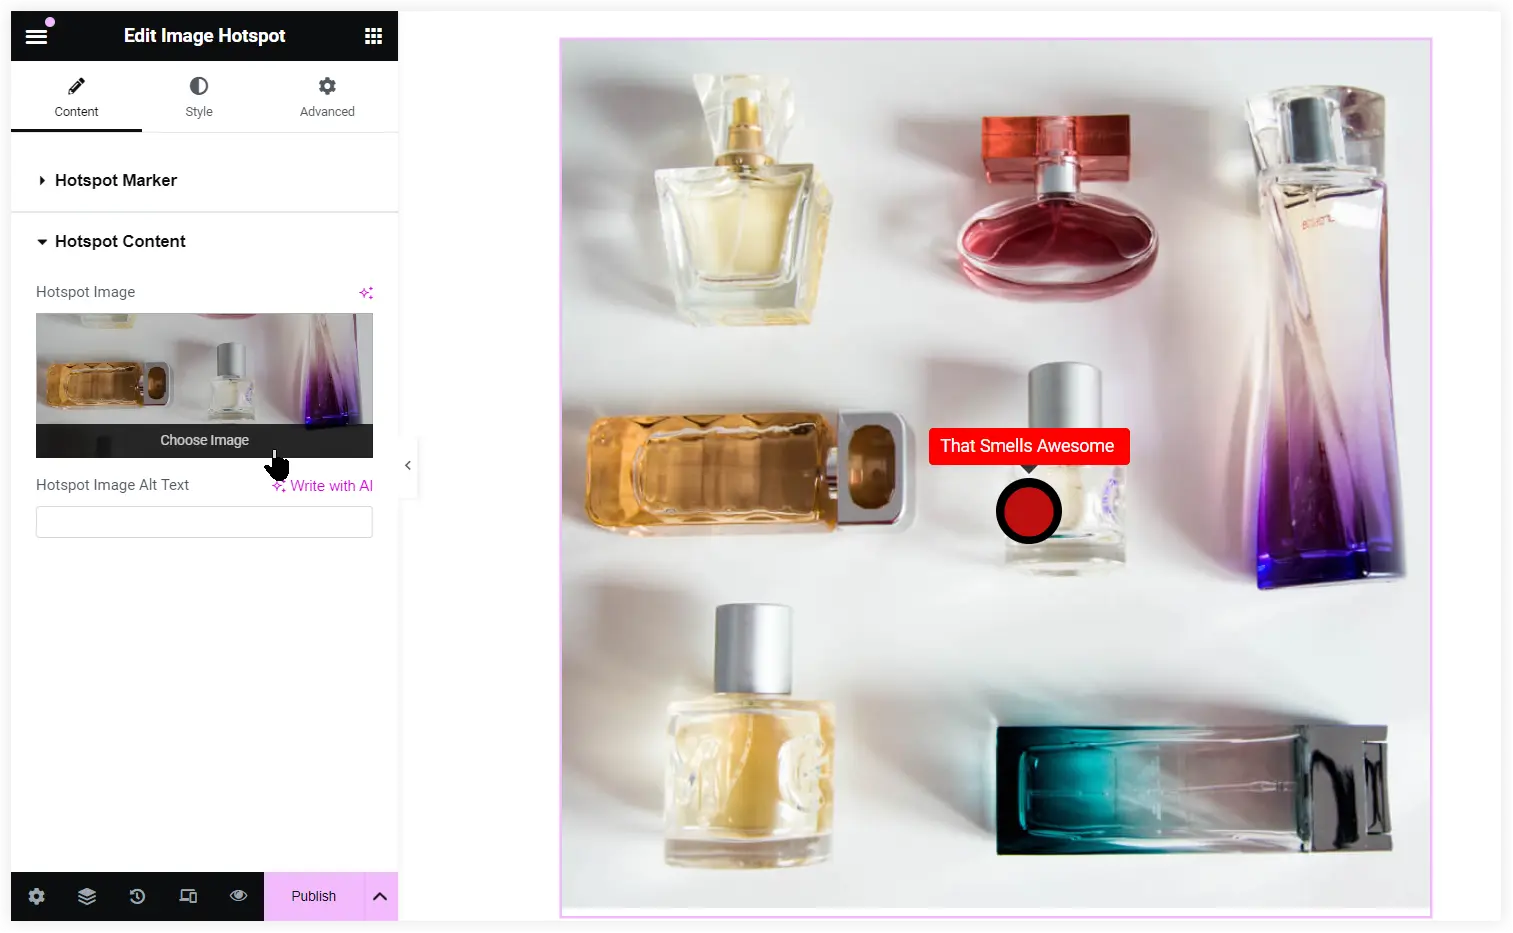
Set Up Content of Elementor Image Hotspot
This is the second crucial step that lets you choose an image for the hotspot. To show a clear view of everything, we already chose an image before beginning the first step of this tutorial.
You can easily upload a Hotspot Image using the Choose Image option.
Configure Styling of Elementor Image Hotspot
After setting up Image Hotspot Content you need to configure its styling options. These options are important to give a final look to the Image Hotspot and turn it engaging to capture visitor’s eyeballs.
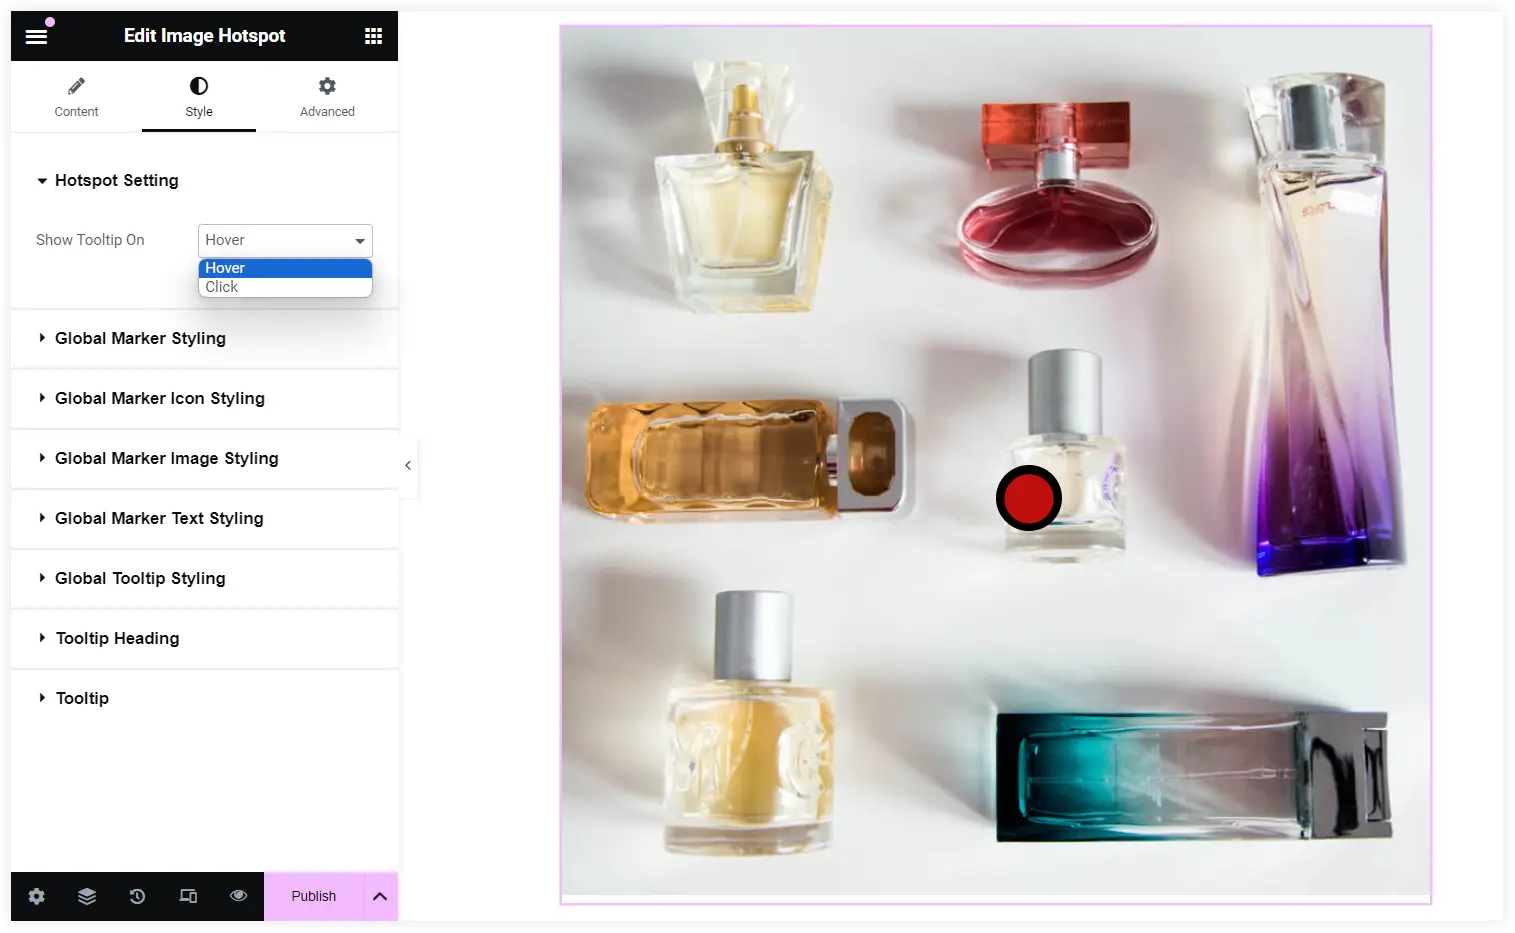
1. Hotspot Setting
This useful feature allows you to trigger the tooltip with a hover or click. You can select either of these two ways to display the tooltip on Image Hotspot.
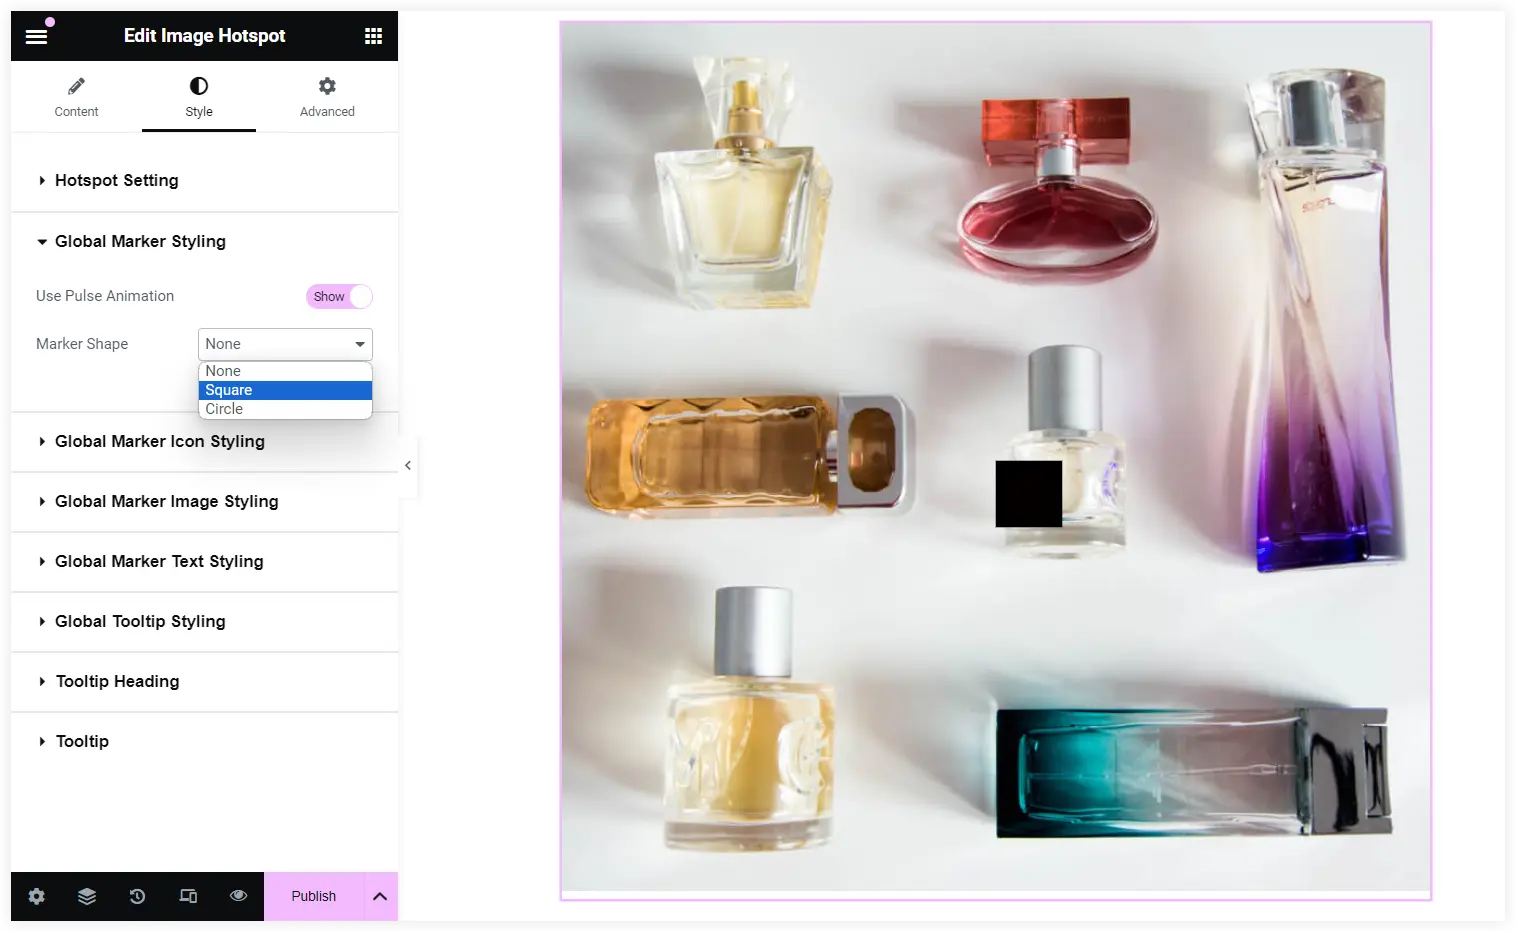
2. Enable Pulsating Effect with Global Styling
Image Hotspot is incomplete without animation and that’s why the Global Marker Styling allows you to integrate a pulse animation effect. This breathing effect immediately captures users’ attention while they are browsing pages loaded with Image Hotspot. They start exploring the image hotspot because of this pulsating animation and hover tooltip instantly provide them additional information about it.

If you don’t require or prefer the circular shape, you can also switch the marker shape to square. But Remember that this is the Global Styling for every marker and will be applied to all the markers globally. This can be used to change the marker shape of all the Image Hotspots of the widget. We have already discussed the marker shape of individual Hotspot Marker Item in the first step of this tutorial Marker Setting.
When we talk about styling priority of marker shape, the individual setting of a Hotspot marker Item is given priority over the Global Styling.
The Icon color and Icon Font Size can also be styled globally using these options. You can also customize these settings for each Hotspot Marker Item individually.
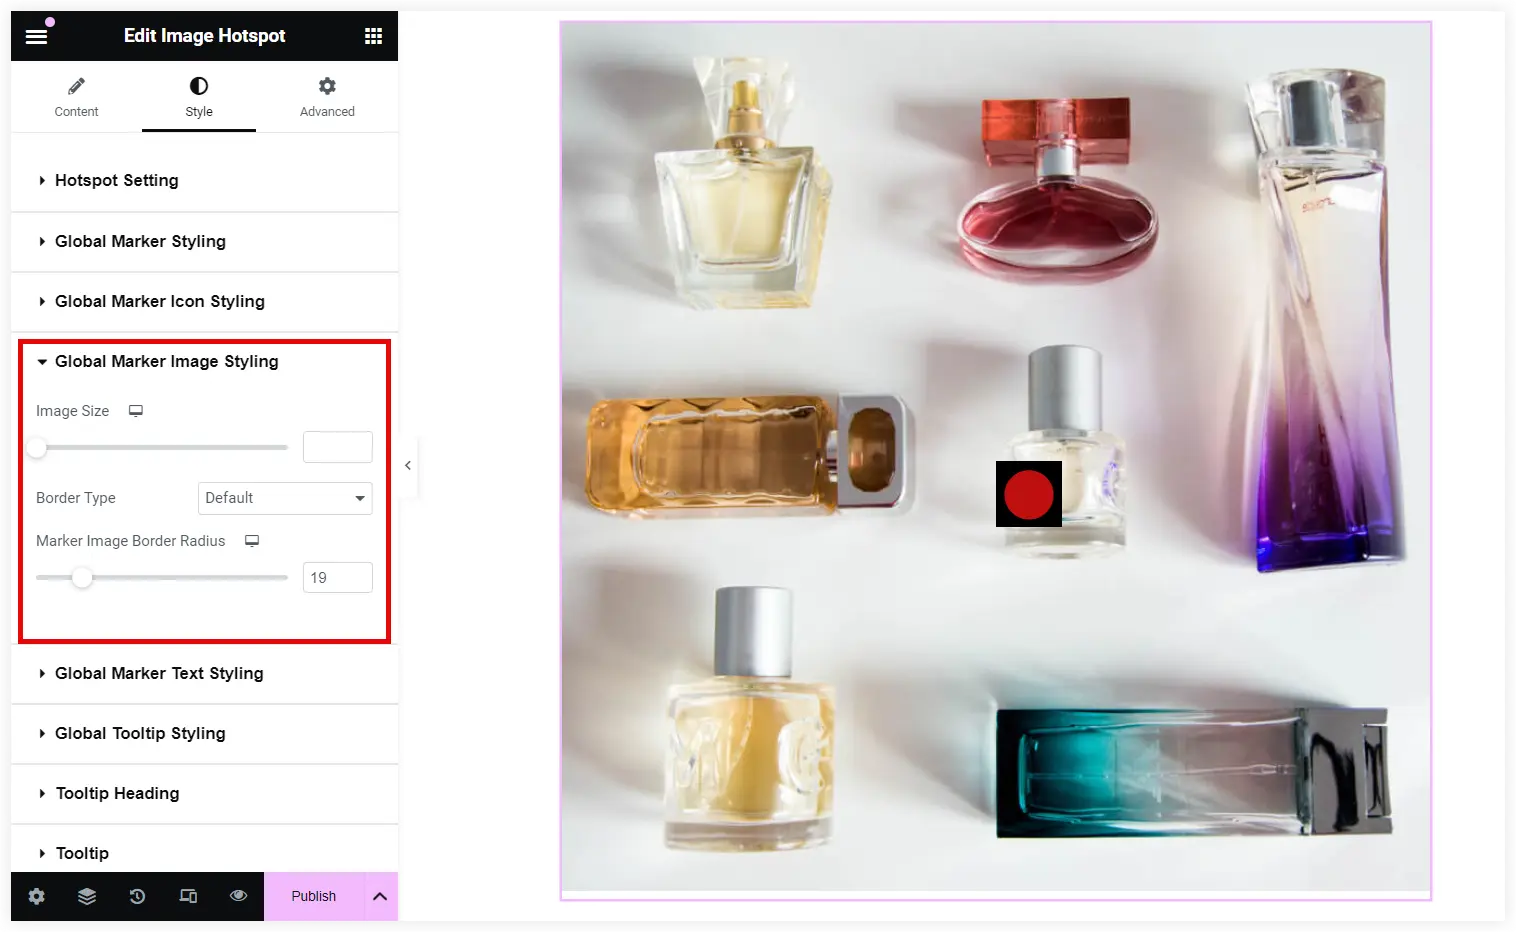
3. Global Marker Image and Text Styling
Change the size of an image to fit your needs perfectly and decorate it uniquely using a border.
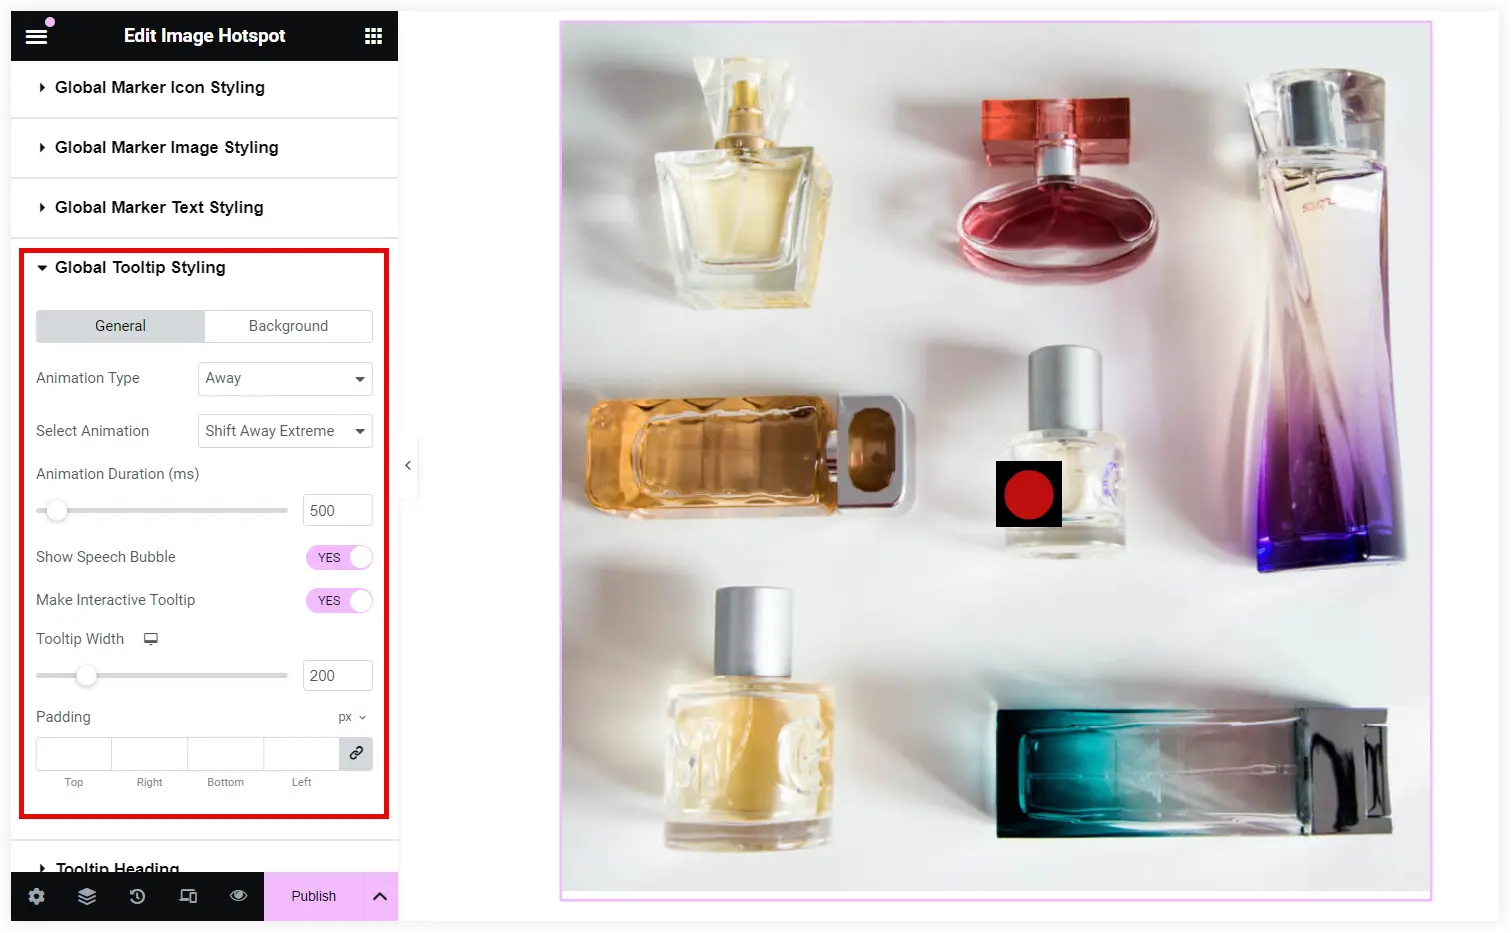
4. Global Tooltip Styling
These options let you customize Animation, Animation Type, and other interactive settings such as Show Speech Bubble of Tooltip points toward the Image Hotspot. This highlights the tooltip like the Image Hotspot is saying something.
Make Interactive Tooltip provides you with a simple way to place a link on the text tooltip. These create an engaging effect to draw the user’s attention to a particular point quickly.
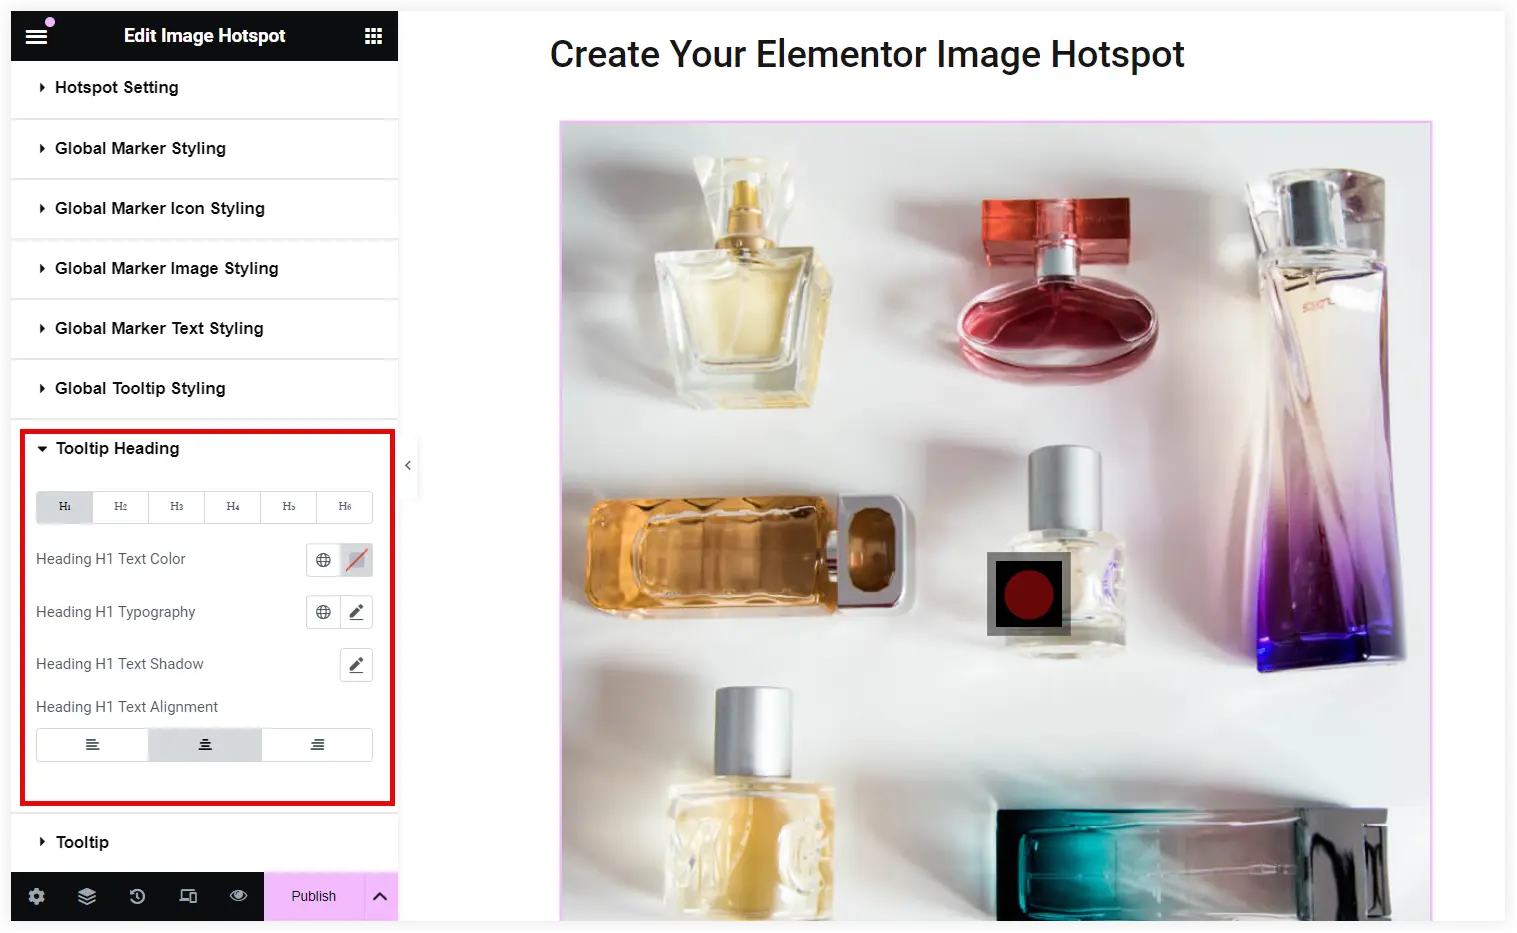
5. Tooltip Heading and Tooltip Options
This is the final setting that helps you customize the heading and text style of the tooltip.
Be it the color, text shadow, alignment, or typography for both the heading and text of the tooltip. You can personalize every text styling property from this section. Make the tooltip stand out unique and informative with these settings.
Let’s explore some applications where Image Hotspot can make a difference in user experience as compared to static images .
Where Can We Use Image Hotspot on Our Elementor Website
On an Elementor website, Image Hotspots can greatly improve user interaction and experience. It is up to your creativity how and where you use it to transform simple images into interactively speaking elements on your website. Here are a few real-world uses for Image Hotspots:
1. E-commerce Product Displays
Clicking on different areas of an image, lets users discover the specifics of a product. Like in this product image, all the features of a sneaker are highlighted using Image Hotspot.
2. Interactive Maps
Static maps can be turned dynamic and interactive using an Image Hotspot. You can highlight specific places with attractive icons and pulsating effects.
3. Quick Property Tour
You can take your visitors on a quick tour of the listed properties using an Elementor Image Hotspot and multiple images of a property. This helps users experience a real-time virtual tour highlighting all the details of that property without physically exploring it.
4. Discount Banners and Deals
When you are selling online products and services, there is a need to display attractive banners and showcase the latest deals, discounts, and offers. With Image Hotspot in Elementor, you can do it easily in an eye-capturing way.

5. Medical Illustrations
Image Hotspots can also be used to explain medical illustrations interactively to the users on your website. This provides an easy approach to explaining medical scenarios, diagrams, and images to the users. They will quickly understand what the image is about and what it’s trying to explain.
These are some application areas where we can use Elementor Image Hotspot and improve the user experience on our website. Apart from this, you can creatively explore more areas or niches where this Elementor widget can do wonders with its expressive approach.
Finally, we can conclude that the Elementor Image Hotspot widget provides a powerful way to make content interesting, interactive, and engaging on your website. The informative tooltips help users understand the context and details. This widget’s versatility allows it to be used in various sectors, including real estate, travel, education, and e-commerce. You can’t underrate this important Elementor widget which offers tones of possibilities to accomplish interactive web design.


0 Comments