WordPress powers nearly half of all websites online.
This means most of the internet is exposed to risks posed by WordPress failures and cyber-attacks. These risks involve data losses, server crashes, malware and external attacks, and general site downtime.
A website needs a recovery plan to mediate the loss during any such disastrous scenario.
For example, if you have backed up the data on your website, a simple restore would put everything in place after a data loss incident.
Without a proper backup or a disaster recovery plan, the costs and time to recover from such a scenario are immeasurable. In this article, we will guide you on creating a disaster recovery plan for your WordPress website. You will also find useful information about preventing potential disasters from occurring in the future!
What Is a Disaster Recovery Plan?
A disaster recovery plan includes steps you need to complete to recover as quickly and safely from a WordPress website disaster. This includes procedures such as backing up your website, regular audits, and testing of the recovery systems.
A WordPress recovery plan must be put in place as soon as your website starts growing.

This ensures that no data is lost permanently and also reduces downtime in case of a server failure or other disaster.
Why Is a Disaster Recovery Plan Important?
The average cost of website downtime for businesses is $5,600, according to a survey by Gartner. Some companies can lose more than $9,000 per minute. This stat alone should highlight the importance of having a solid website recovery plan in place.
Similarly, having a site recovery plan means your data is kept safe in case of server failures.
The website’s functionality is returned to normal quickly with a disaster recovery plan. This helps protect your business or website’s reputation as well.
In short, a disaster recovery plan puts your website back on track after an outage or failure!
Key Components of a Disaster Recovery Plan
As you now have an idea what a disaster recovery plan is and why it is used for, let’s now move on to learning about the details of a disaster recovery plan for WordPress.
An ideal recovery plan means you have to prepare one beforehand for any potential disasters.
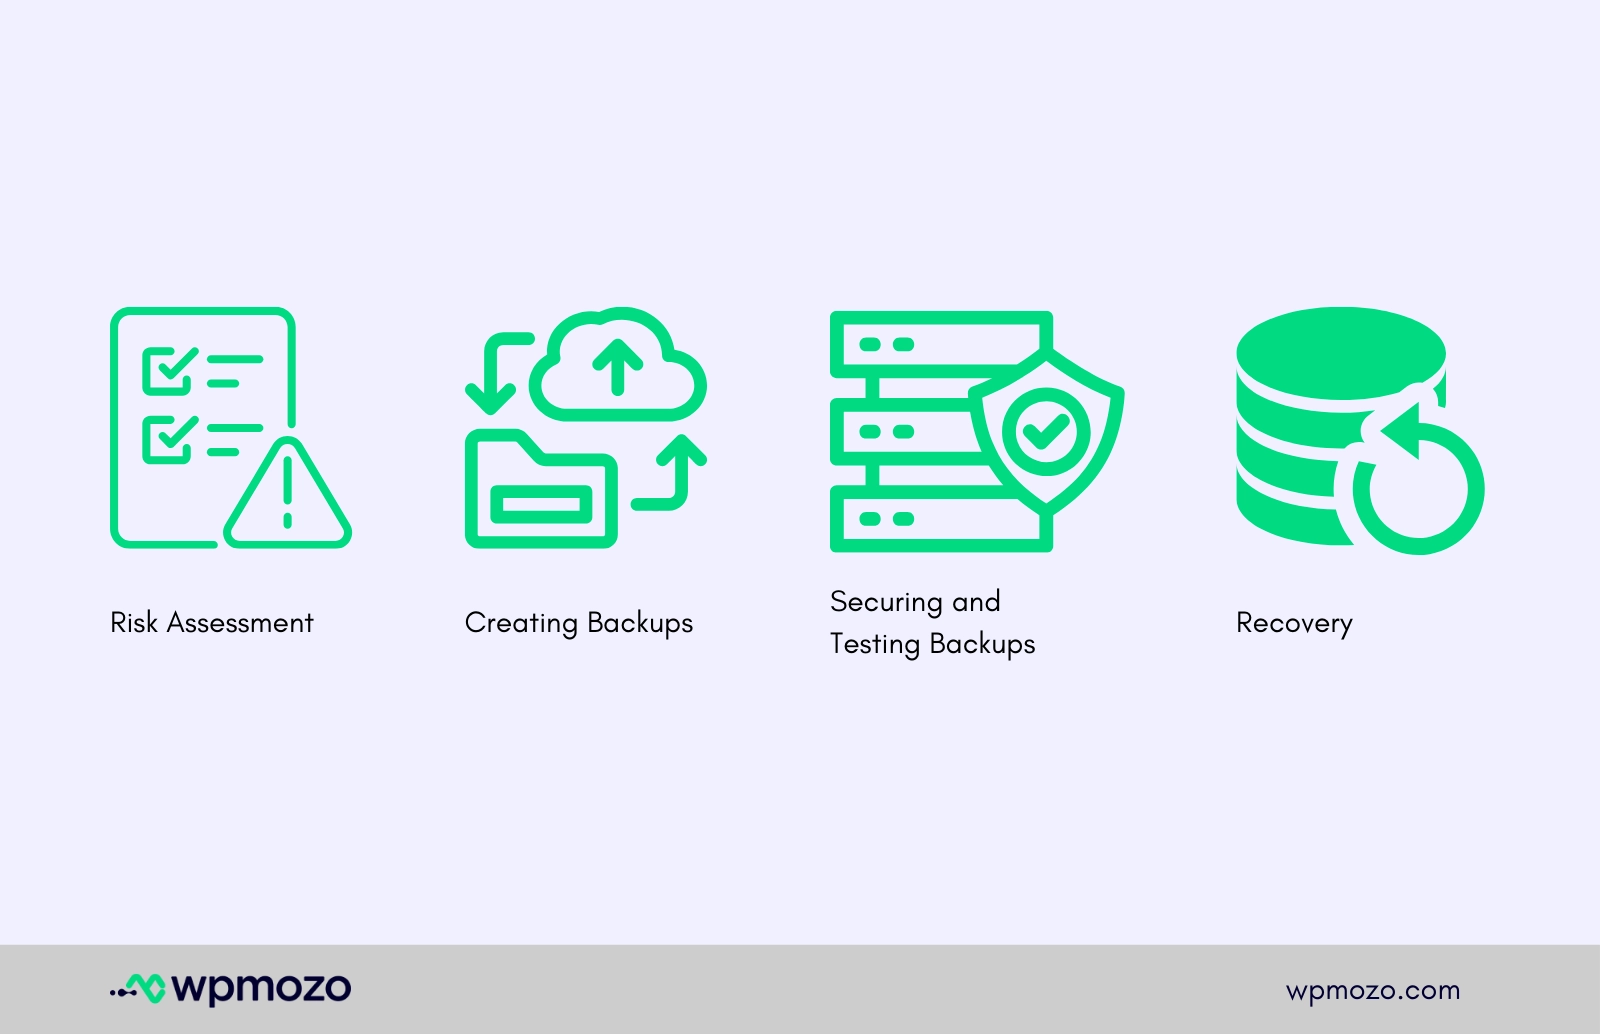
In addition to that, you have to make sure such an event is prevented from taking place. However, it is still important to create a recovery plan in case of any disaster. Here, we will talk about the ideal disaster plan and its components.
We will begin with auditing the website for any errors or other issues.
Moreover, we have to ensure everything is up-to-date and backed up. Let’s get an in-depth understanding of the key components of a disaster recovery plan for WordPress websites.
1. Risk Assessment
Start by analyzing the website’s settings to determine any possible loose ends.
For this, you need to look at your website to find common risks such as cyber-attacks and hardware failures, as well as human errors. Once you figure out these risks, you can calculate how risky it could get if any of these problems happen.
This will help us make a plan to deal with disasters better.
2. Creating Backups
The next major step is to create a backup of the website’s files and data. For this, you can use WordPress plugins such as UpdraftPlus.
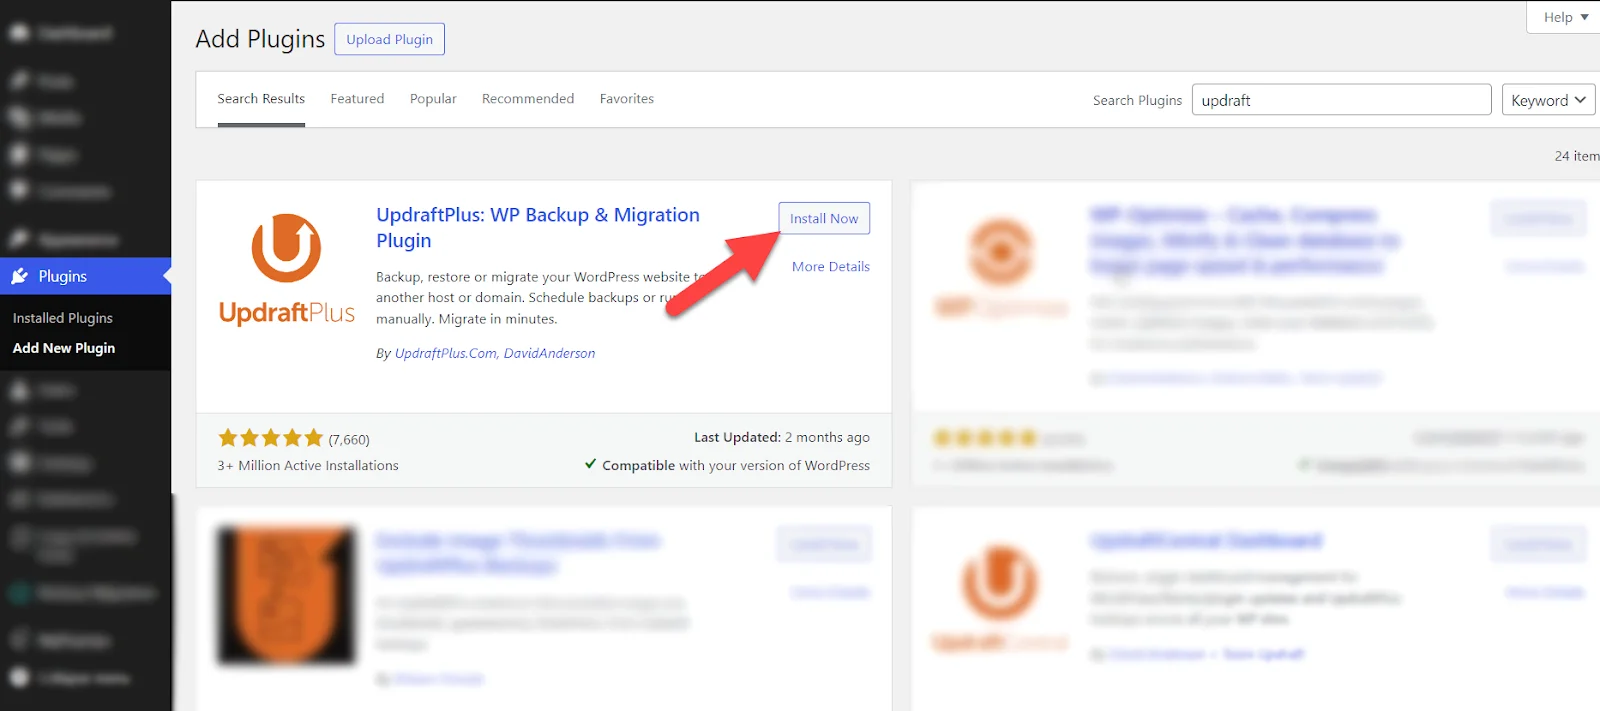
There are two types of backups to choose from.
- Full Site Backup: This type of backup makes an exact copy of your whole website, including all files, codes, or any customisation you have made. If something goes wrong, you can restore your website exactly as it was using this full-site backup.
- Incremental Backup: The second type of backup only saves the changes you make to your website. It doesn’t take up as much space, but there’s a risk of inconsistencies when you try to restore it. In simple words, it is more complicated in comparison.
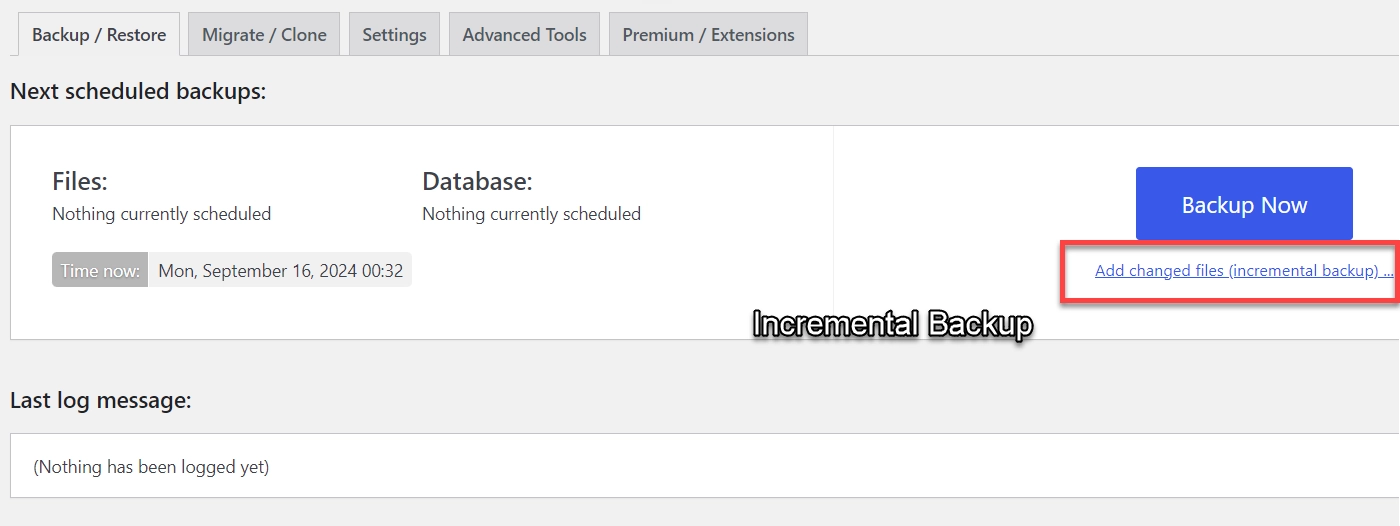
Therefore, pick a backup type depending on the size of your website and the available storage.
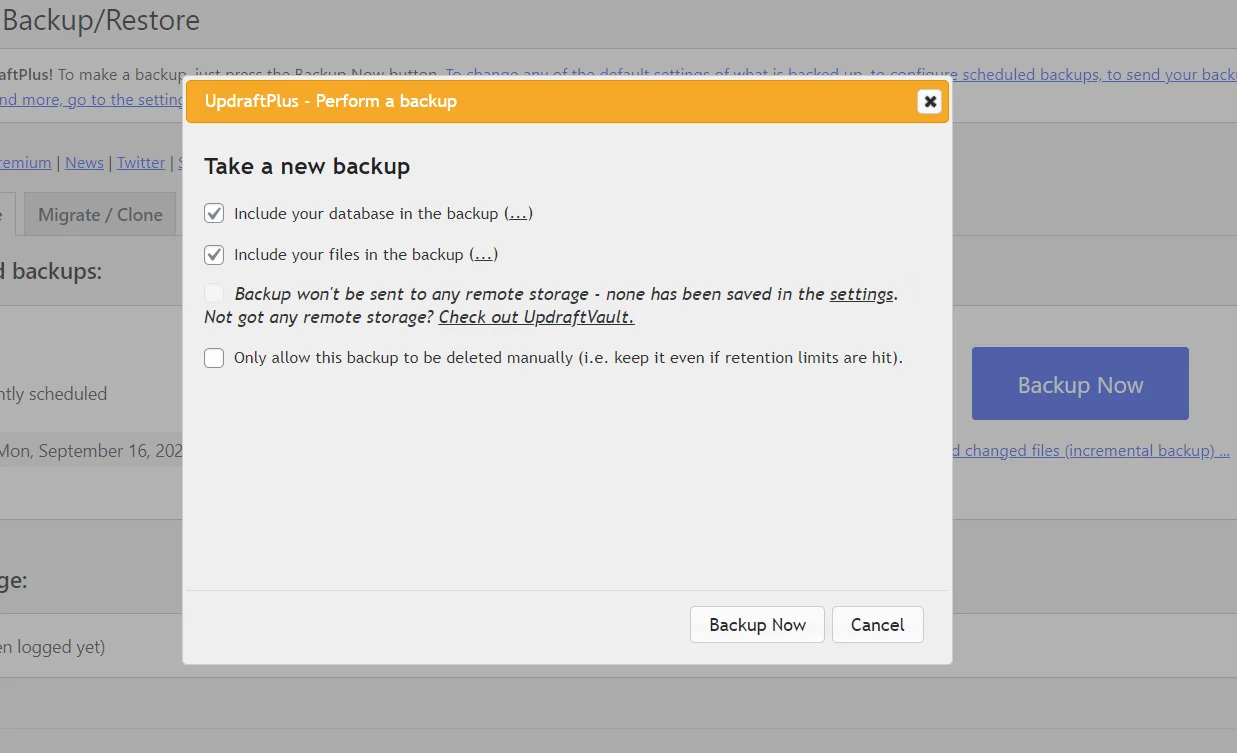
For smaller websites, you should always go for full-site backups as they are more reliable.
3. Securing and Testing Backups
You need to encrypt your backups to ensure their security.
Most backup plugins come with their own security and protection measures. Once you create a backup of your website, encrypt it with secure passwords.
After you have created a backup of your website with BackupBuddy or a similar tool, make sure to test the backup by restoring it on a test environment. This will help you confirm that your backups are valid and complete and will work when needed.
4. Recovery Procedures
Restoring your website from a backup is an important step for recovery after a disaster. Here’s a detailed guide on how to restore and verify a backup successfully to make sure it works well:
Steps for Restoring Your Website from a Backup
Access the Backup Files: Locate the backup file you previously created. If you’re using a plugin like BackupBuddy or UpdraftPlus, access your backup through the plugin’s dashboard.
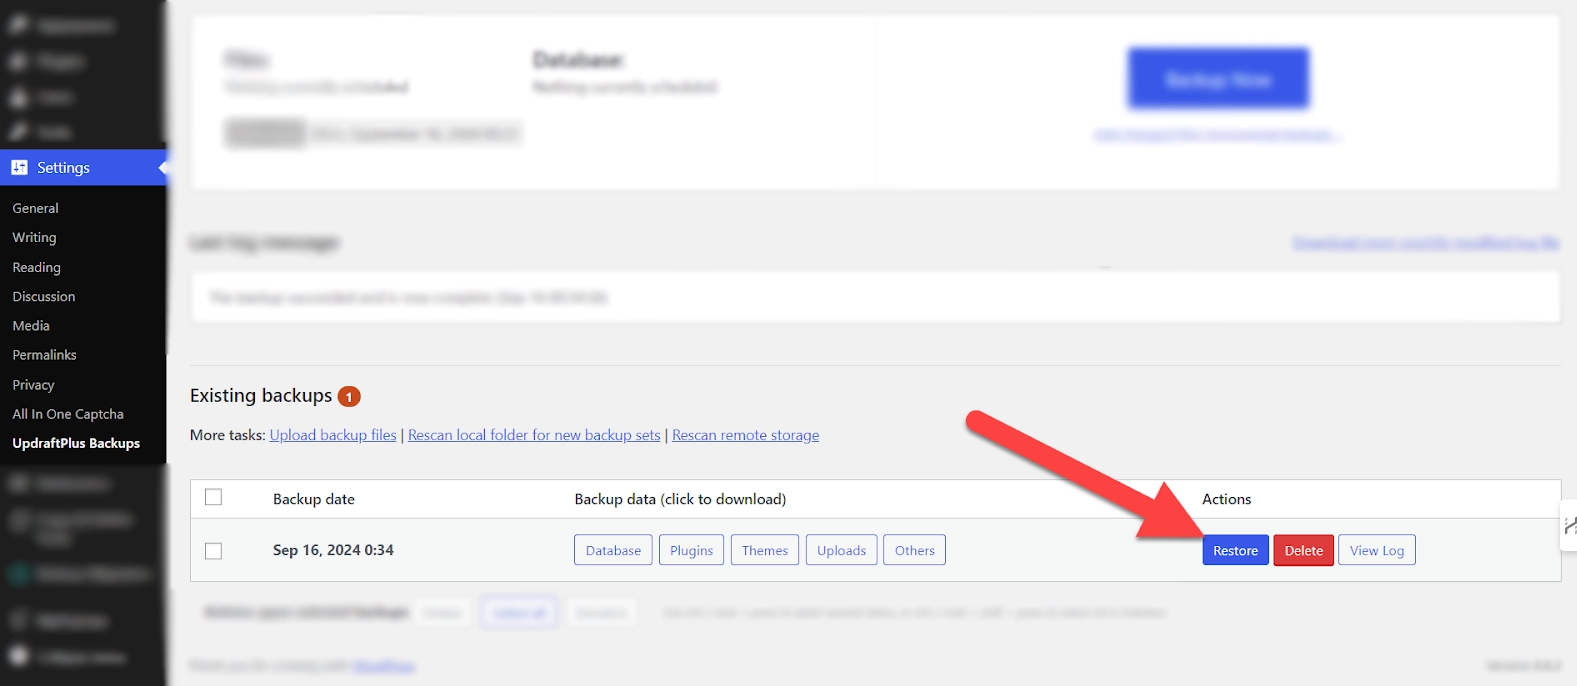
Upload Backup to Your Server: If your backup is stored locally, upload it to your website’s server. This can be done through your hosting control panel (such as cPanel), FTP, or through your WordPress plugin’s restore feature.
Restore the Database: The database holds all your website’s content, settings, and user information. If you’re using a backup plugin, restoring the database is often automated. Otherwise, you can restore it manually through tools like phpMyAdmin by importing the backup SQL file.
Restore Website Files: These include WordPress core files, themes, plugins, and media uploads. Using your backup tool or manually through FTP, overwrite the corrupted or missing files with those in your backup.
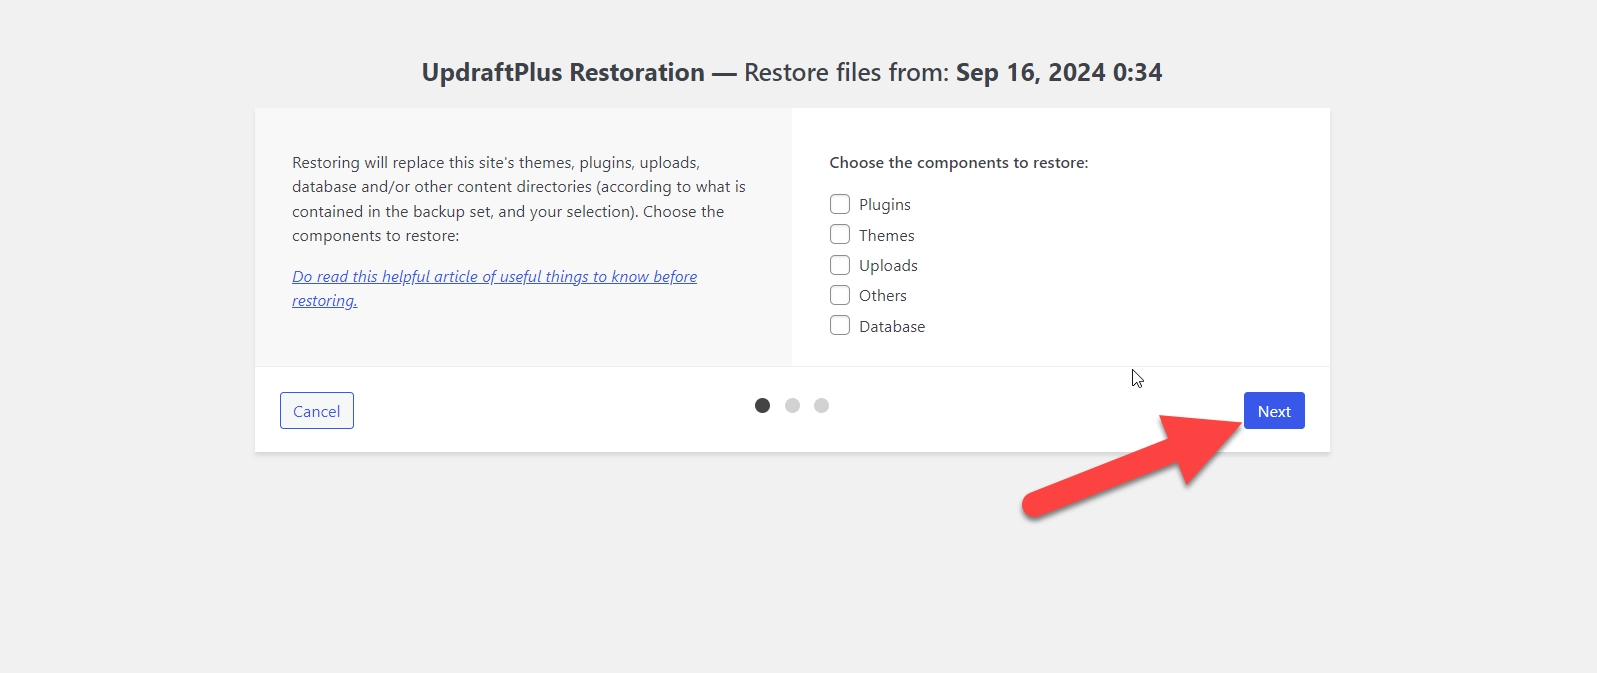
Restoring Backup Step 2:
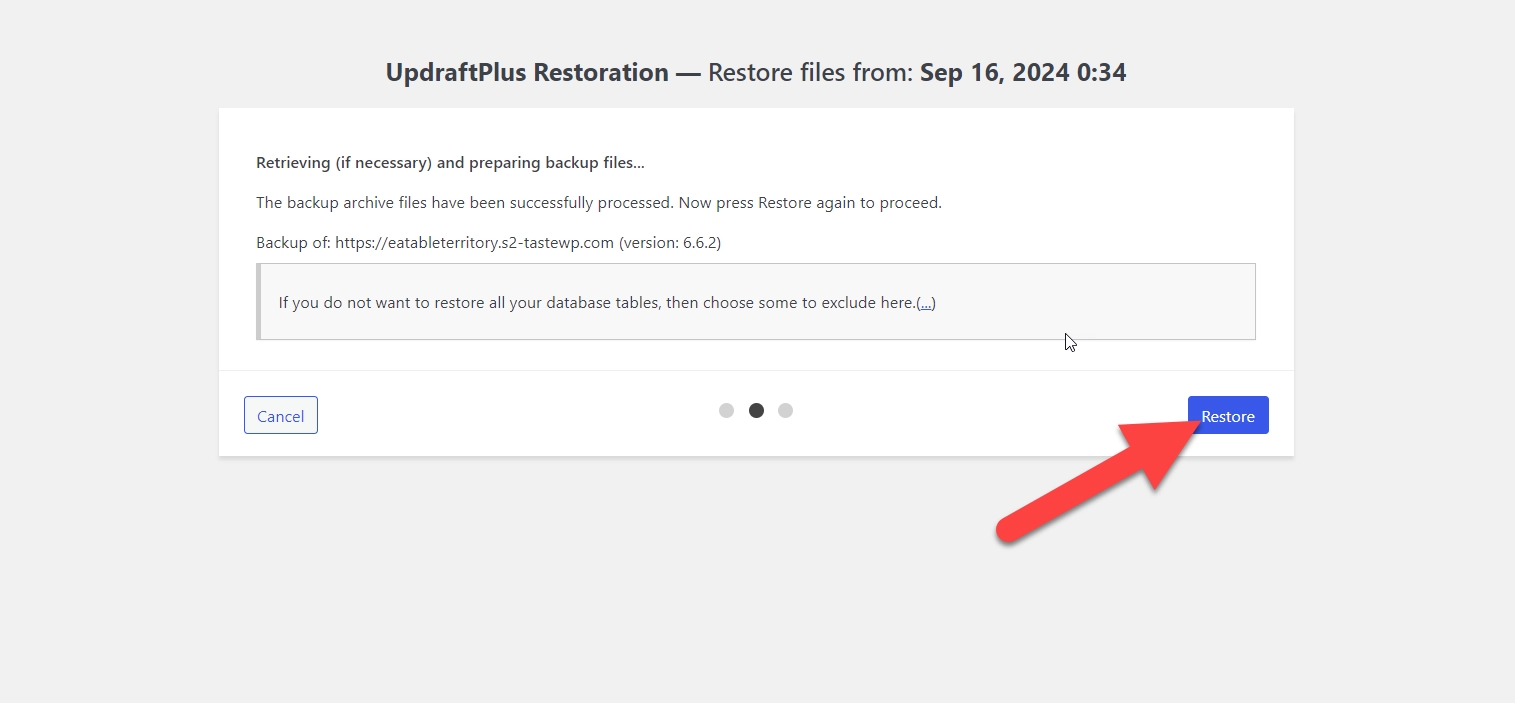
Run a Test: Once you are done with the restoration process, it is important to test your website in a staging environment (or a test site) before making it live.
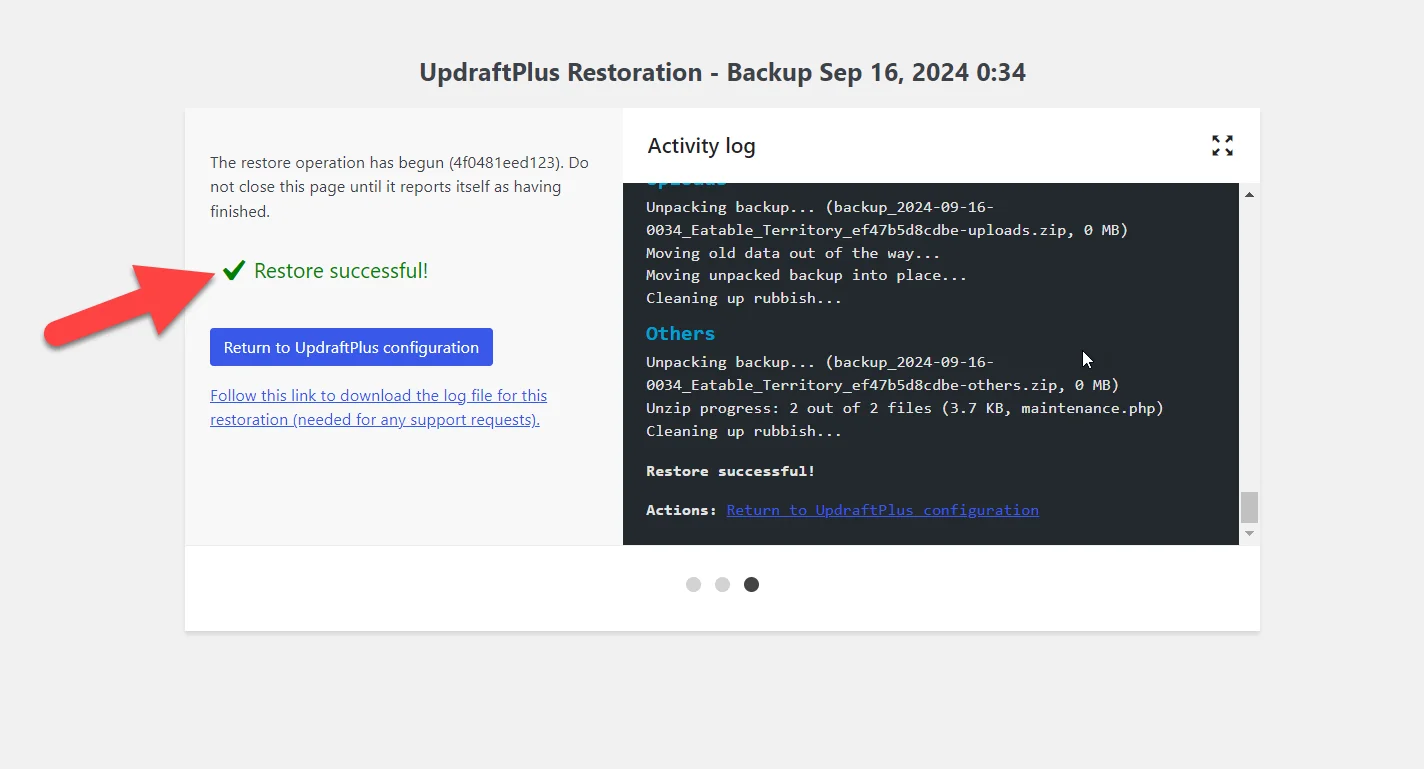
This way, you can check that everything is working correctly without creating issues on the actual live site.
What to Verify After a Successful Restoration
After restoring your Website, your job isn’t done. You need to verify several things to ensure that everything went correctly. Therefore, once you’re done with recovery, do the following.
Website Functionality
Click through your site and make sure all the pages, posts, and links are working properly. It’s always a good idea to double-check that nothing went wrong during the restoration process.
Database Integrity
Head over to the admin dashboard and make sure all your content, users, and settings are back in place. Everything should look just the way it did before.
Plugins and Themes
Check that all your plugins and themes are running smoothly. Look out for any plugins that are broken or any pieces missing from your theme.
User Data and Comments
If your site depends on content created by users, it is necessary to double-check that nothing important went missing during the backup restoration.
SSL Certificates
Make sure your SSL certificate is still active and that your site is loading securely with HTTPS. Sometimes, after a restore, SSL settings can get a little off.
Search Engine Visibility
Also, check that your site is still visible to search engines. Restoring your site can sometimes reset these settings, so just pop into “Settings → Reading” in WordPress to be sure.
Security Check
Finally, run a quick security scan to make sure no malware or vulnerabilities were added during the process. It’s better to be safe and secure after recovering your site.
Best Practices for Smooth Disaster Recovery Workflow
Having a well-structured plan in case of disaster recovery is important to reduce any chances of downtime and data loss. Let’s break down the best ways to do this:
1. Define RTO and RPO
RTO (Recovery Time Objective): This tells how quickly you need to restore your website after an incident. The shorter the RTO, the faster your recovery plan should act.
RPO (Recovery Point Objective): RPO defines how much data loss is acceptable during recovery. It determines how frequently backups need to be taken.
2. Create Step-by-Step Instructions for the Team
Next, you can also create step-by-step instructions for your team on how to act on the recovery plan. Assigning roles and responsibilities should make the process smoother. The general instructions should cover how to:
- Access and retrieve backups
- Restore the website’s files and database
- Verify that the restored site is functioning correctly
3. Ensuring Business Continuity During Disaster
To maintain business continuity during a disaster, your priority should be keeping essential functions online.
This means making sure customer support and key services offered by a business keep running, no matter what. Use short-term solutions like email and social media to communicate with customers and handle sales.
For example, you can guide customers to other ways to buy your products or give them updates on what’s happening.
Moreover, you should implement a maintenance page on your website to let users know about any downtime. Make sure to include important info like when things are expected to run again and how they can contact you if needed.
Conclusion
An average of 30,000 websites are hacked daily worldwide. Most of these are caused by malware infections that redirect users or steal information. This highlights the importance of having a recovery plan in case any such event occurs.
A disaster recovery plan protects your business from the risks of data loss, downtime, and cyber-attacks.
To create a recovery plan, first, you have to analyze all the potential risks to your website. Then, start by backing up your site and proceed to the next steps. It is important to divide all the tasks among your team for a smoother website recovery.


0 Comments