
Designing non-intrusive popups is key if your audience wants to take a certain action. The aesthetics should correspond to your brand, so it doesn’t look like another unrelated advertisement.
Therefore, use the right color scheme, visible font, and appropriate popup layout, plus offer an incentive.
Give users a reason why they should take a certain action.
Additionally, take advantage of your website analytics to know whether to include your popup on the page so that users can take the relevant action. If the average user time on a page is 30 or 45 seconds, why not include it around that time?
This article will provide more information on popup design ideas, how to create popups in Elementor, and some great design principles to ensure your popup achieves your goals.
How to Create Non-Intrusive Popups Using the Modal Popup for Elementor
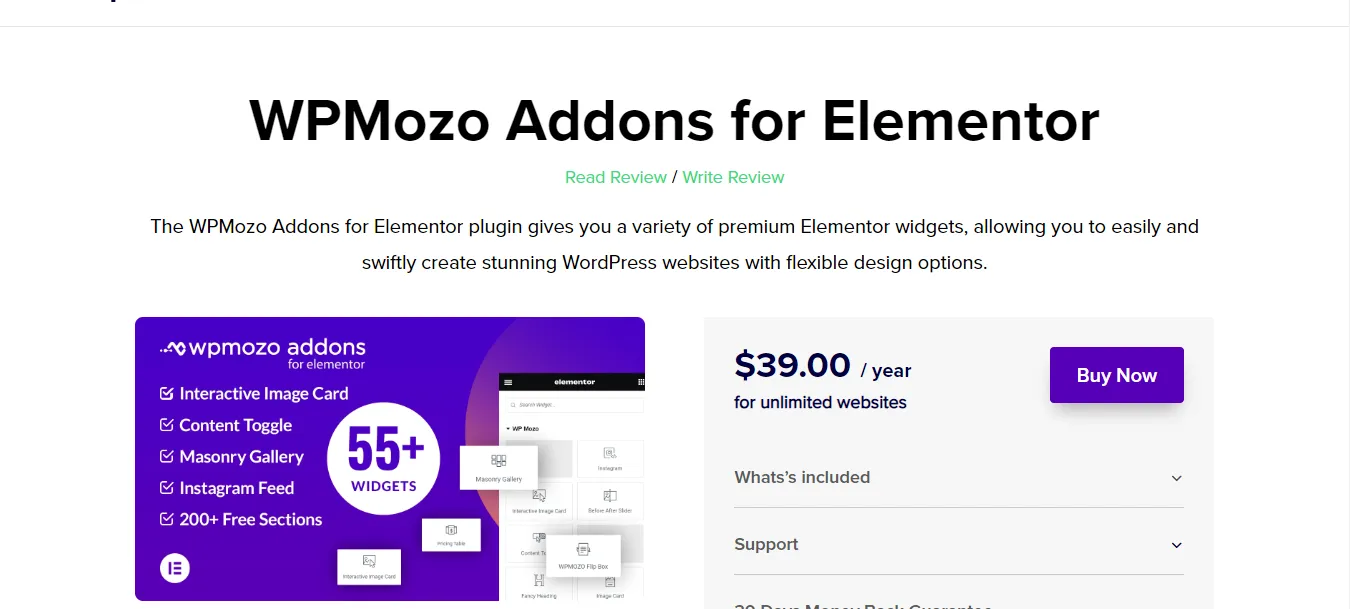
When choosing a WordPress popup plugin, look for one that will create a design that won’t be intrusive to a user but deliver the right message. WPMozo Elementor Modal Popup is one of the best tools that you can use to create multifunctional popups in Elementor with the right aesthetics.
Step 1: Choose a Subscription for the Elementor Modal Popup
First, you will need to purchase the WPMozo Elementor Modal Popup at $39/year which you can use on an unlimited number of websites. After purchase, download the plugin to create popups in Elementor.
Step 2: Add It to Your WordPress Site
Navigate to your WordPress site dashboard → Plugins → Add New → Upload Plugin → browse for the Elementor popup widget plugin folder to upload. Once installed, click the WPMozo option on the dashboard sidebar, and you will see all the add-ons it comes with.
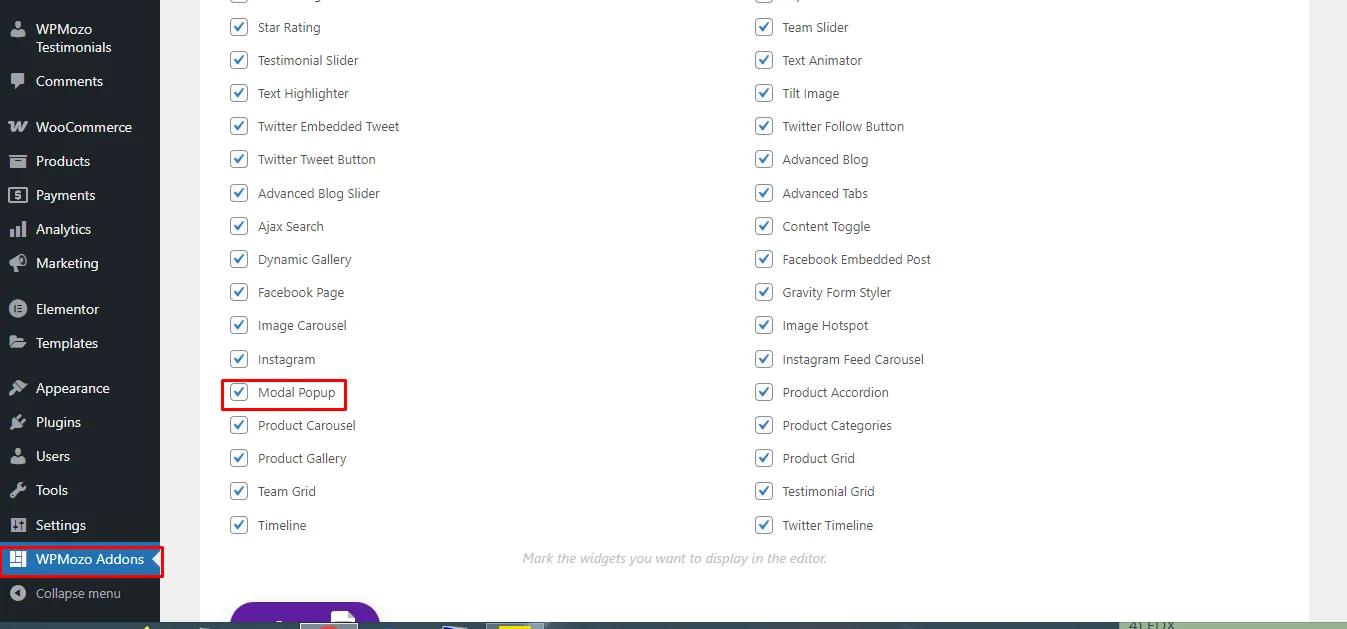
You can choose to select a few add-ons you would want to work with at the particular session, or all of them. Ideally, make sure the Elementor popup widget (Modal Popup) is selected and Elementor page builder is installed.
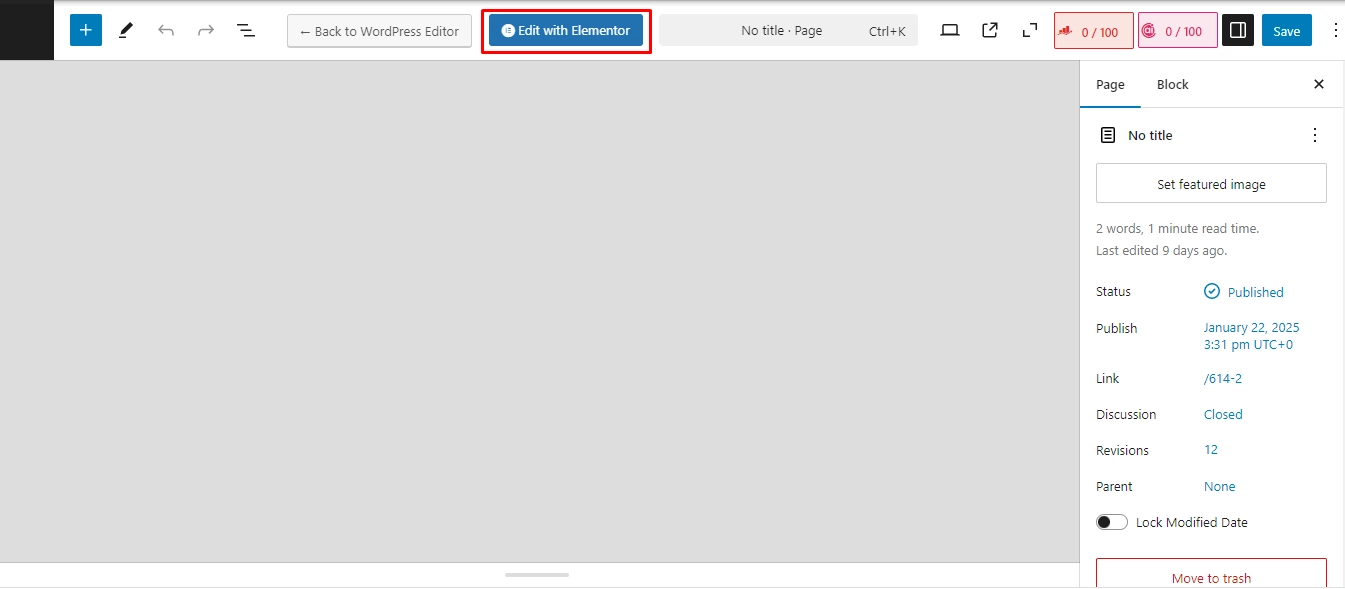
Step 3: Customize the Popup in a Page or Post.
Once everything is set, proceed to choose a page or post that you would want the popup to appear. If the page is using the default WordPress editor, switch to the Elementor editor, by clicking the button at the top bar.
Step 4: Search for the WPMozo Modal Popup Widget
On the side menu of the Elementor interface, scroll till you find the WPMozo section, and select the Modal Popup widget. Click on it, and the Elementor popup widget will appear in a section on your page.
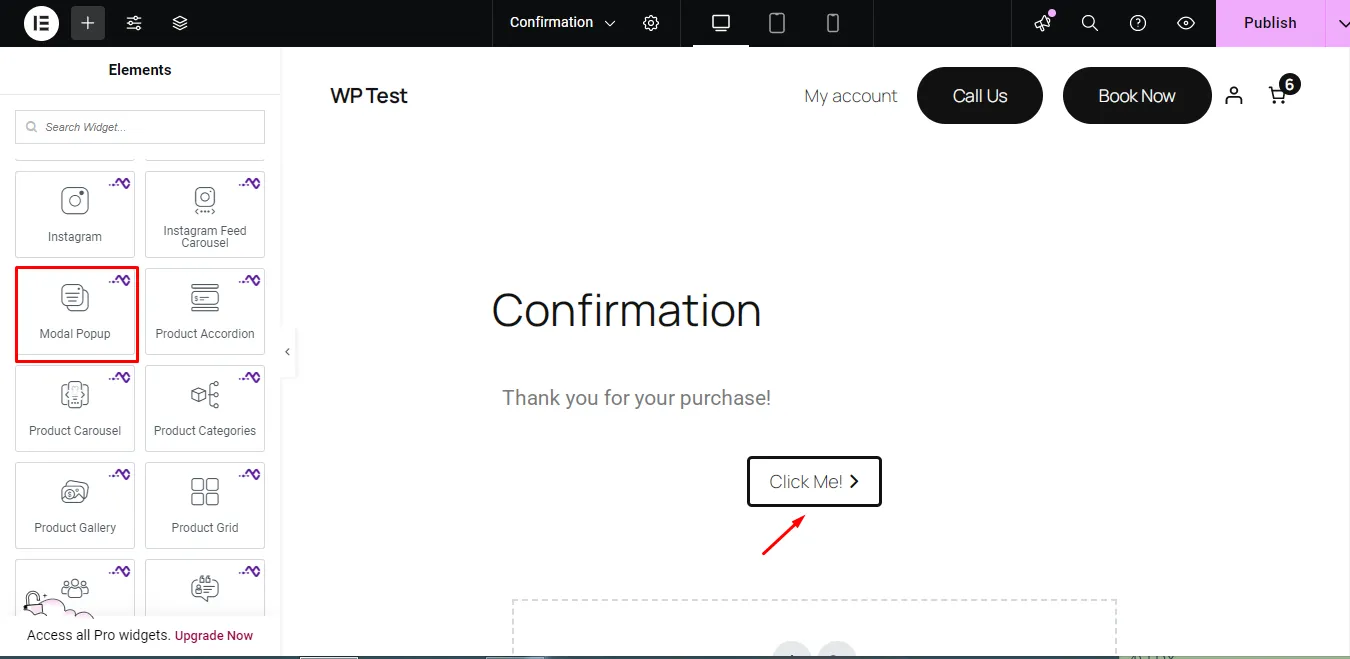
Click the Click Me option to go to the popup interface.
Step 5: Customize the WPMozo Modal Popup
WPMozo Modal Popup widget features a wide variety of options that you can use to customize the popup. You can customize the content, style, or advanced options. It all depends on how you want the popup to appear.
Step 6: Modify the Popup’s General Content Outlook
First, modify the popup’s general content outlook. You will need to start with the:
a) Configuration Option
Here, you can modify the:
i) Modal Unique ID – This is the ID that identifies the specific popup modal since you can have several ones.
ii) Trigger Type Based on Element, On Page Load, Or Intention Of It.
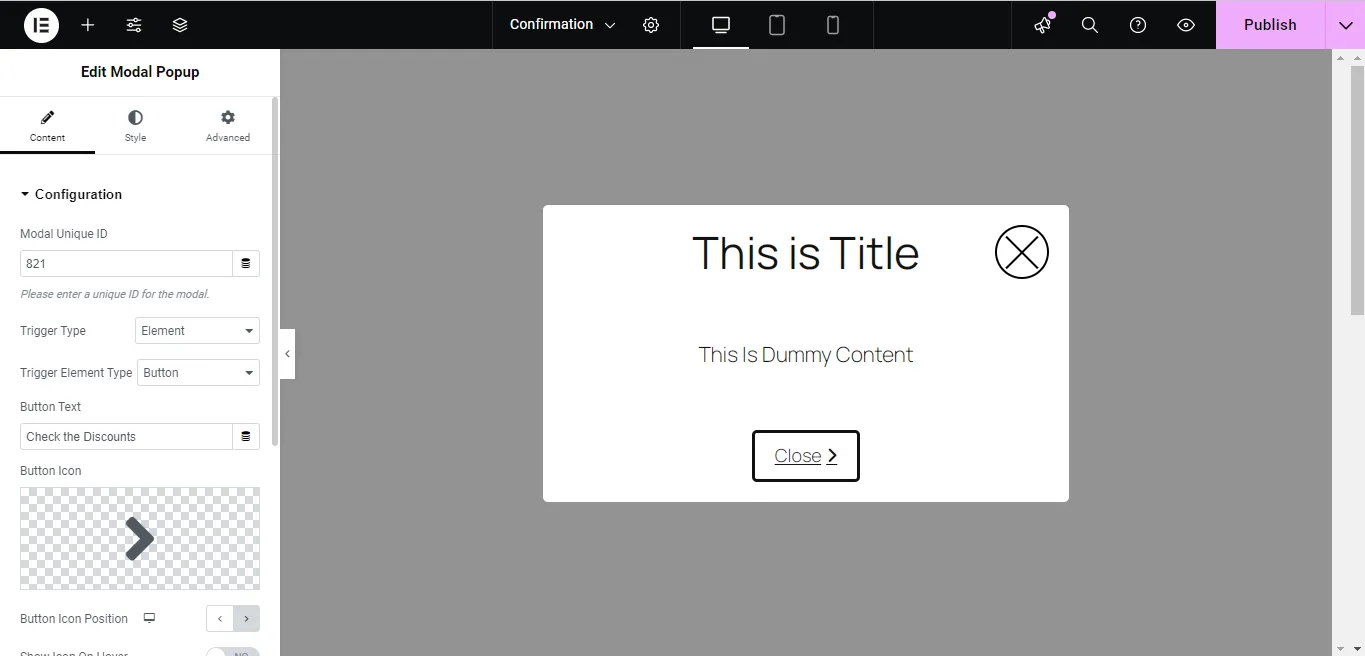
- When you choose the element option, you will need to choose the trigger element type such as button, image, icon, text, element CSS ID, or Element CSS Class.
- For the on-page load option, you will need to choose the trigger delay duration, re-render the modal on the page visit again, and the ability to close the modal on escape.
- For the exit intent, you need to allow or not allow users to close through the escape option.
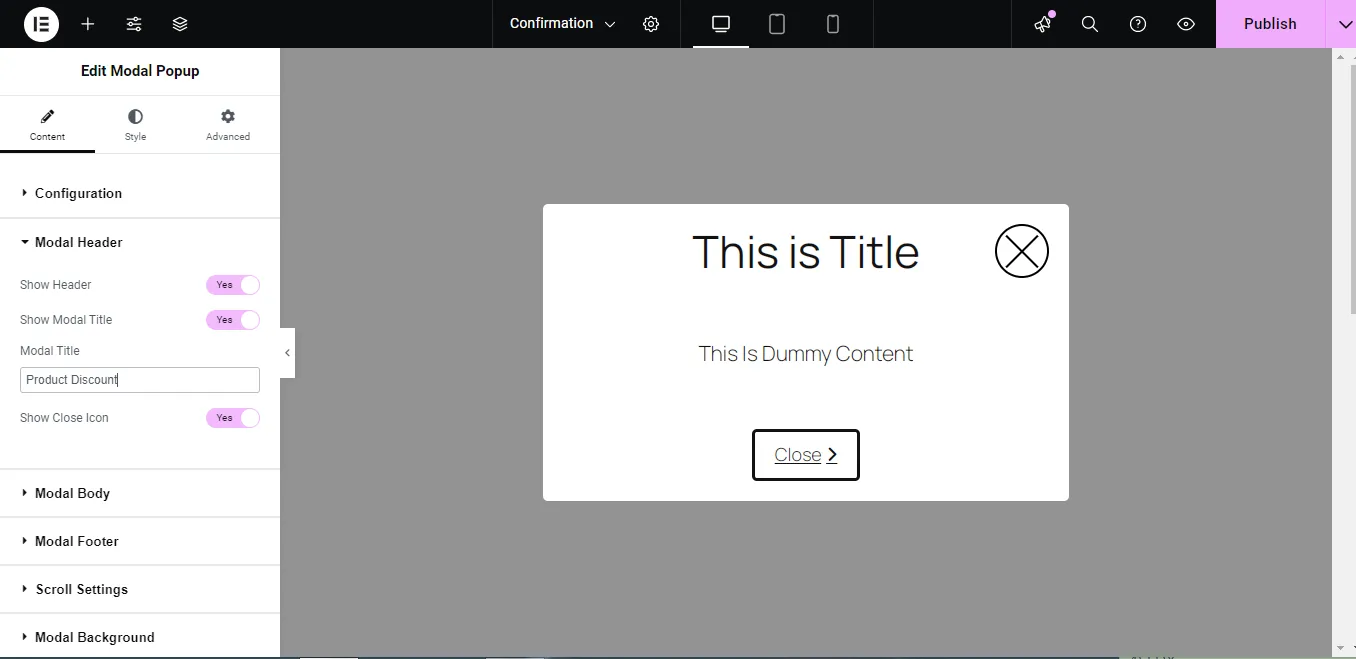
b) Modify the Modal Header Settings
Through the modal header settings you can easily enable or disable showing the header, showing the modal title, change the modal title and show/hide the close icon.
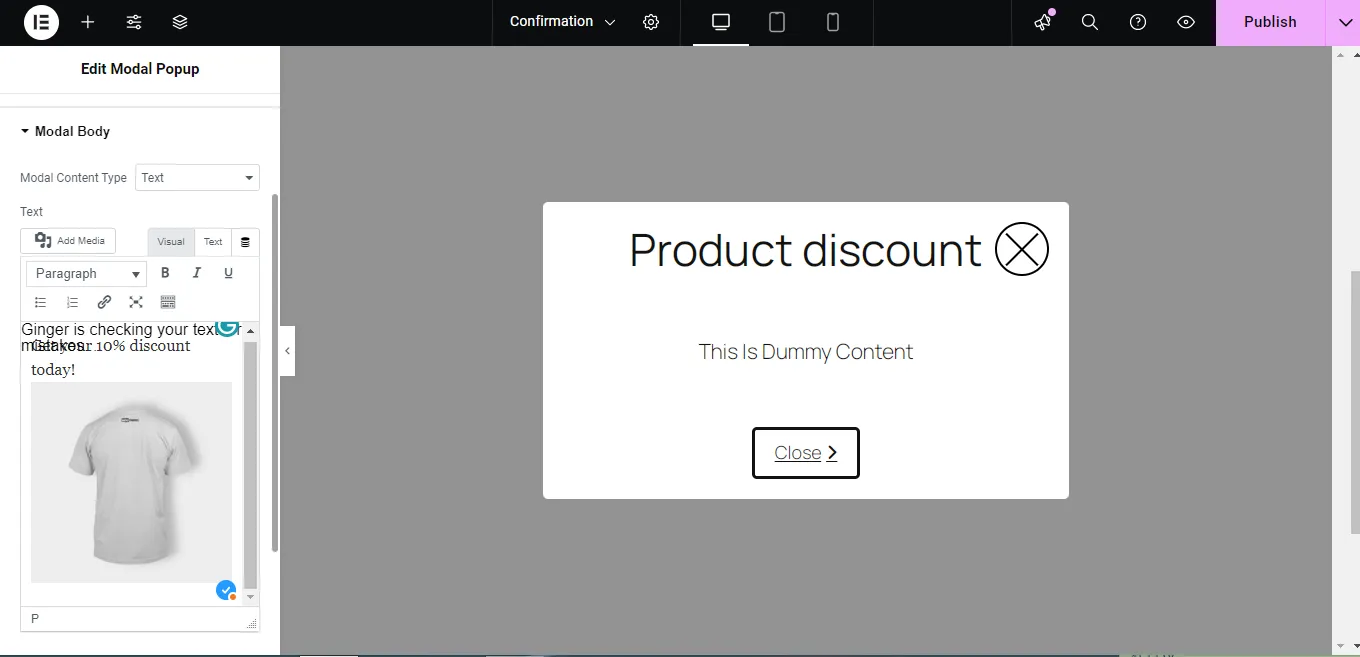
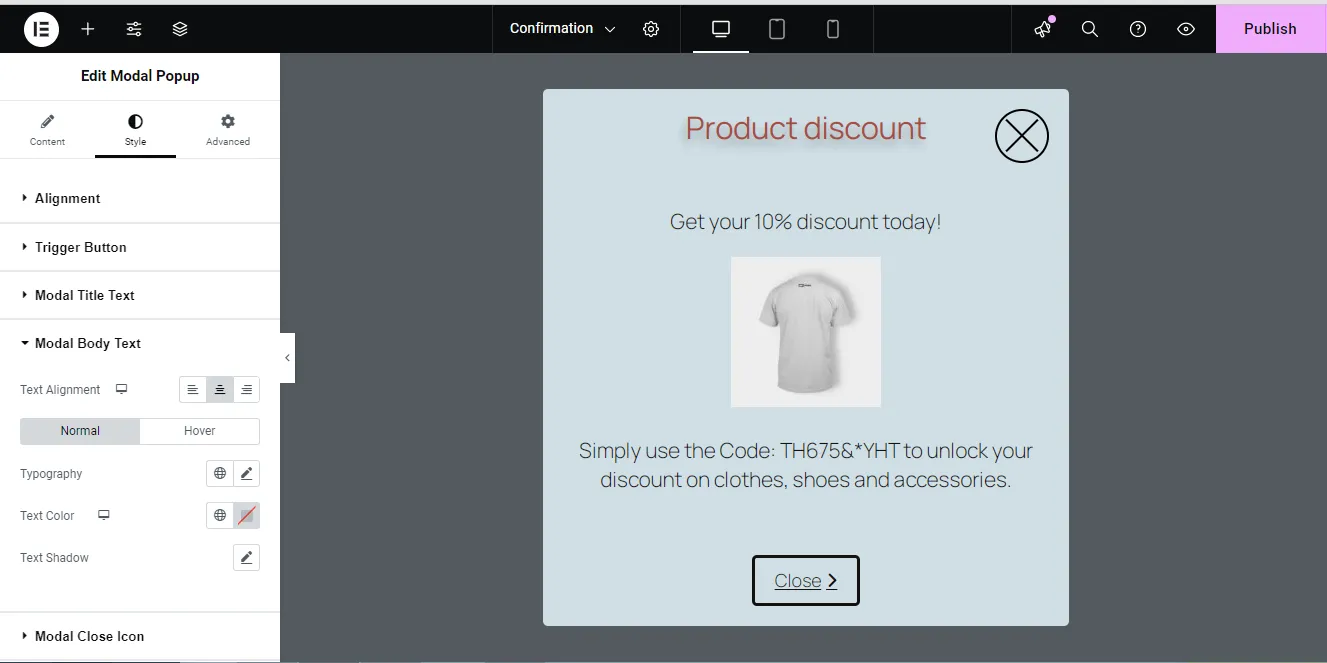
c) Modify the Modal Body settings
Through the Modal Body settings, you can change the body outlook and content type either to be a text, image, video, or choose from the Elementor library layout.
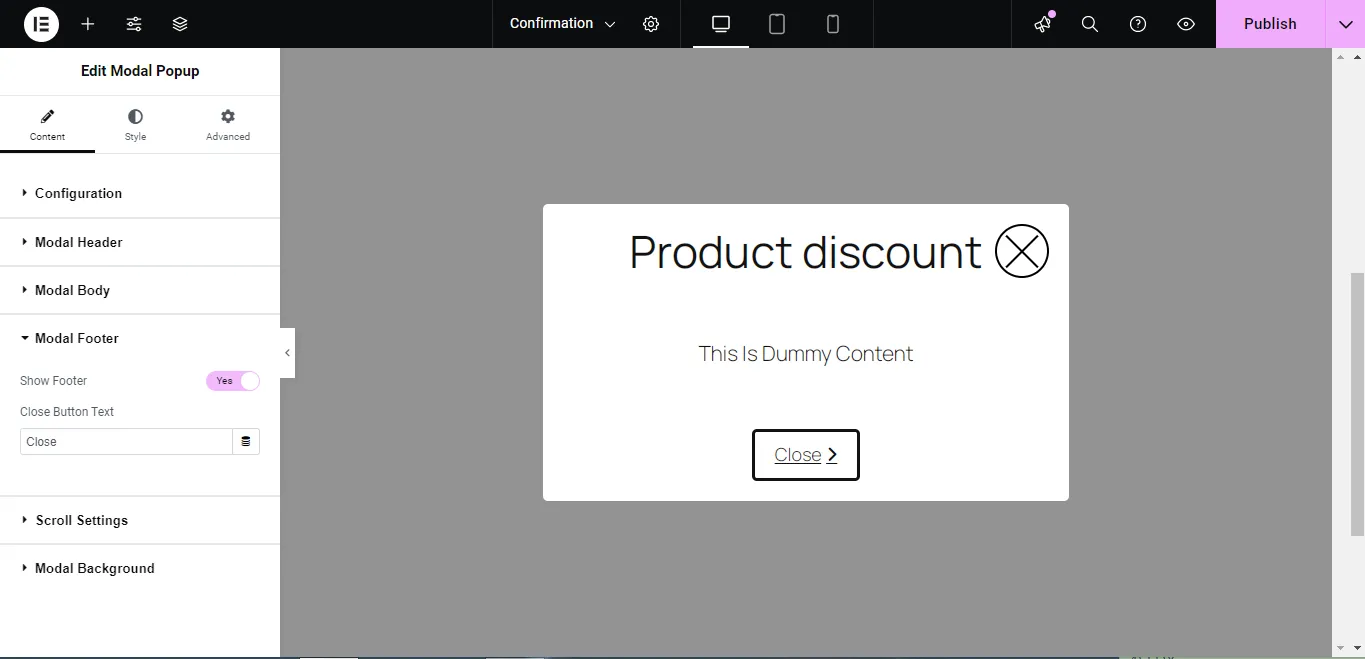
d) Modal Footer Settings
Through the Modal Footer option, you can choose to either show the footer or not, plus change the footer button text.
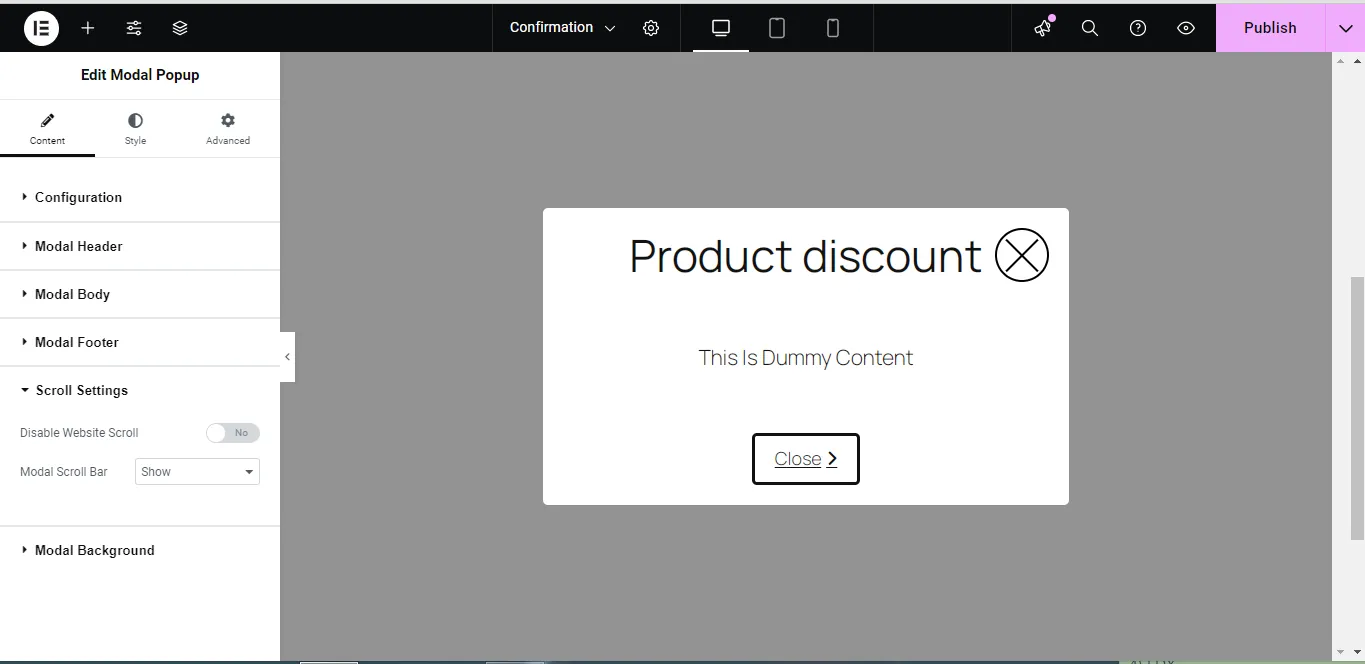
e) Scroll Settings
You can also modify the settings to disable the website scroll and even show the modal scroll bar.
f) Modify the Modal Background
Proceed to modify the modal background, by modifying the trigger element background either by classic or gradient formatting, add an image if you prefer, change the background overlay, add an image (optional), and modify the modal background and modal header background.

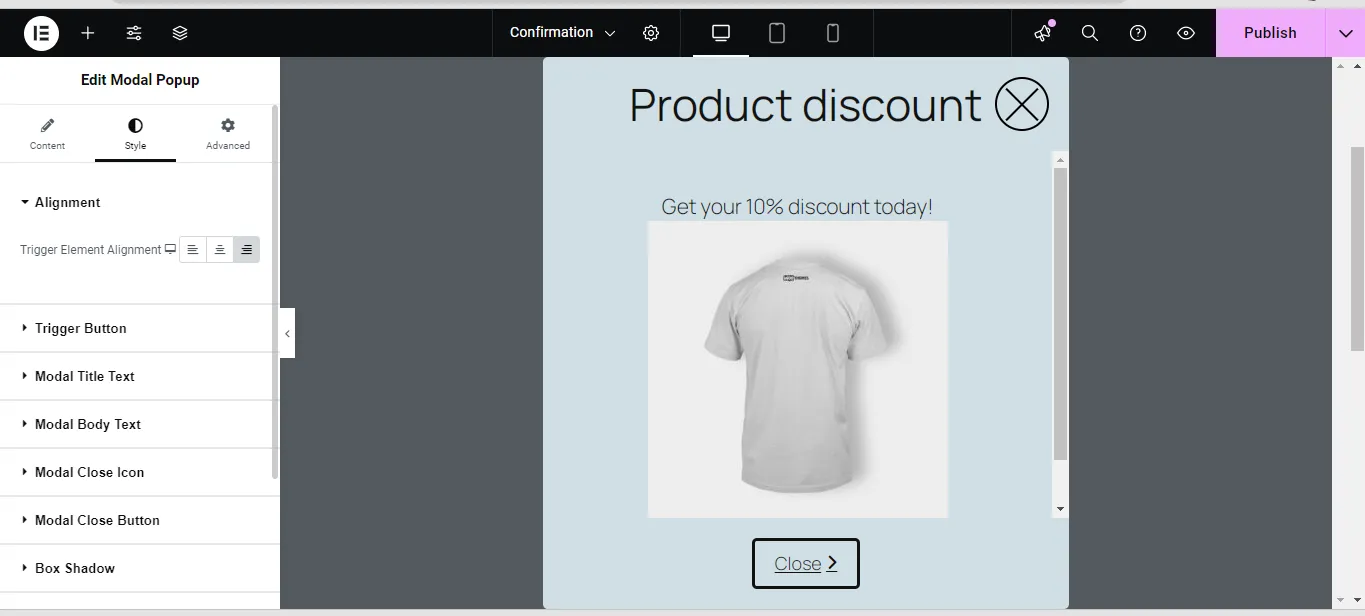
Step 7: Modify the Popup Style
Proceed to modify the popup style. You can do this through:
a) Alignment
The Alignment option is where you can align the popup to the left, right, or center of the screen.
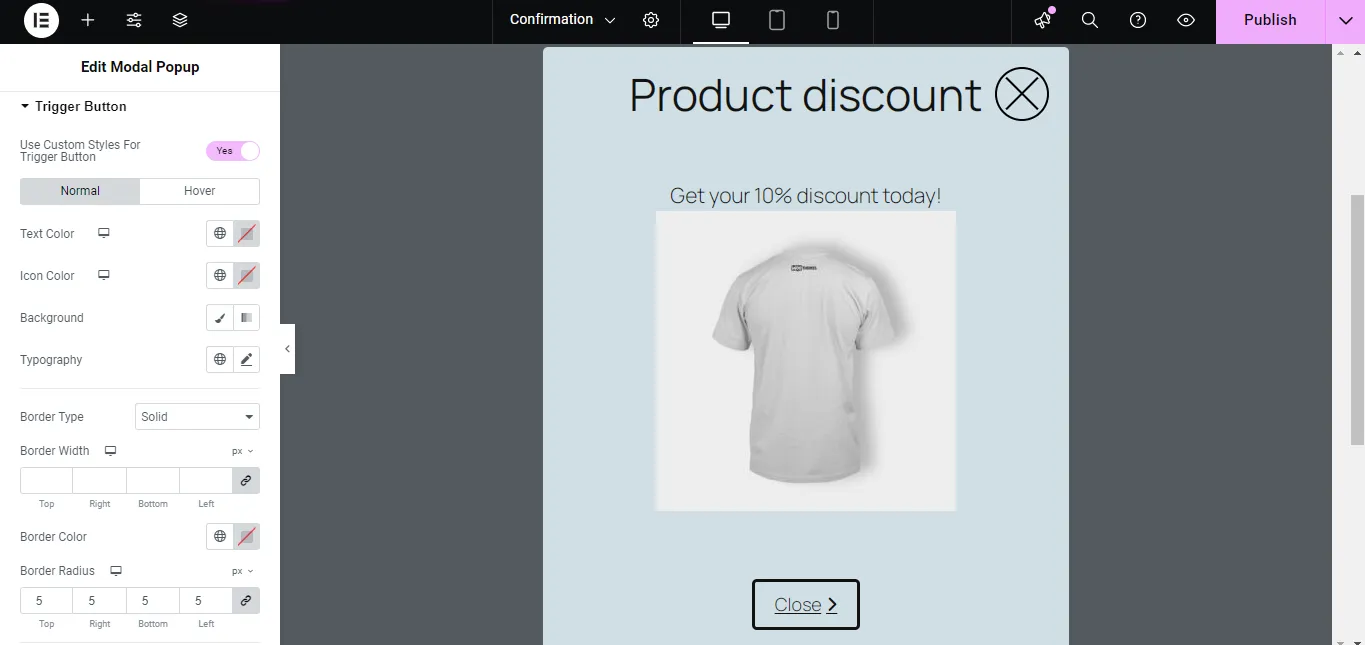
b) Trigger Button Settings
Proceed to modify the trigger button based on text color, icon color, background, typography, button type, border width, border color, border radius, text shadow, button box shadow, trigger button margin, and trigger button padding.
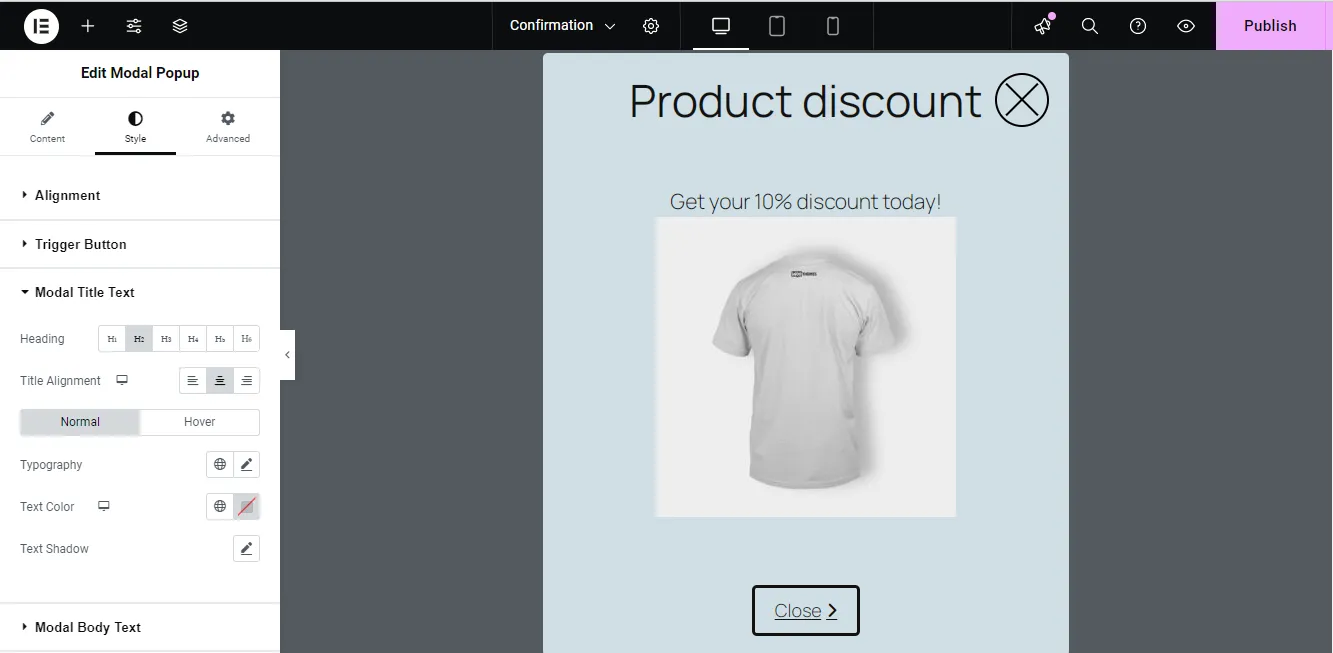
c) Modal Title Text Style Settings
These settings will allow you to modify the modal title text heading and change its alignment, typography, text color, and text-shadow.
d) Modal Body Text
Proceed to change the modal body text style settings that include the text alignment, appearance on hover or normal appearance, typography, text color, and text-shadow.
e) Modal Close Icon and Button
Proceed to modify the Elementor popup close icon and button based on your needs. You can change the icon, color, alignment, position, and hover options.
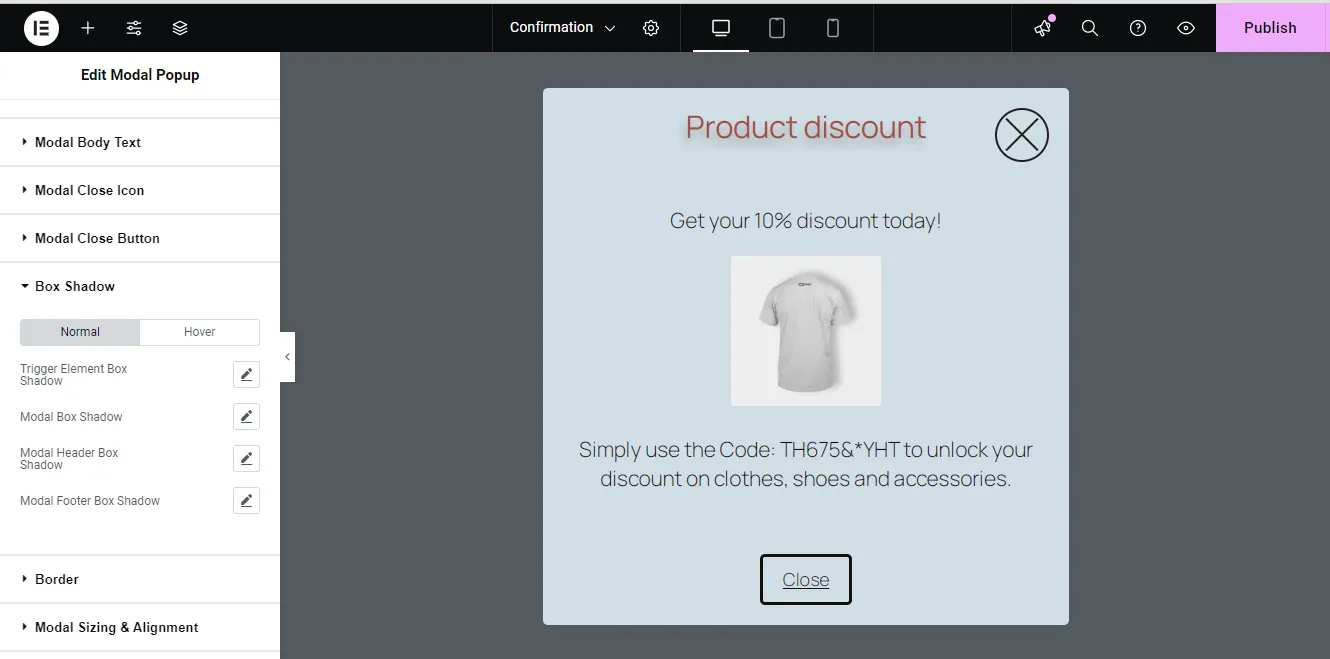
f) Box Shadow and Border
Once satisfied with the previous settings, proceed to modify the trigger element box shadow, modal box shadow, modal header box shadow, and modal footer box shadow. You can also change the modal border and Modal Border radius.
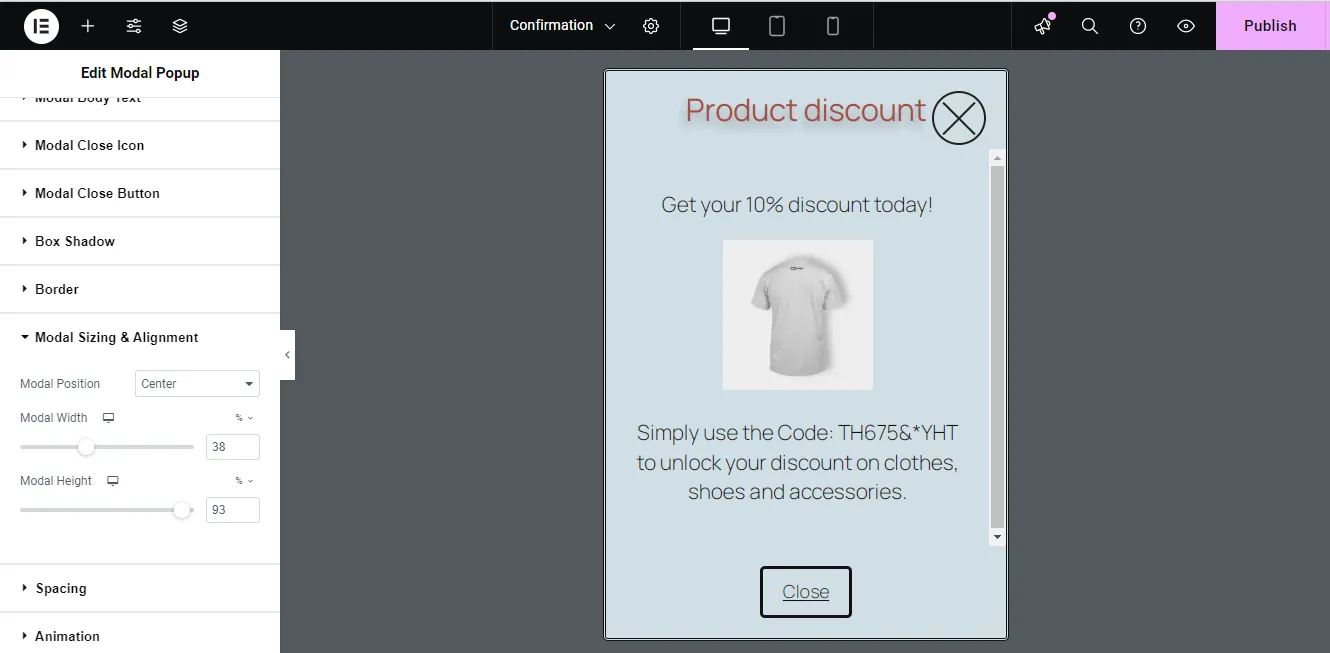
g) Modal Sizing, Alignment, Spacing, and Animation
The popup sizing and alignment option is among the most important. It allows you to change the modal size, modal position, modal width, modal height, and spacing based on padding and margin. You can then modify the animation options to change how the popup appears on the page.
Step 8: Modify the Advanced Settings of the Elementor Popup Widget
Proceed to modify the advanced settings based on:
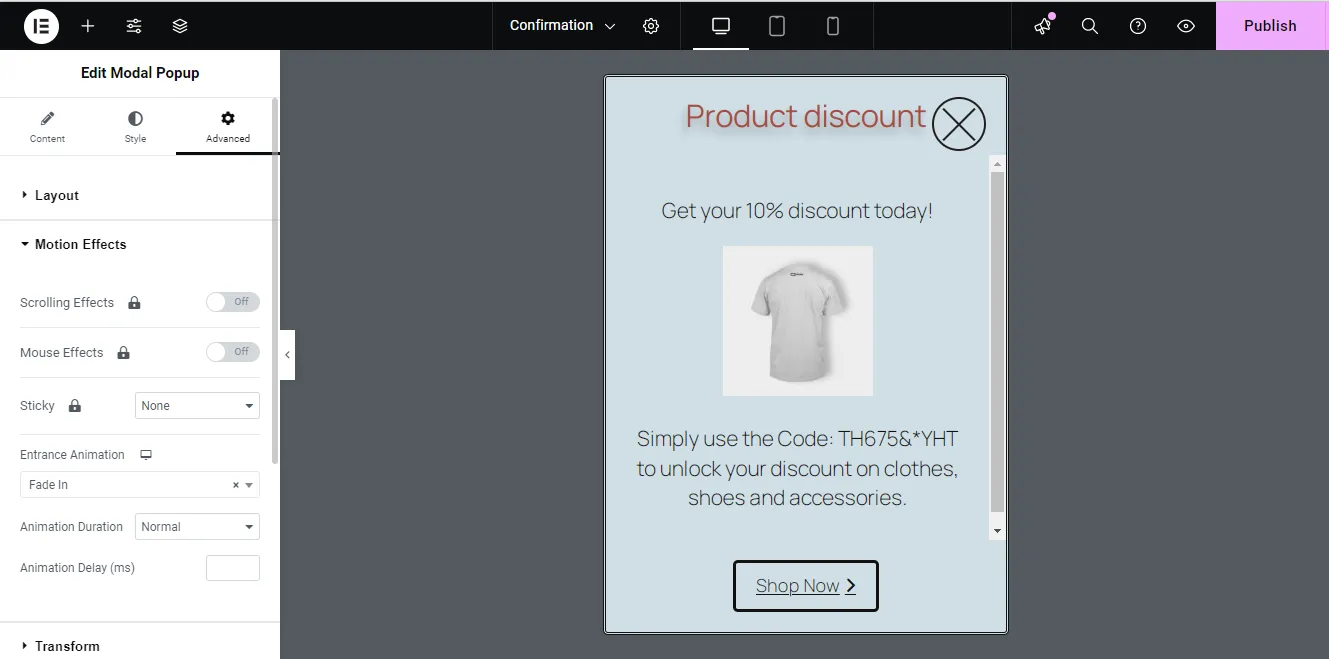
a) Layout and Motion Effects
You can change the layout based on padding, margin, and grid item. The various customization will change how the popup appears. Additionally, through the motion effects settings, you can change the scrolling effects, mouse effects, sticky nature, entrance animation, animation delay, and animation duration.
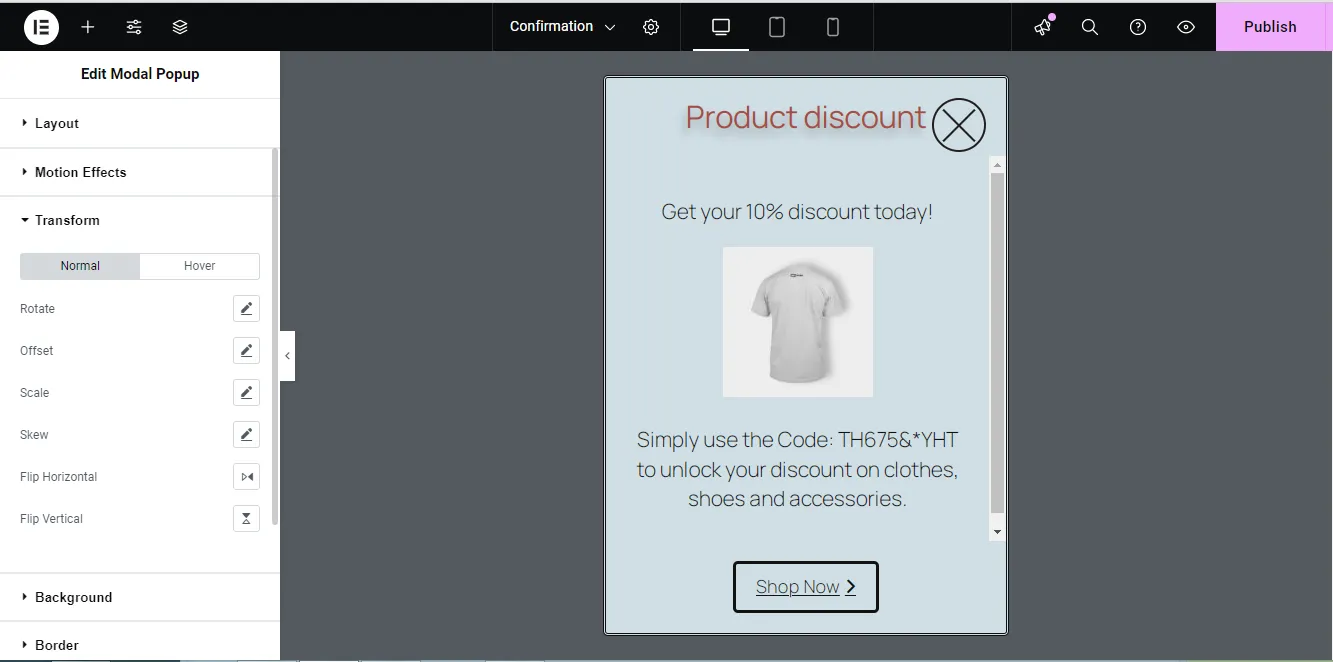
b) Transform and Background Effects
To transform you can change the rotation, skews, offsetting, scaling, flipping horizontally, or flipping vertically. You can then modify the background based on classic or gradient color plus background type.
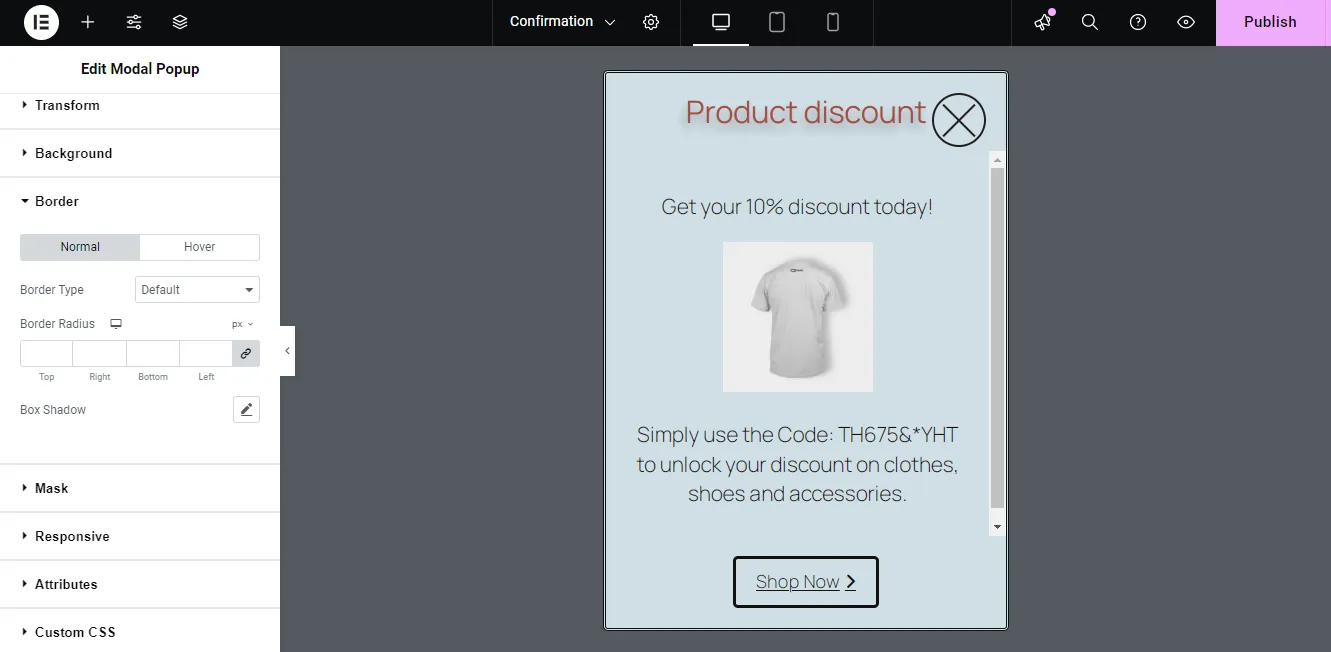
c) Border and Mask
It is also crucial to change the border style settings based on border type, border radius, and box shadow. Luckily, you can either enable or disable a mask.
d) Responsiveness, Attributes, and Custom CSS
You can use the responsive feature to change whether you want the popup to appear on a desktop, tablet, or phone. You may also add additional attributes and Custom CSS.
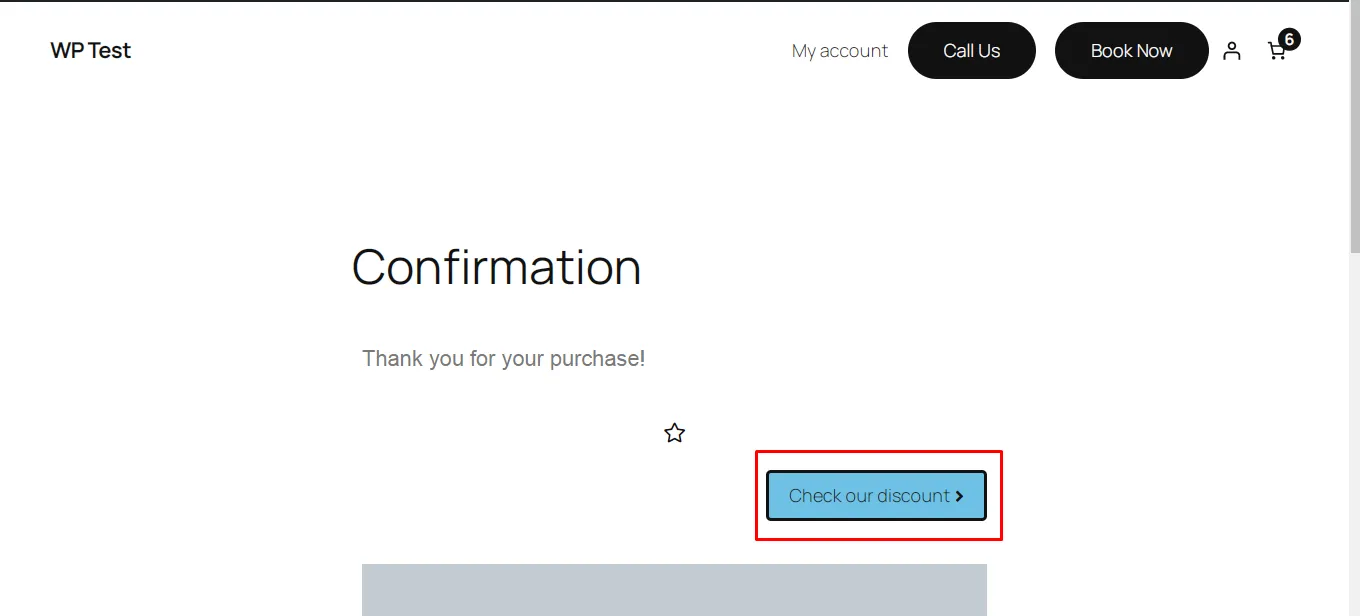
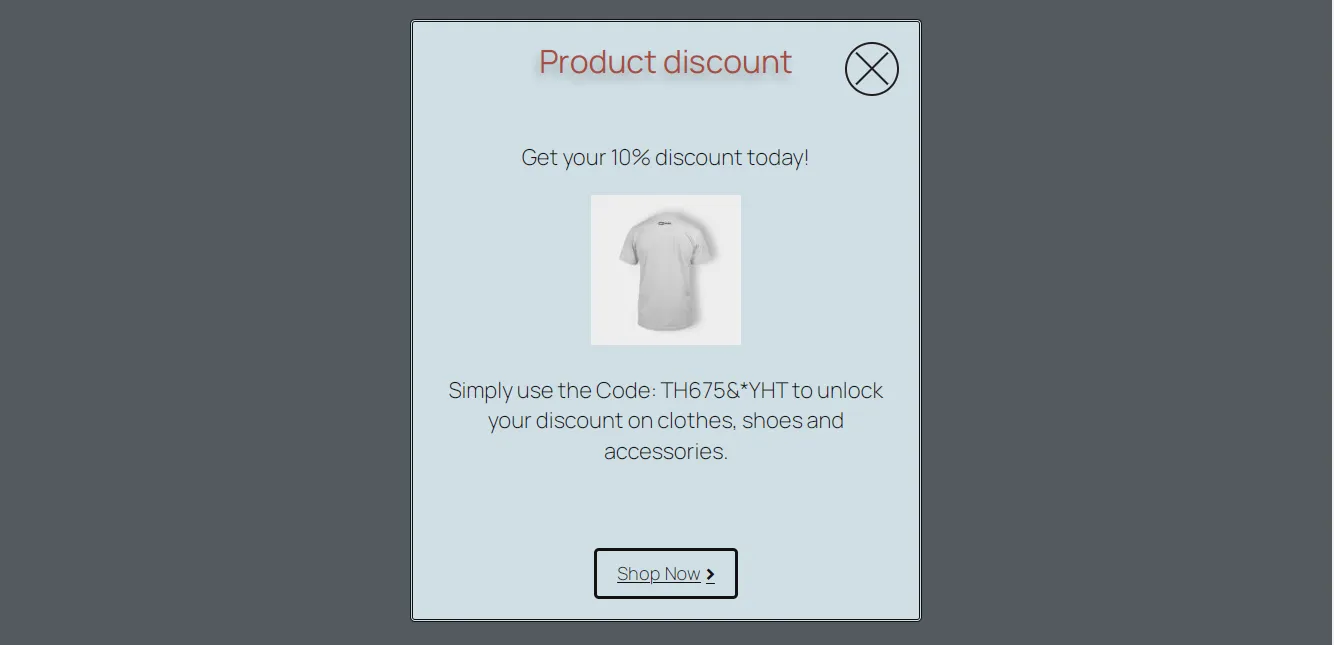
Step 9: Final Popup Look
The Call to Action Button to Click:
The Final Popup result:
Popup Design Best Practices
Popups are great if you want to build an email list, increase sales, showcase discounts, promote products, etc. It makes it easy for you to pass crucial information to your target audience.
Here are some popup design best practices.
1. Use the Right Format to Design It
The format you use to create a popup depends on the function you want it to perform.
You can choose to have it in the middle of the screen, move in from the side, full screen, or at the top or bottom bars.
While choosing a format, countercheck its responsiveness on different screens to ensure that even when checking through the phone, it won’t be annoying. Additionally, don’t disregard its aesthetic nature – make it attractive.
2. Make the Close Button Easy to See
Some people may not want to perform the said action and just want to browse the site or take the action later; therefore, making it easy for the user to find the Close button.
The close button shouldn’t be too close to the side of the screen, or excessively small, or a blurry color that is hard to see.
Make it visible so that website users don’t leave your site because of a popup.
3. Capture the Attention
Also, ensure that once a user sees the popup, their attention is captured, they see the benefit to get, and are prompted to take the next action, eg, buy a product, sign up for a newsletter, etc.
Also, ensure it is a minimalistic popup with essential information.
Moreover, make the call to action prompt clear with just one task to perform, eg, sign up, and not have too many actions to take that can easily confuse a user. Moreover, the Modal popup for Elementor makes it easy for users to create a great call to action prompt and even customize the button to ensure it is crystal clear what is needed.
4. Set the Pop-Up to Appear At a Great Time
The time you set for a popup to appear and disappear is crucial.
At times, if you set a popup to just appear immediately after a visitor accesses your site, it can disrupt their experience on the website, therefore, it would be more advisable if you set it after they have checked the content a bit.
For instance, if you want people to sign up to your blog, they will need to read it a bit, before they can sign up when they note it interests them.
Therefore, you can create a popup timing based on the amount of time used viewing a certain blog post – that’s more valid than just providing the popup before the user browses the website.
When choosing when a popup will appear, consider how many pages the users should have checked, how much they scrolled, whether you will show when someone is about to leave a site, the popup to show per unique page, or popup appearance after some period of inactivity.
You can get an average time for the popup to appear based on user website analytics.
5. Use Appropriate Visuals
Images and visual elements can easily capture a user’s attention. For instance, if selling clothing and offering a certain discount, you can include a visual person wearing some of the clothes, or a mock-up of the clothes which will help entice them to even want to check your products or services.
It easily guides user attention.
However, just make it minimal to effectively pass your message.
The view on a desktop can be different than on a mobile phone, so try and ensure the visuals don’t make the page load slowly, which can lead to people leaving the page.
Luckily, you can easily change the popup settings to hide a popup depending on specific devices.
6. Provide an Incentive
What will the users get in return? If it’s a blog, what about a free ebook? If an online store, why not give a 10% discount or coupon to reduce the price?
Give them a good reason why they need to sign up or even take a certain step. Remember to fulfill that promise to make them trust your website and business more.
You can even integrate other email marketing services to ensure you fulfill the promise. Also, use language that makes them see a sense of urgency so that they can’t postpone for later.
Therefore, don’t hesitate to show popup on the Elementor website if you want to achieve a goal.
7. Customize the Popups Based On Your Site
Furthermore, take a considerable amount of time when designing or customizing the popups to prevent being a nuisance to users. Just ensure they still provide users with a seamless user experience.
Additionally, the popups should comply with your website’s theme, and include some brand elements like colors, fonts, tone, logo, etc.
It should look natural and not just an advertisement.
The Modal Popup for Elementor fully integrates with your site. Additionally, through the drag-and-drop feature, you can include relevant elements and customize the colors based on your site’s brand.
8. Make the Popup Mobile Responsive and With Great Contrast
Many people tend to access websites through their phones.
Therefore, you ought to ensure the popup is mobile responsive and easy to navigate through. Have unique options for the popup while on a desktop and a mobile device.
While on mobile try to reduce the form fields, avoid load-intensive images, and have short information on the call-to-action button, etc. Also, you can opt to disable the popup for certain screens. Ideally, make an effort to test on different devices to make sure it is working perfectly.
Using a vibrant color scheme is key to ensuring the key elements stand out.
Through the WPMozo Modal popup for Elementor, you can easily modify the colors in the style section to ensure the user doesn’t get confused.
Good Examples of Popup Design Ideas
Here are some popup design ideas you can consider:

- Gilt.com has one of the best popup designs. The popup appears as a way to entice new members to make purchases, by offering a discount on the first purchase, or just login in if you already have an account. Its simplicity makes it stand out.
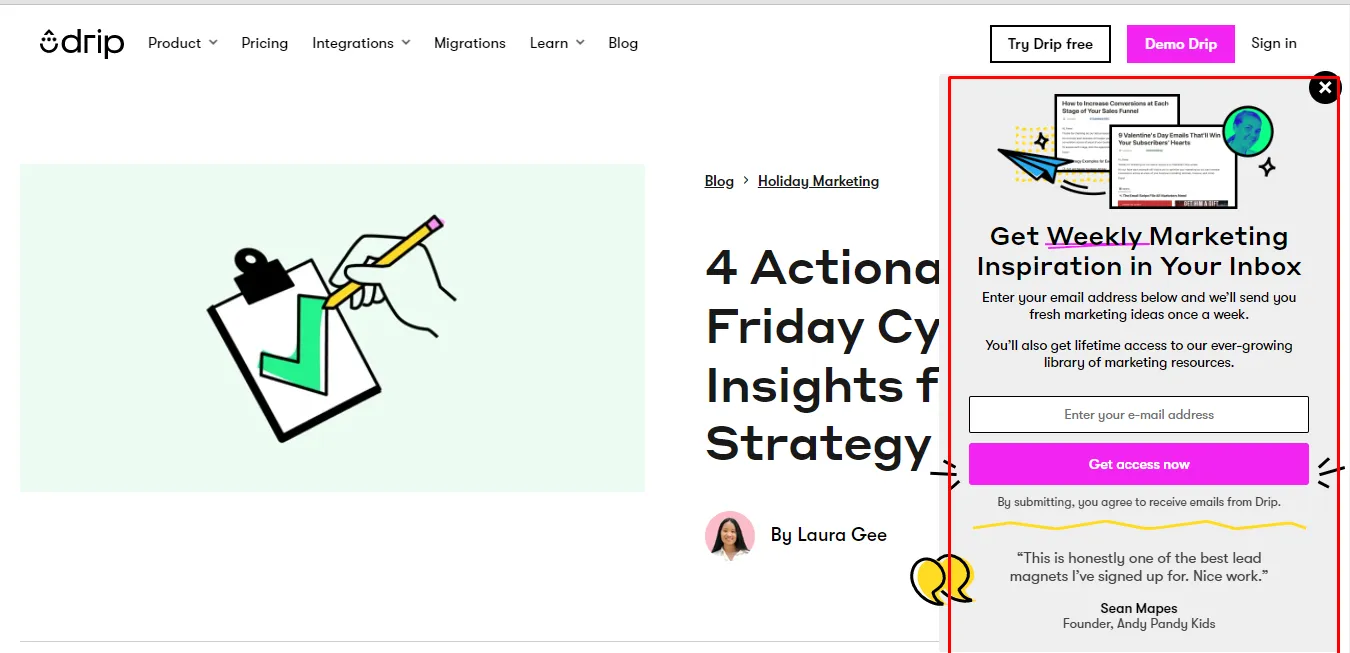
- An incredible example of the best popup design from the side is Drip.com, which offers an option to click the popup, which then appears for you to see the details and join their mailing list.

- Buffy.co features an incredible full window pop-up that looks great on mobile and desktop. The close icon is also easy to locate if you don’t want to proceed.
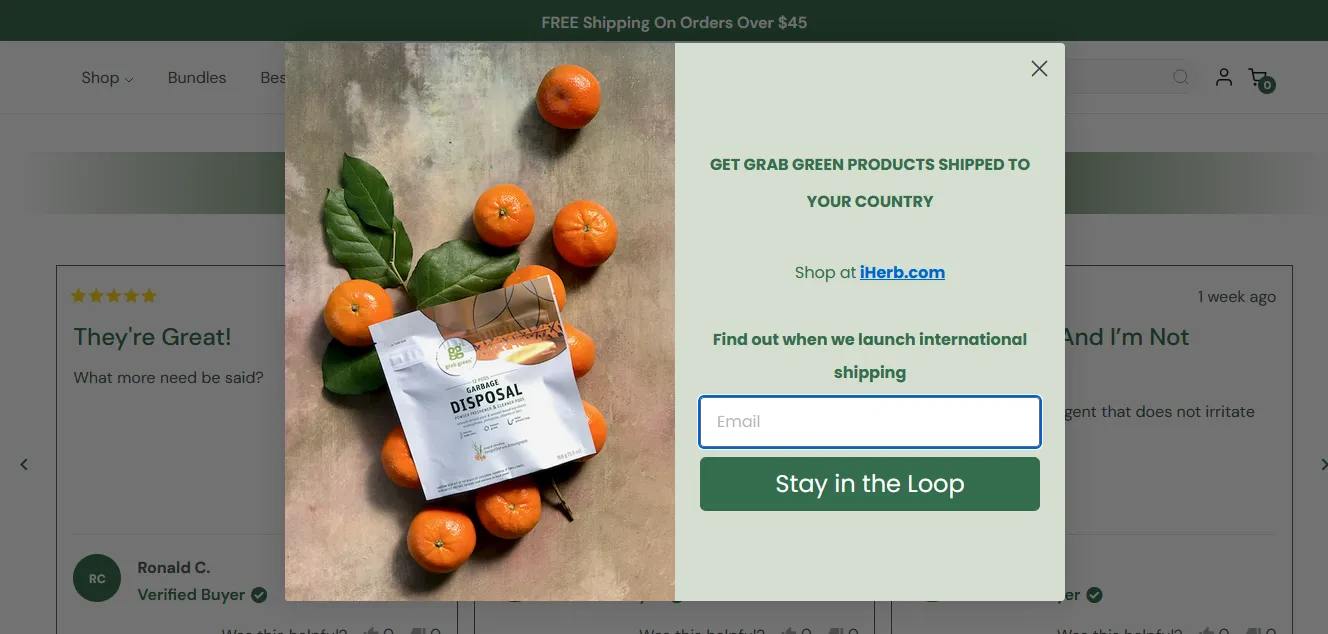
- Grabgreenhome also features a popup that is well-designed and appears at a great time when someone has checked out the website for a while. It ranks among the best popup designs.
Conclusion
When running any business, you need to capture your audience’s attention to ensure that they can convert to customers or even check out your offerings.
It is key to be creative enough in your popup design to ensure that they have a reason to want to take action.
With the right design, right contrast, easy-to-see close button, great timing, right format, appropriate visuals, incentive, responsiveness, and customization, you will increase the chances of achieving your popup goals.
However, be minimalistic about them to prevent people from leaving the site indefinitely. Therefore, don’t hesitate to show popup in Elementor website.
FAQs – Frequently Asked Questions
1. What are the different types of popups?
They include modal windows, hover popups, slide-ins, mobile popups, video popups, and wheel popups.
2. What are the major differences between the different types of popup designs?
| Popup type | Difference |
| Modal Window | Full screen and requires a user to take an action before proceeding. For instance, to confirm the age of a user before accessing a site; like a betting site. |
| Hover Popup | A small window appears when someone hovers over a certain element on a page. They don’t necessarily need user input, they are for information purposes. |
| Slide ins | They slide from either side of the window and won’t close until the user closes it. They offer valuable information and have a call to action prompt. |
| Mobile popups | Designed for mobile device screens and provides additional information or functionality. |
| Video popups | Include video content rather than static images. |
| Wheel popups | Offer rotating graphics as part of the designs. Great for content or giveaways. |
3. What is one of the major things you need to consider for a popup design?
Have clear goals for the desired results you want to achieve. Also, take a keen interest in previous analytics data to understand what works best to ensure you meet the popups goals.


0 Comments