
WooCommerce is a popular plugin and is an ideal solution for all WordPress users to create online stores and sell their products. All the products of a store are showcased on the shop page; this is the main page that represents the store with all its products. If you are using the default Gutenberg block editor, creating a shop page would be more interesting. We will make it more interesting by creating a WooCommerce custom shop page using some simple steps.
This post will demonstrate the step-by-step process to add a shop page in a WooCommerce store using Gutenberg editor.
Let’s start.
1. Create a Shop Page Layout
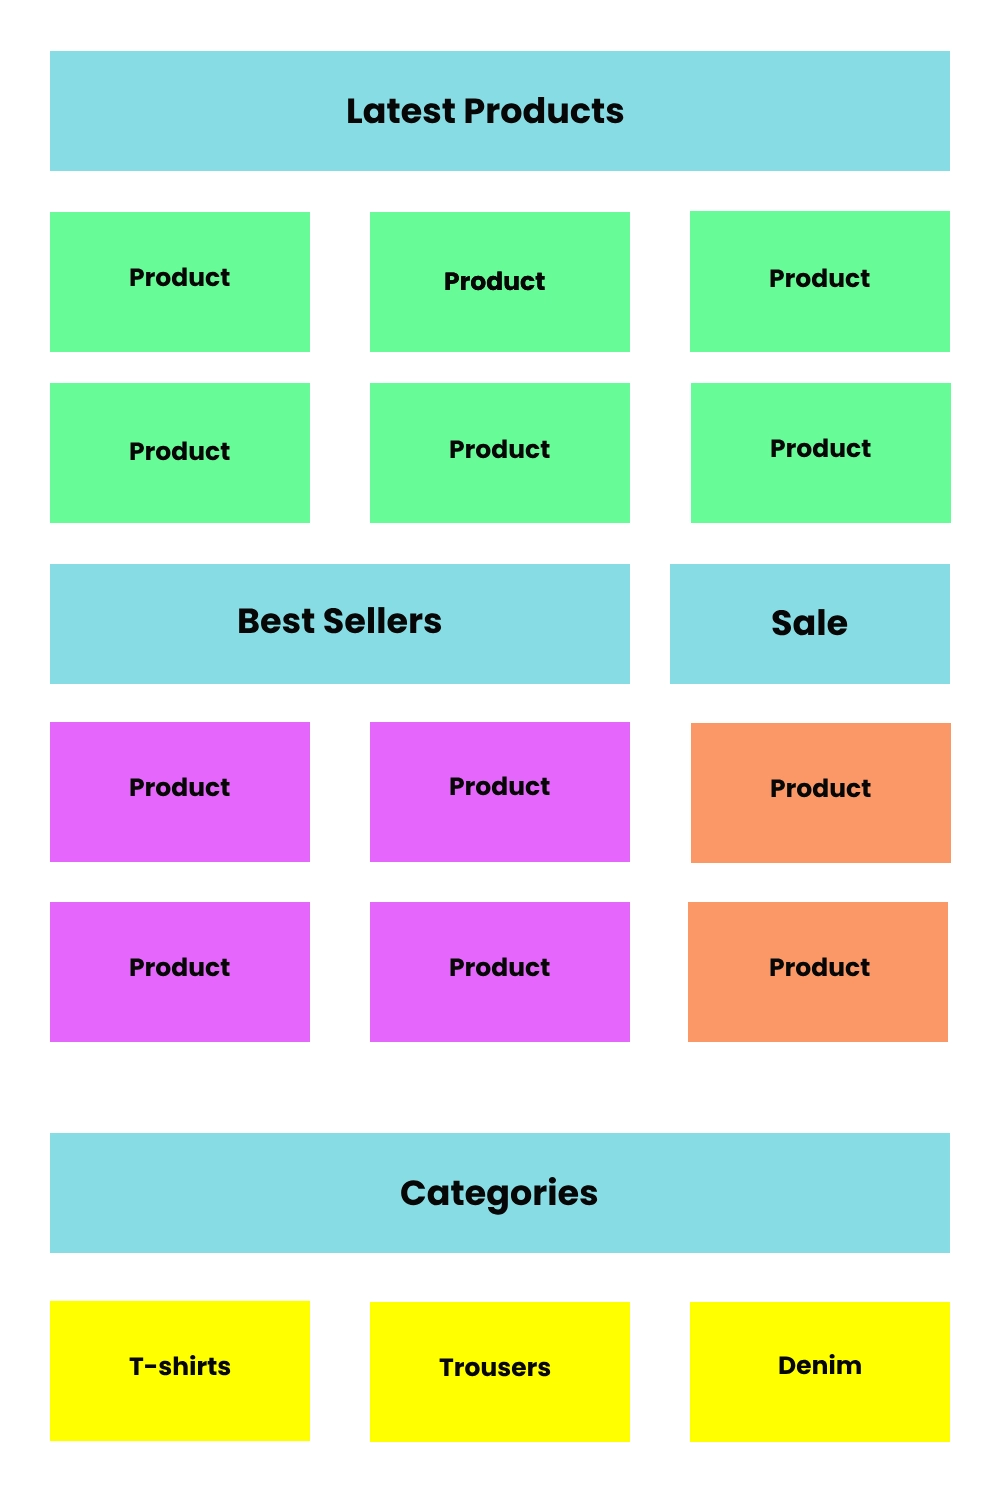
First of all, you need to plan a layout of your shop page. Do a little research and check what template other stores are following. We created a sample layout for the shop page of a clothing store and are going to follow this template to create the shop page. It contains the common things required on a shop page such as Latest, Best Sellers, Sales, and Categories.
Take a quick look at the shop page template.
Now we have a clear idea of how the shop page would look. Now let’s proceed with the next step.
2. Generate a Shop Page
Note: Before starting make sure that you have WooCommerce installed on your WordPress website.
If WooCommerce is already installed or you have installed it, a default shop page is generated during the installation. That page is visible in the Pages section.
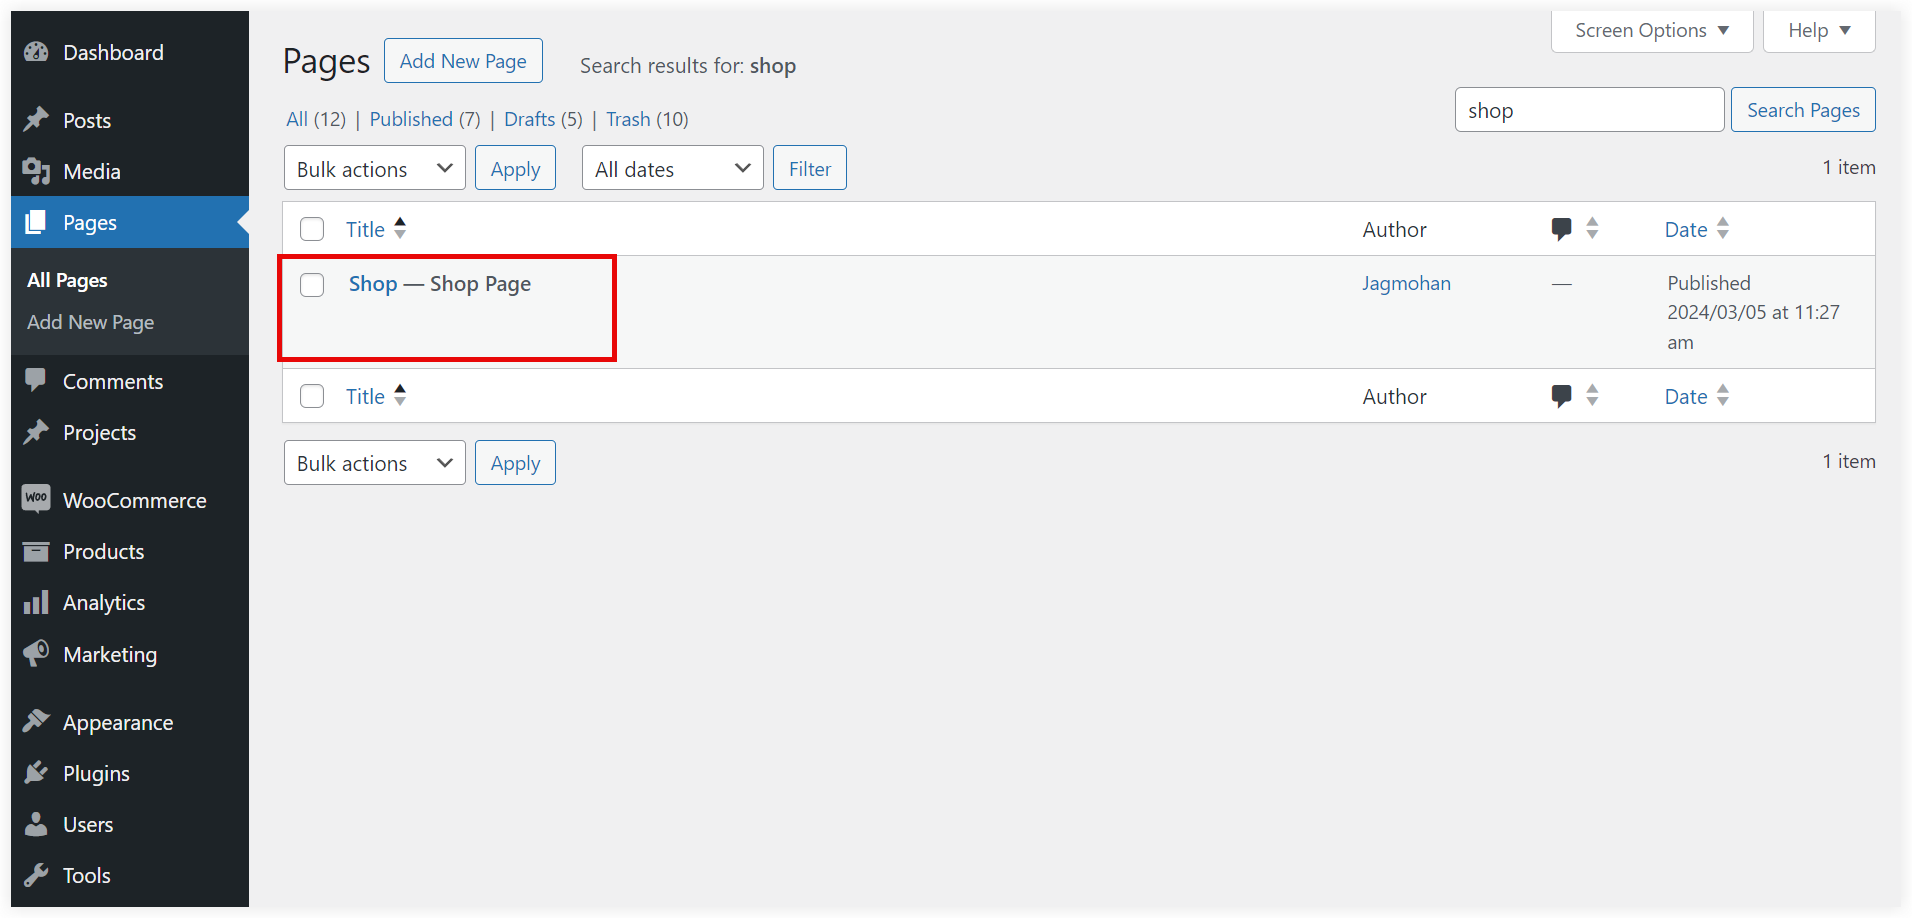
If the default shop page is not there you can create it using the built-in WooCommerce tools.
That’s a different case as we want our custom shop page layout optimized as per our needs. That’s why we need to remove the shop default page. Let’s see how to do it using WooCommerce settings.
Navigate to WooCommerce >> Settings >> Products. Click on the clear icon of the ‘shop’ value listed in the Shop Page field. Now click on the Save Changes at the bottom.

Now the default shop page would be still there, but it would not use the default layout that was generated initially during its creation.
WooCommerce supports a special section of blocks for the Gutenberg editor. You can easily create all the segments of the shop page layout using those blocks.
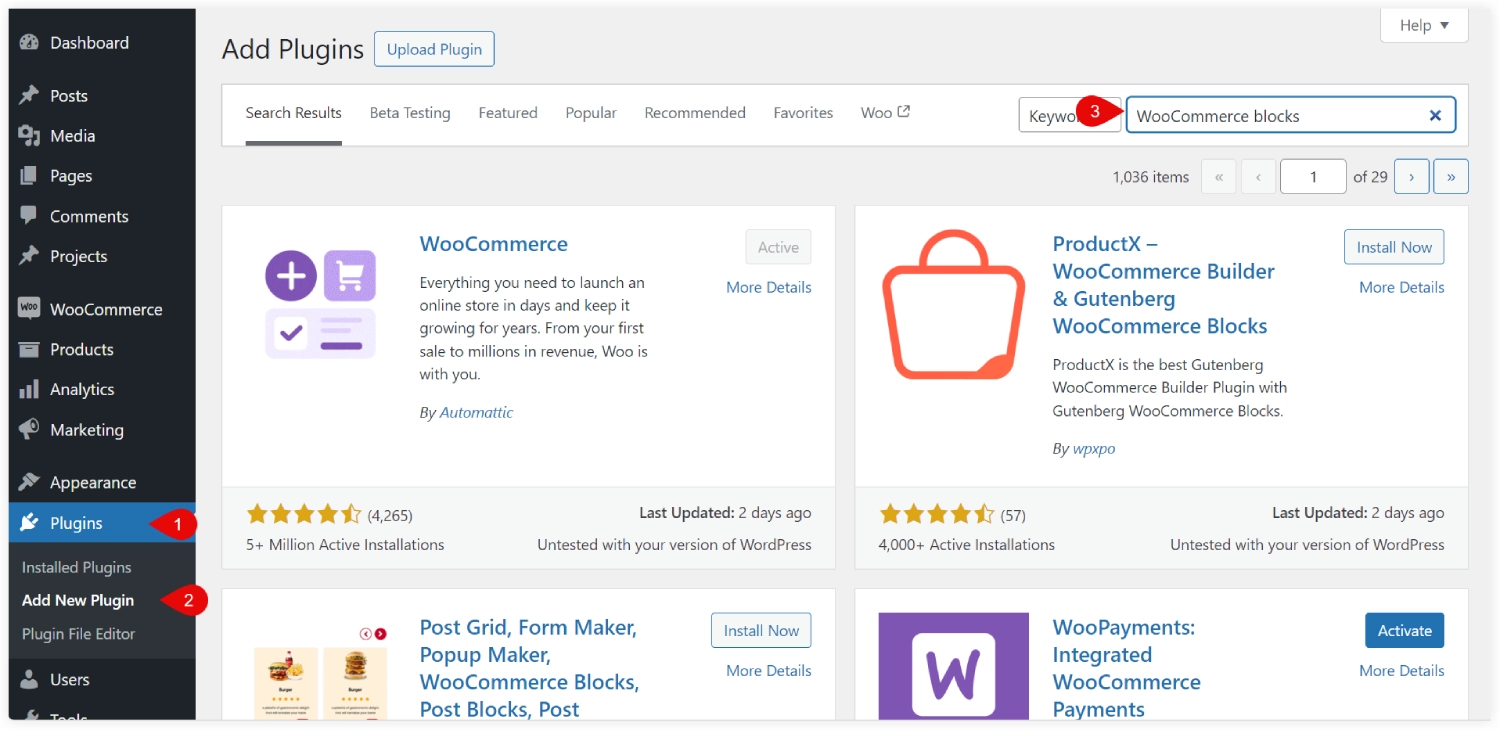
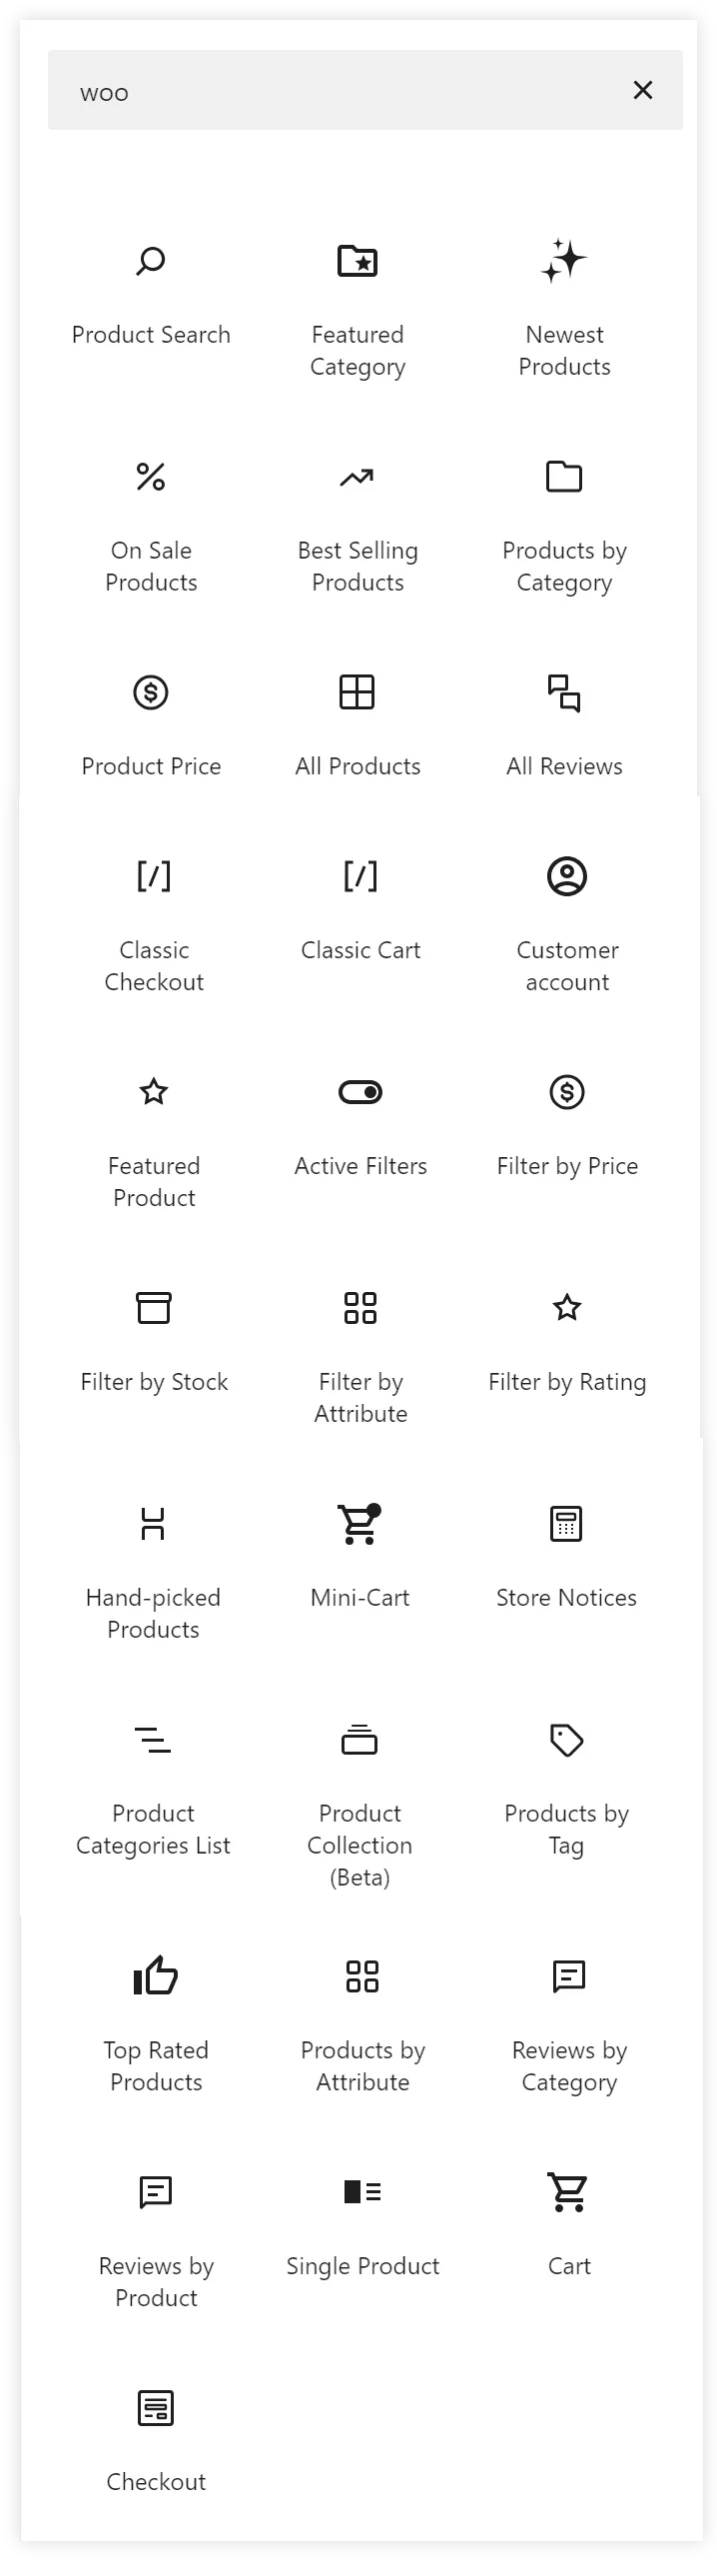
Note: Make sure you have installed a WooCommerce block plugin on your WordPress website. If you don’t have that, you can search the ‘WooCommerce block’ term in the search field of the Add Plugins. There are many WooCommerce block plugins available. We have installed and used ProductX, as it is one of the most popular WooCommerce block plugins.
Take a quick look at the list of the WooCommerce blocks provided by the ProductX plugin.
After doing these prerequisites, let’s jump to the Gutenberg block editor and start creating a WooCommerce shop page.
3. Create and Customize the Shop Page Using Gutenberg
We now have a shop page on our WordPress website to show our creativity. We only need to follow the shop page layout created in the first step.
In our shop layout plan, we can also include a search field at the top. This would help customers easily search for their favorite products.
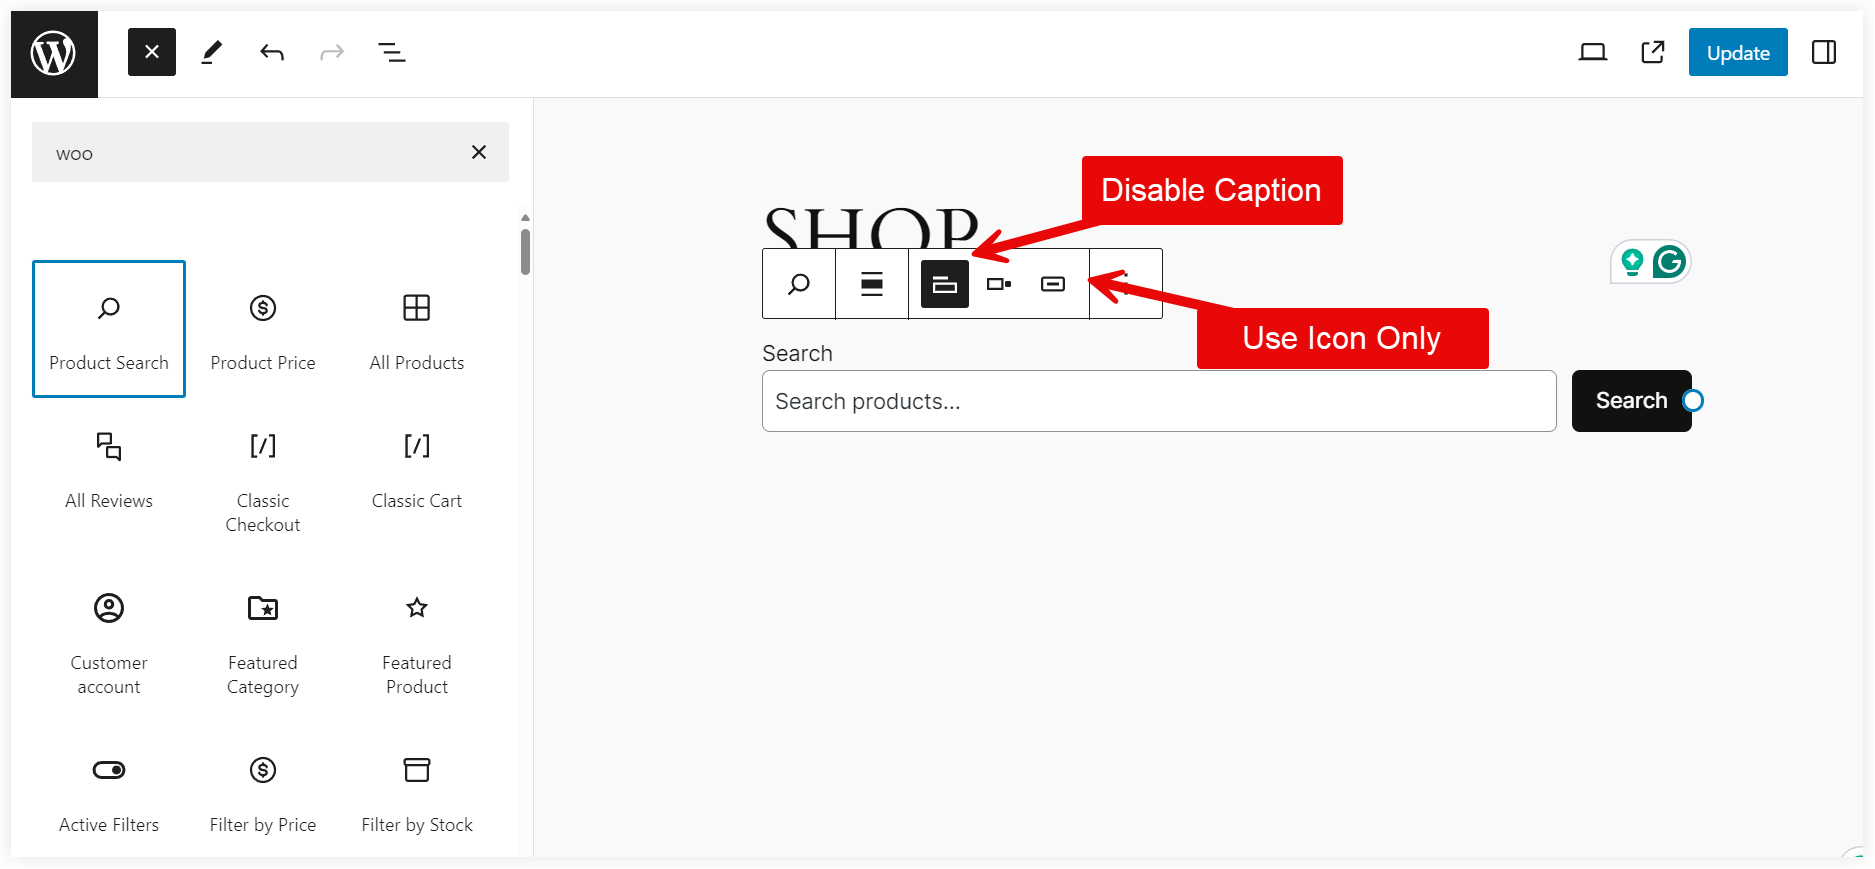
Edit the first block and select the Product Search block. Disable the label and use the icon on the button. You can also change the placeholder if you like.
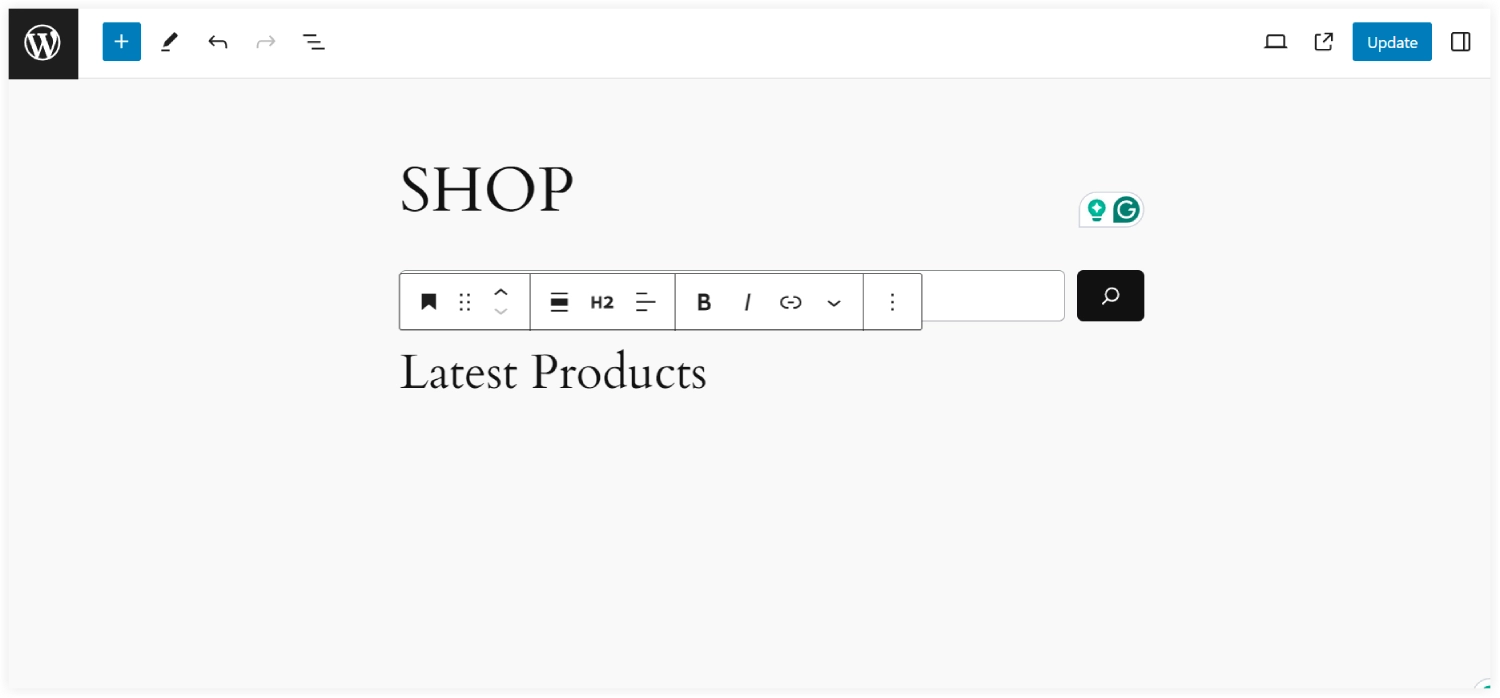
Next, select a Heading block and mention ‘Latest Products’.
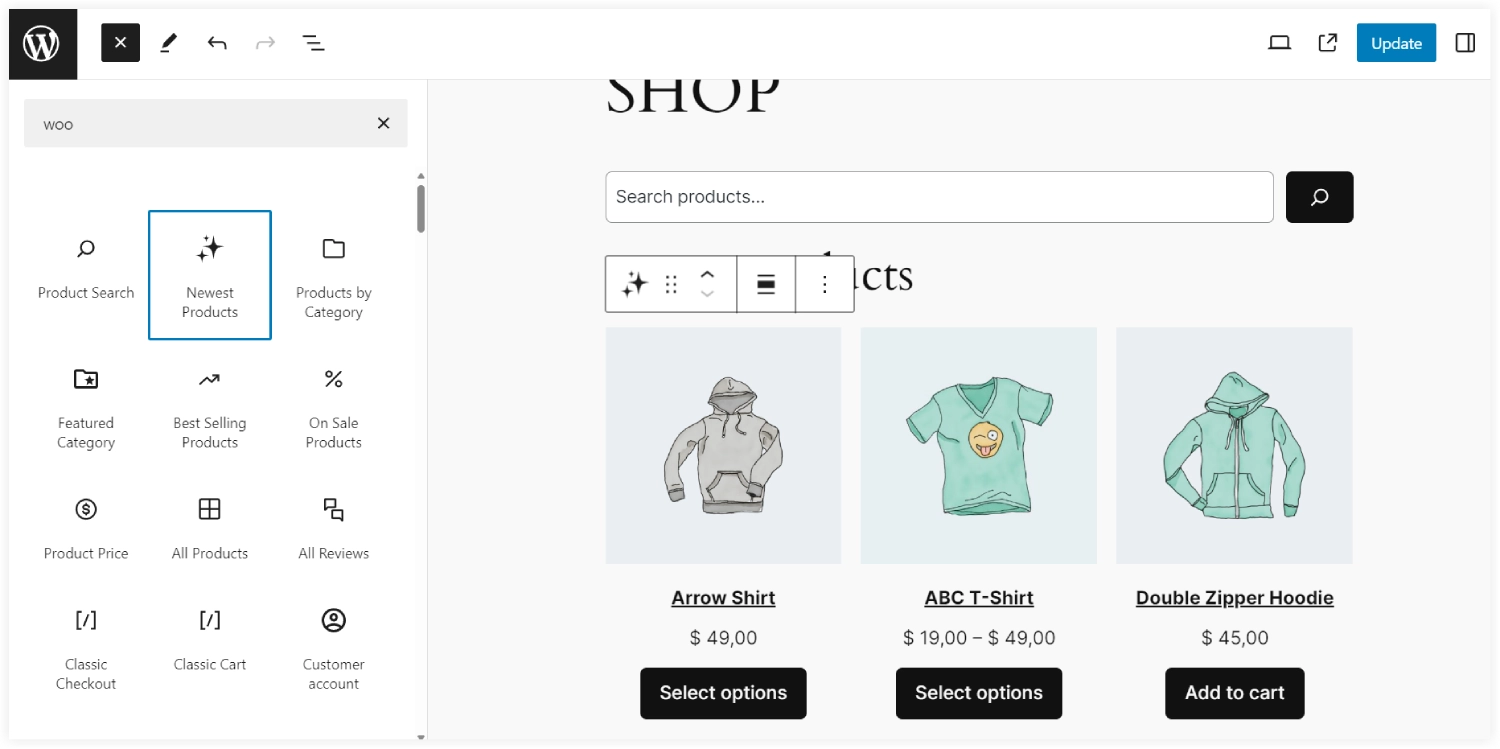
To display the latest products in your store, you can use the Newest Products block. You need to configure the number of rows and columns to tune up the display of the number of the latest products.
Now we created two columns and will insert the Best Sellers and Sale products in that.
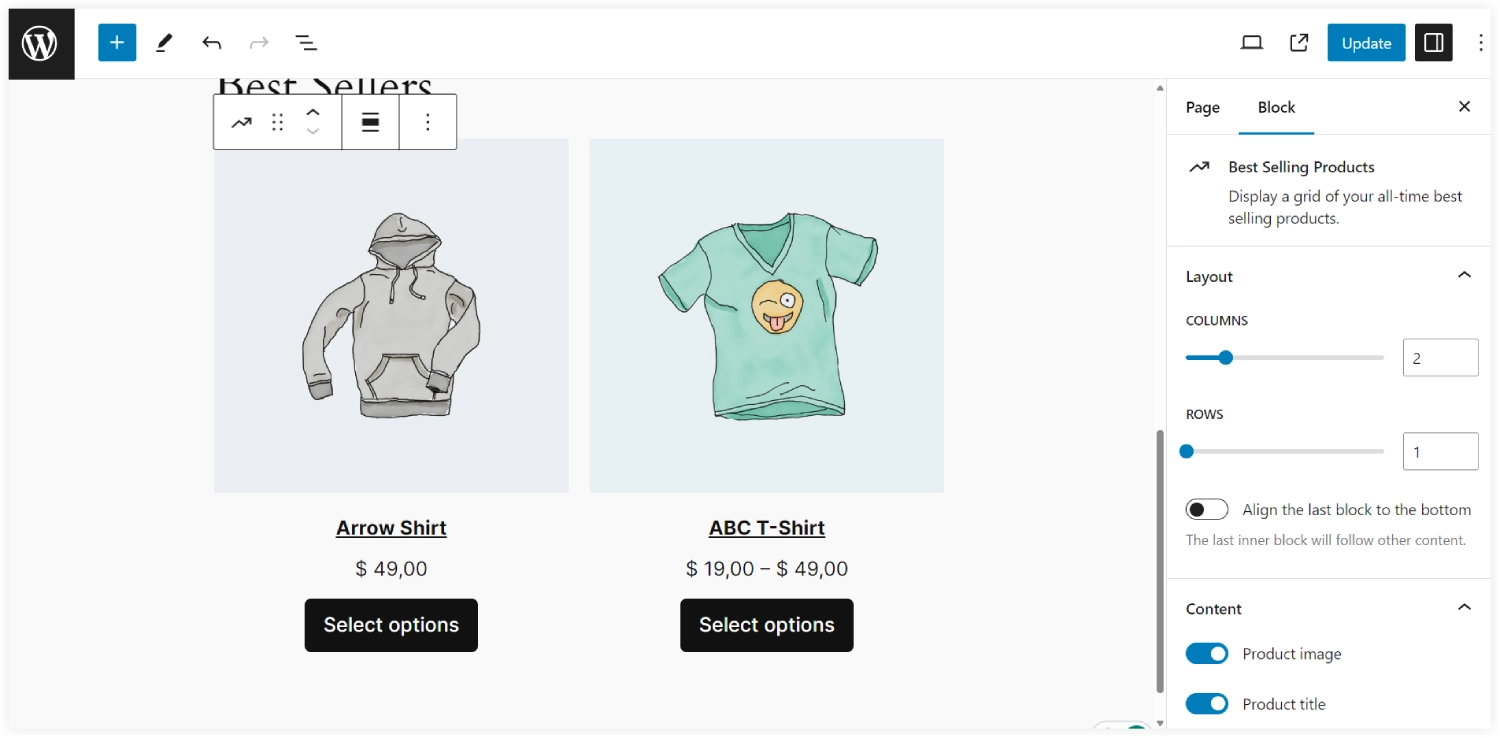
In the first column, Create a new heading Best Sellers after that you have to select the Best Selling WooCommerce block.
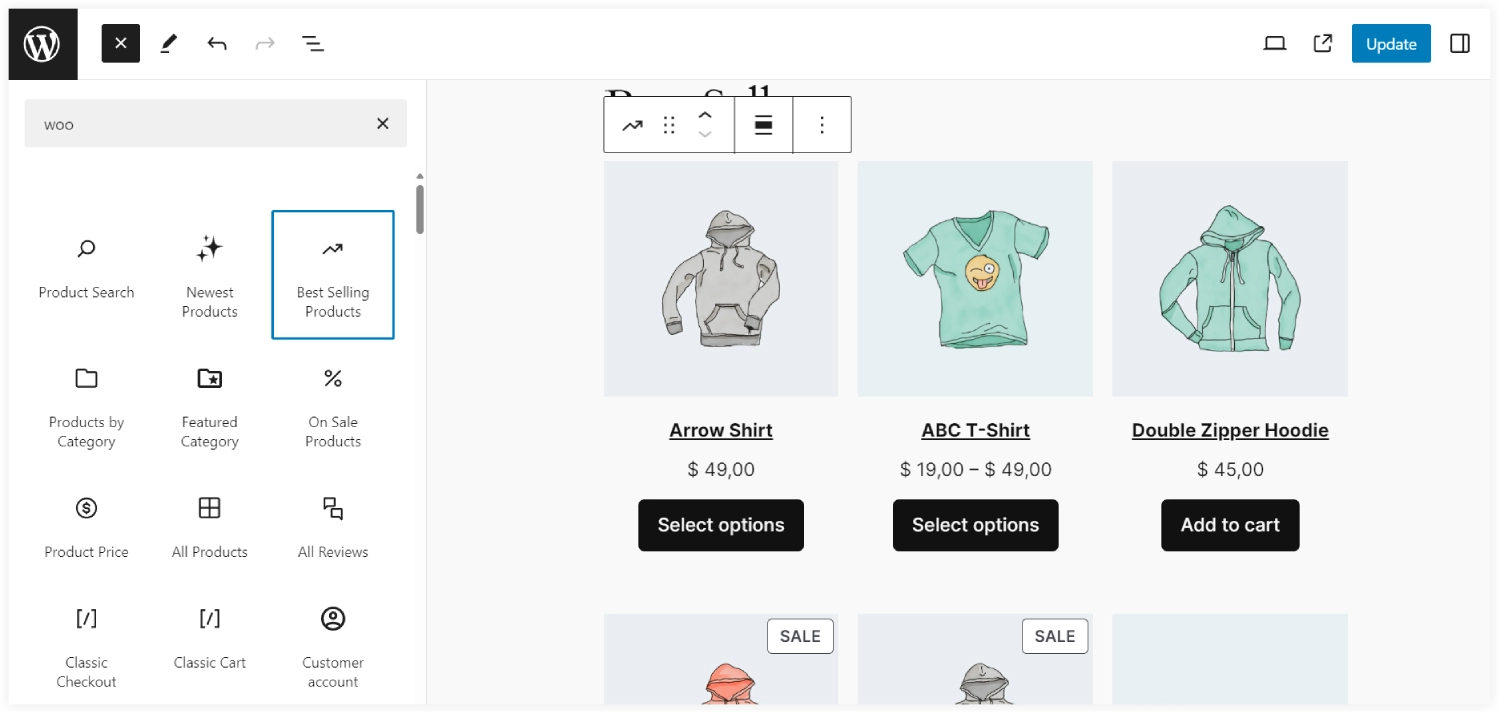
You can also configure the number of rows and columns to be displayed.
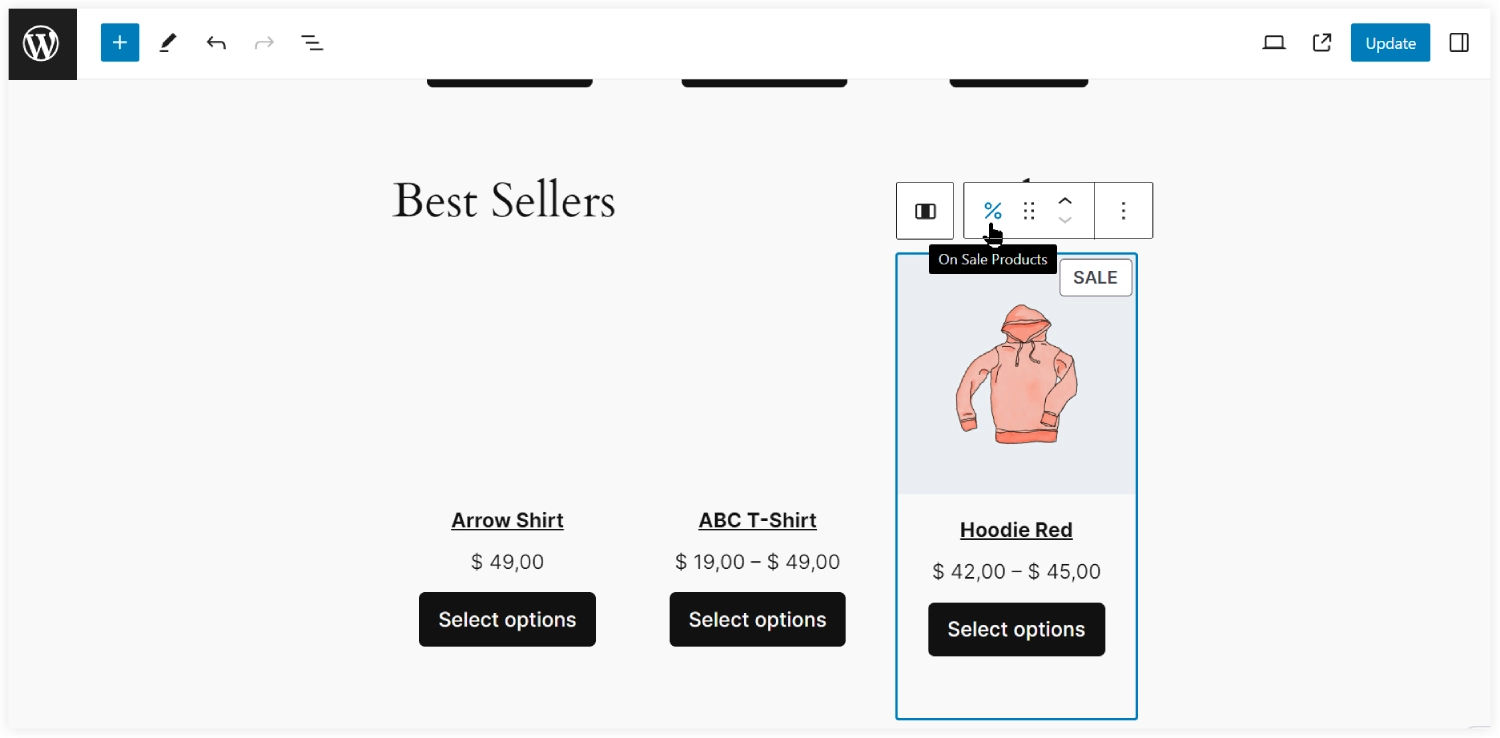
In the second column, pick a Sale Product block and the products on sale will be displayed. It also has the same kind of settings like the Best Seller and Newest Products block to configure the number of columns and rows.
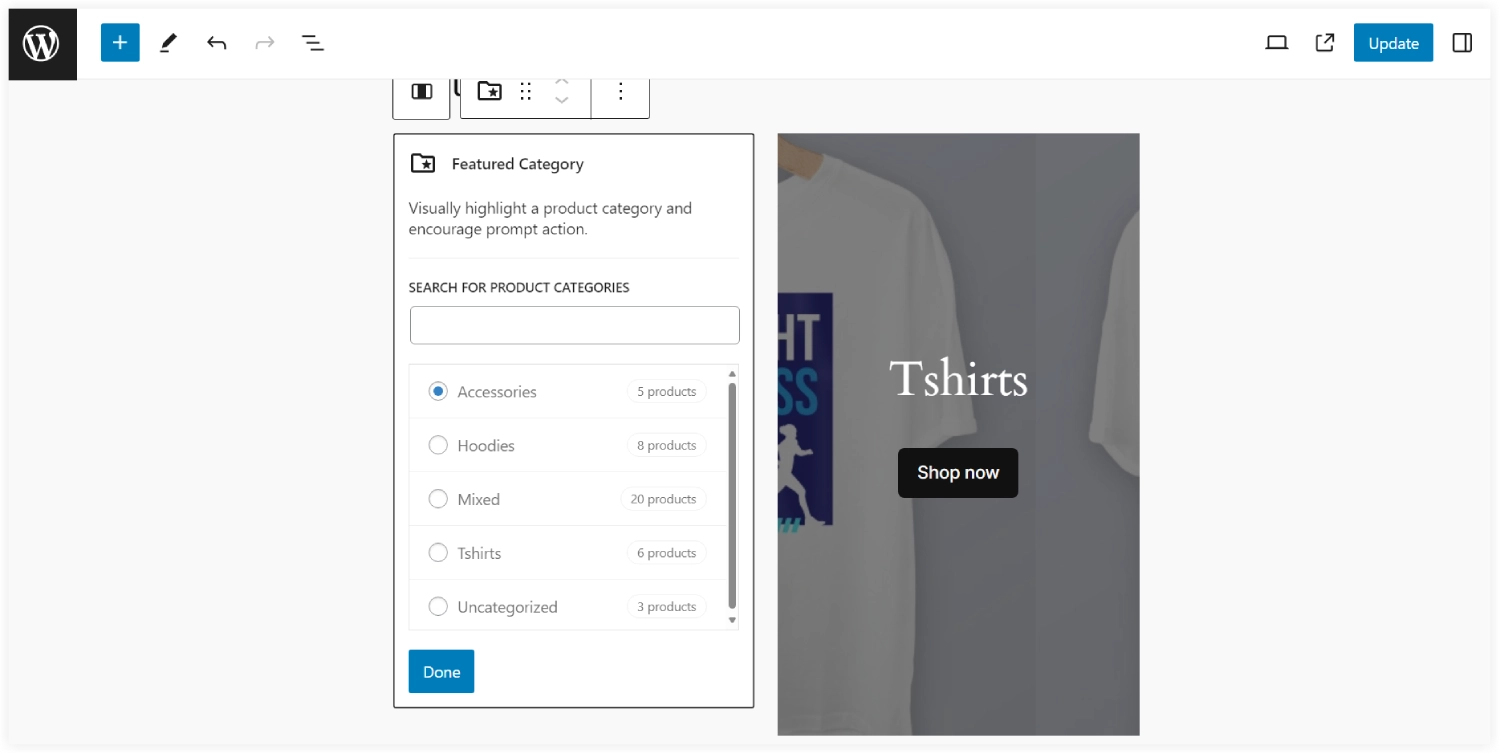
Next, put the Categories in the Heading block and select the number of appropriate columns according to the planned shop page layout.
Now use the Featured Category WooCommerce block. You can use the options to modify and style the Featured Image block in your way.
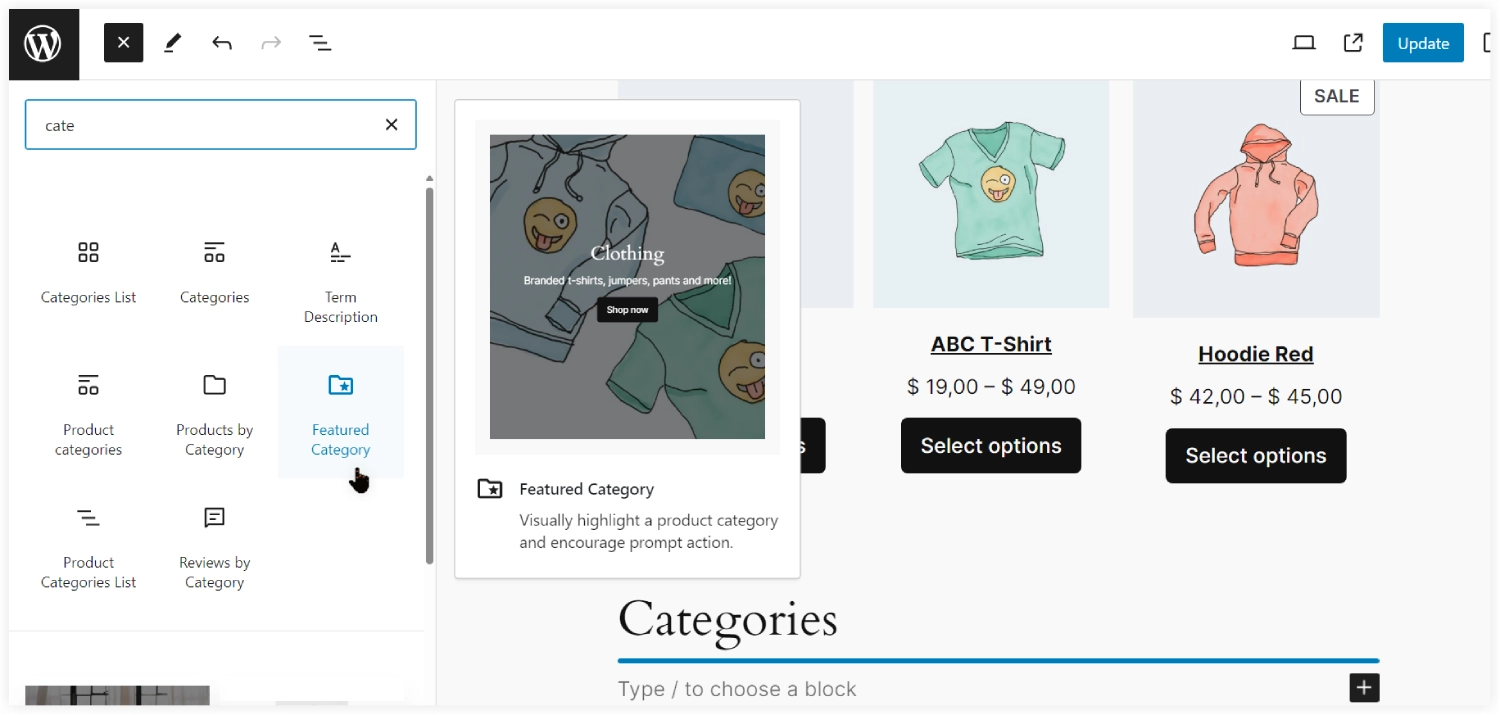
Select the category that you want to display in each of the individual columns.
That’s done.
If you want to expand the shop page with some more shopping sections, there are various other WooCommerce blocks that you can use.
Finally, you have created a beautiful shop page. Don’t go over its styling aspect as we have created it by following some simple steps and you can further enhance its styling to make it more attractive.


0 Comments