Wishlist for WooCommerce Documentation
Search for answers or browse our knowledge base.
Wishlist functionality configuration
The WooCommerce Wishlist plugin enables customers to create personalized wishlists of products they desire, making it easier for them to save and track their favorite items.
After installing the plugin, a new menu called “WPMozo Wishlist” appears in the WordPress admin panel.
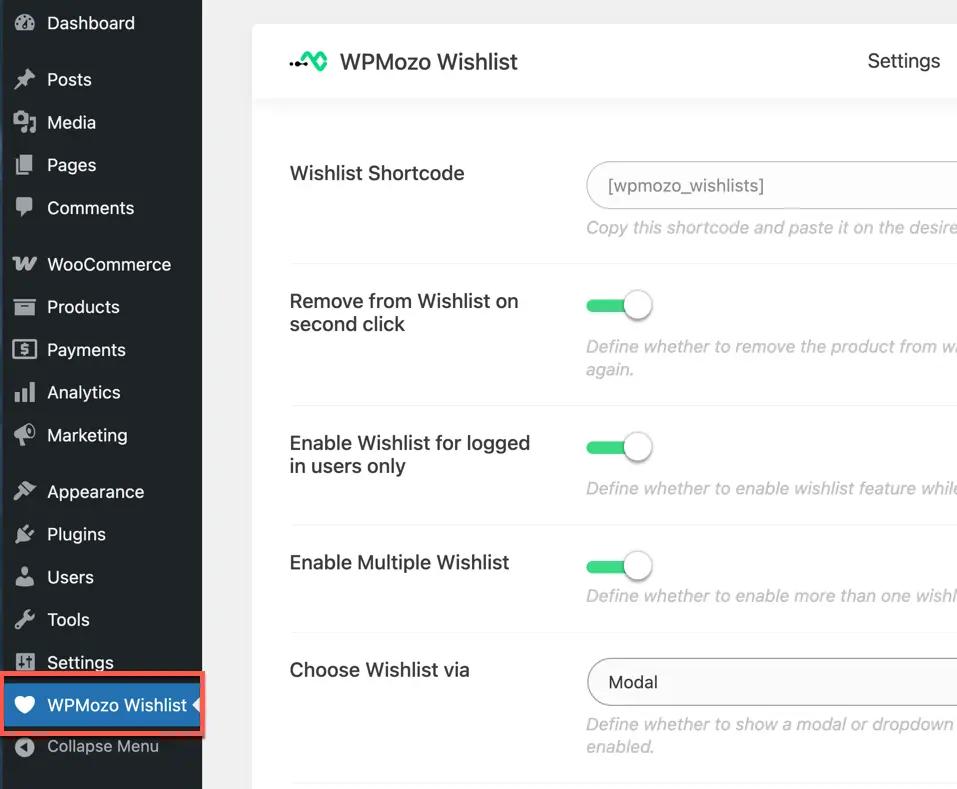
This menu includes the following options:
- Settings: Configure wishlist functionalities.
- Styles: Customize the appearance of the wishlist.
- Wishlist: Manage user wishlists.
- Popular: View popular wishlist items.
- License: Manage licensing information.

How to create a wishlist page
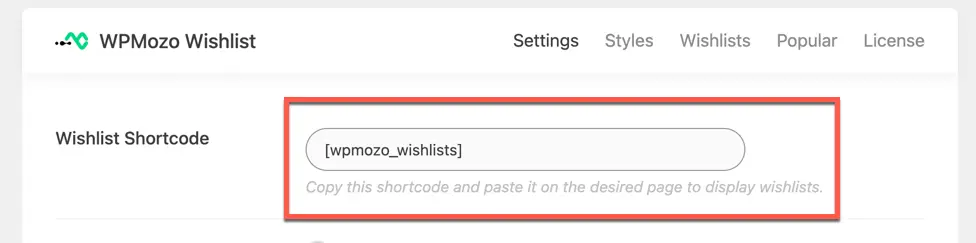
To display the wishlist on a page, use the following shortcode:
[wpmozo_wishlists]
Copy and paste this shortcode onto a new page to display wishlists.
Wishlist access and behavior
Remove items from wishlist
Enable the “Remove from Wishlist on Second Click” toggle to allow users to remove items by clicking the wishlist button again.
Enable wishlist for logged-in users only
Navigate to the Settings panel and toggle the option “Enable Wishlist for Logged-in Users Only” to restrict wishlists to registered users.
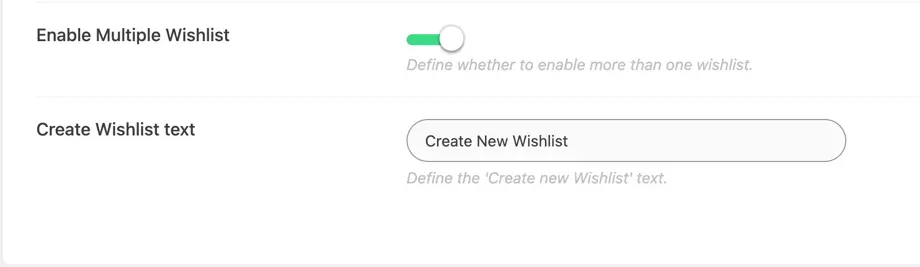
Enable Multiple Wishlist
(This feature is available only in the Pro version of the Wishlist module.)
This option allows users to create and manage more than one wishlist on your website.
When enabled:
- Users can organize their favorite products into different wishlists (e.g., “Birthday Gifts”, “Office Supplies”, “Wishlist for Kids”).
- A dropdown or option to select or create a new wishlist appears when a user adds a product.
When disabled:
- Users will have only a single wishlist where all saved products are stored by default.
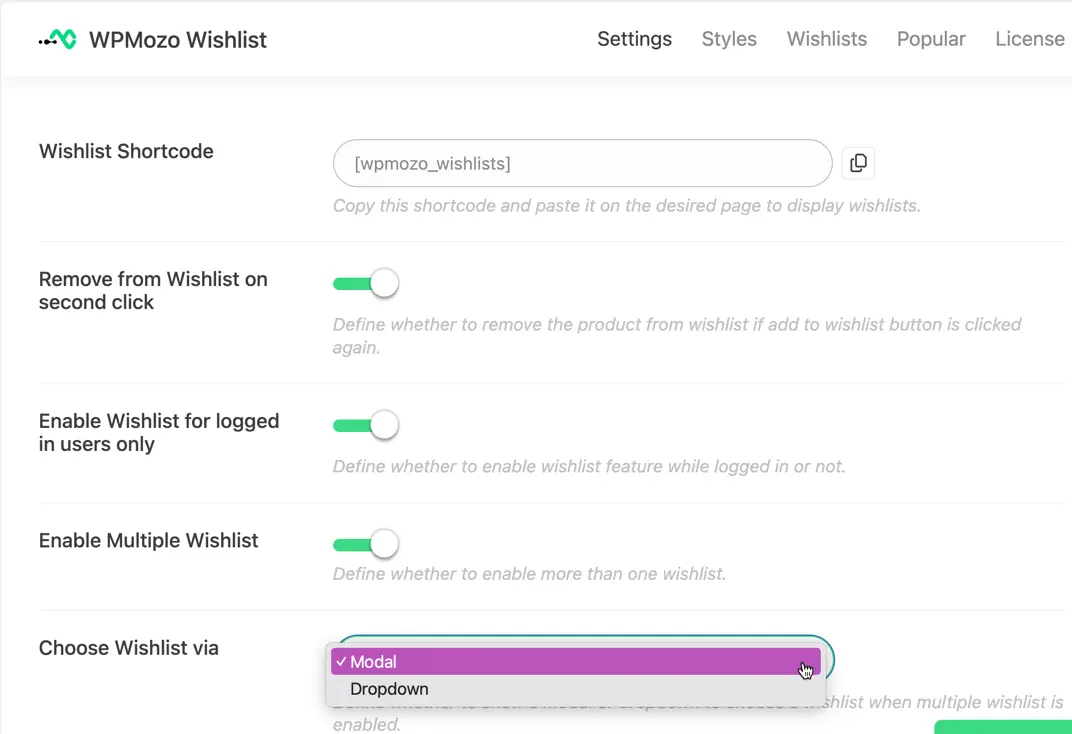
Choose Wishlist via
(This feature is available only in the Pro version of the Wishlist module.)
This option lets you decide how users will select a wishlist.
You can choose between:
Dropdown
- A small dropdown appears right next to the heart icon when clicked.
- Users can directly choose the wishlist from the dropdown without navigating away.
Modal Popup
This popup allows users to select an existing wishlist or create a new one.
Clicking the heart icon opens a popup window (modal).
Wishlist button settings
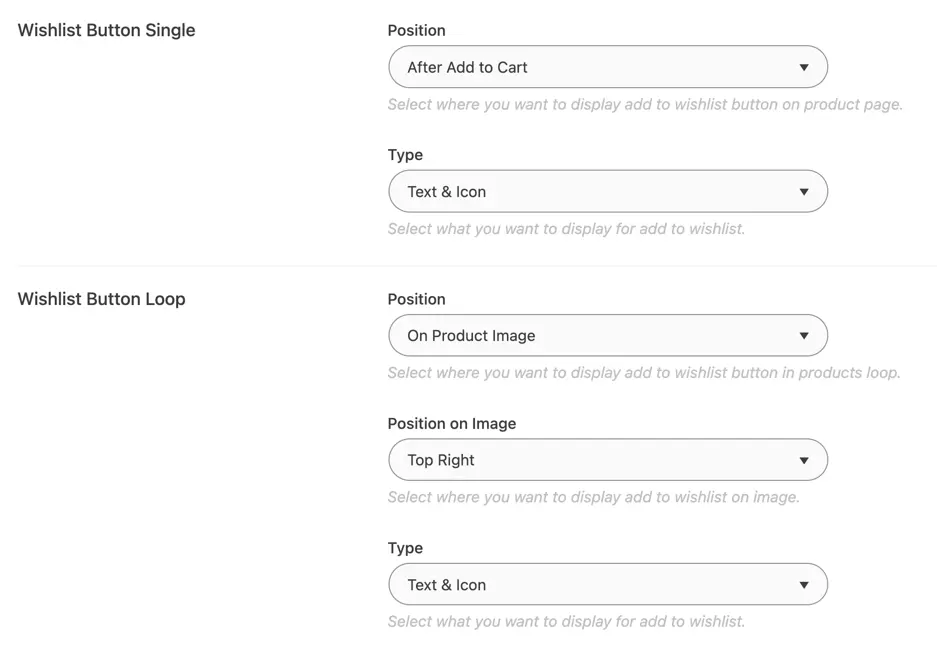
Wishlist button position on product page
Single Product Page: On Product Image
Displays the wishlist button directly on the product image,.
Before Add to Cart
Places the button above the Add to Cart button.
After Add to Cart
Places the button below the Add to Cart button.
Use Shortcode
Gives you full control by allowing you to manually place the button using a shortcode.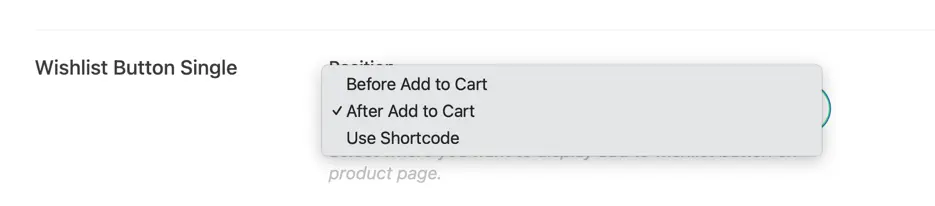
- Product Loop (Shop Page): Select the wishlist button position:
- On product image
- Before Add to Cart
- After Add to Cart
- Use Shortcode

Customize wishlist button
- Single Product Page: Choose between Text, Icon, or Text & Icon.
- Product Loop: Choose between Text, Icon, or Text & Icon.
Wishlist button position on product image
On shop page, select whether the wishlist button appears on the top right or top left on the product image.
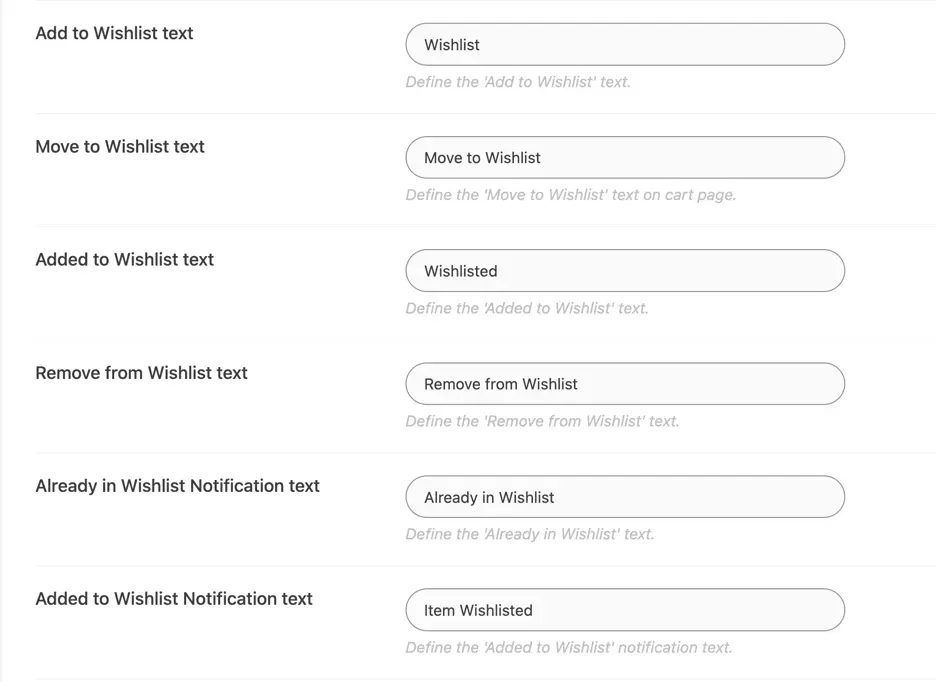
Customizing wishlist notifications
- Add to Wishlist Button Text: Set the label for the “Add to Wishlist” button.
- Move to Wishlist Button Text: Customize the “Move to Wishlist” button text on the cart page.
- Added to Wishlist Notification Text: Define the message displayed when an item is added.
- Already in Wishlist Notification Text: Change the default “Already in Wishlist” message.
- Added to Wishlist Notification Text: Change the default “Item Wishlisted” message.
Enabling multiple wishlists
To allow users to create multiple wishlists, enable the “Enable Multiple Wishlist” option.
Customize wishlist creation text
Create Wishlist Text: Define the text shown when users create a new wishlist.